

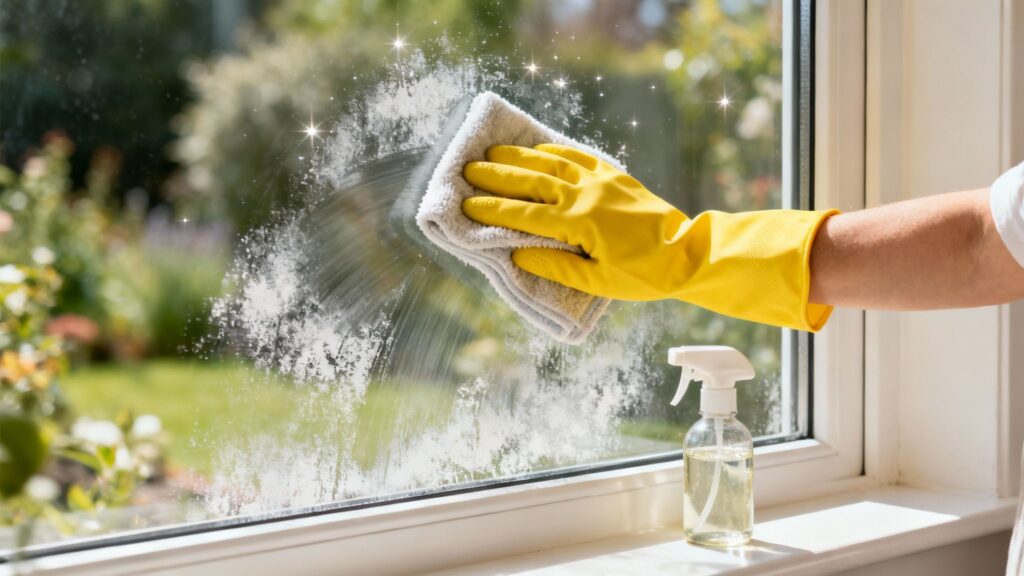
It’s one of the most frustrating parts of keeping a house looking sharp: you spend an afternoon cleaning your windows, but as soon as they dry, they’re covered in chalky white spots. What gives? Those aren't just leftover dirt—they're mineral deposits from hard water, and they won't budge with a typical spray-and-wipe.
To really remove water spots from windows, you need a game plan that dissolves these stubborn minerals, not just a standard cleaner designed for everyday grime.
What Kind of Water Spots Am I Dealing With?
Before you grab a bottle of anything, take a closer look at the glass. Are the spots fresh and hazy, or do they look like they’ve been there for years? Knowing the difference is key, as your cleaning strategy will change depending on how long those minerals have been sitting there.
Here’s a quick guide to help you identify what you're up against.
Identifying Your Water Spot Problem
| Spot Severity | What It Looks Like | Common Cause | Recommended First Step |
|---|---|---|---|
| Stage 1: Fresh Deposits | A light, hazy film or distinct, chalky-white circles. Feels slightly rough to the touch. | Sprinklers, rain, or tap water that recently dried on the glass. | Start with a simple vinegar and water solution. |
| Stage 2: Stubborn Stains | More defined, opaque white spots. Can't be scratched off with a fingernail. | Deposits that have been sitting for weeks or months, baked on by the sun. | Try a more concentrated acidic cleaner or a specialized commercial product. |
| Stage 3: Etched Glass | The spots seem to be inside the glass. The surface might feel pitted or rough even after cleaning. | Long-term mineral buildup that has corroded the glass surface itself. | Requires fine-grade steel wool or polishing compounds; professional help may be needed. |
This quick check will save you a ton of time and effort. There's no sense in jumping to heavy-duty methods if a simple solution will do the trick.
Why Your Regular Window Cleaner Isn't Working
Ever meticulously cleaned a window, only to step back and see it covered in those same faint, milky smudges? You’re not alone. This happens because the water from sprinklers, hoses, and even rain isn't pure. It's carrying minerals, most often calcium and magnesium.
When a water droplet evaporates, it leaves those minerals behind like tiny fossils on your glass.
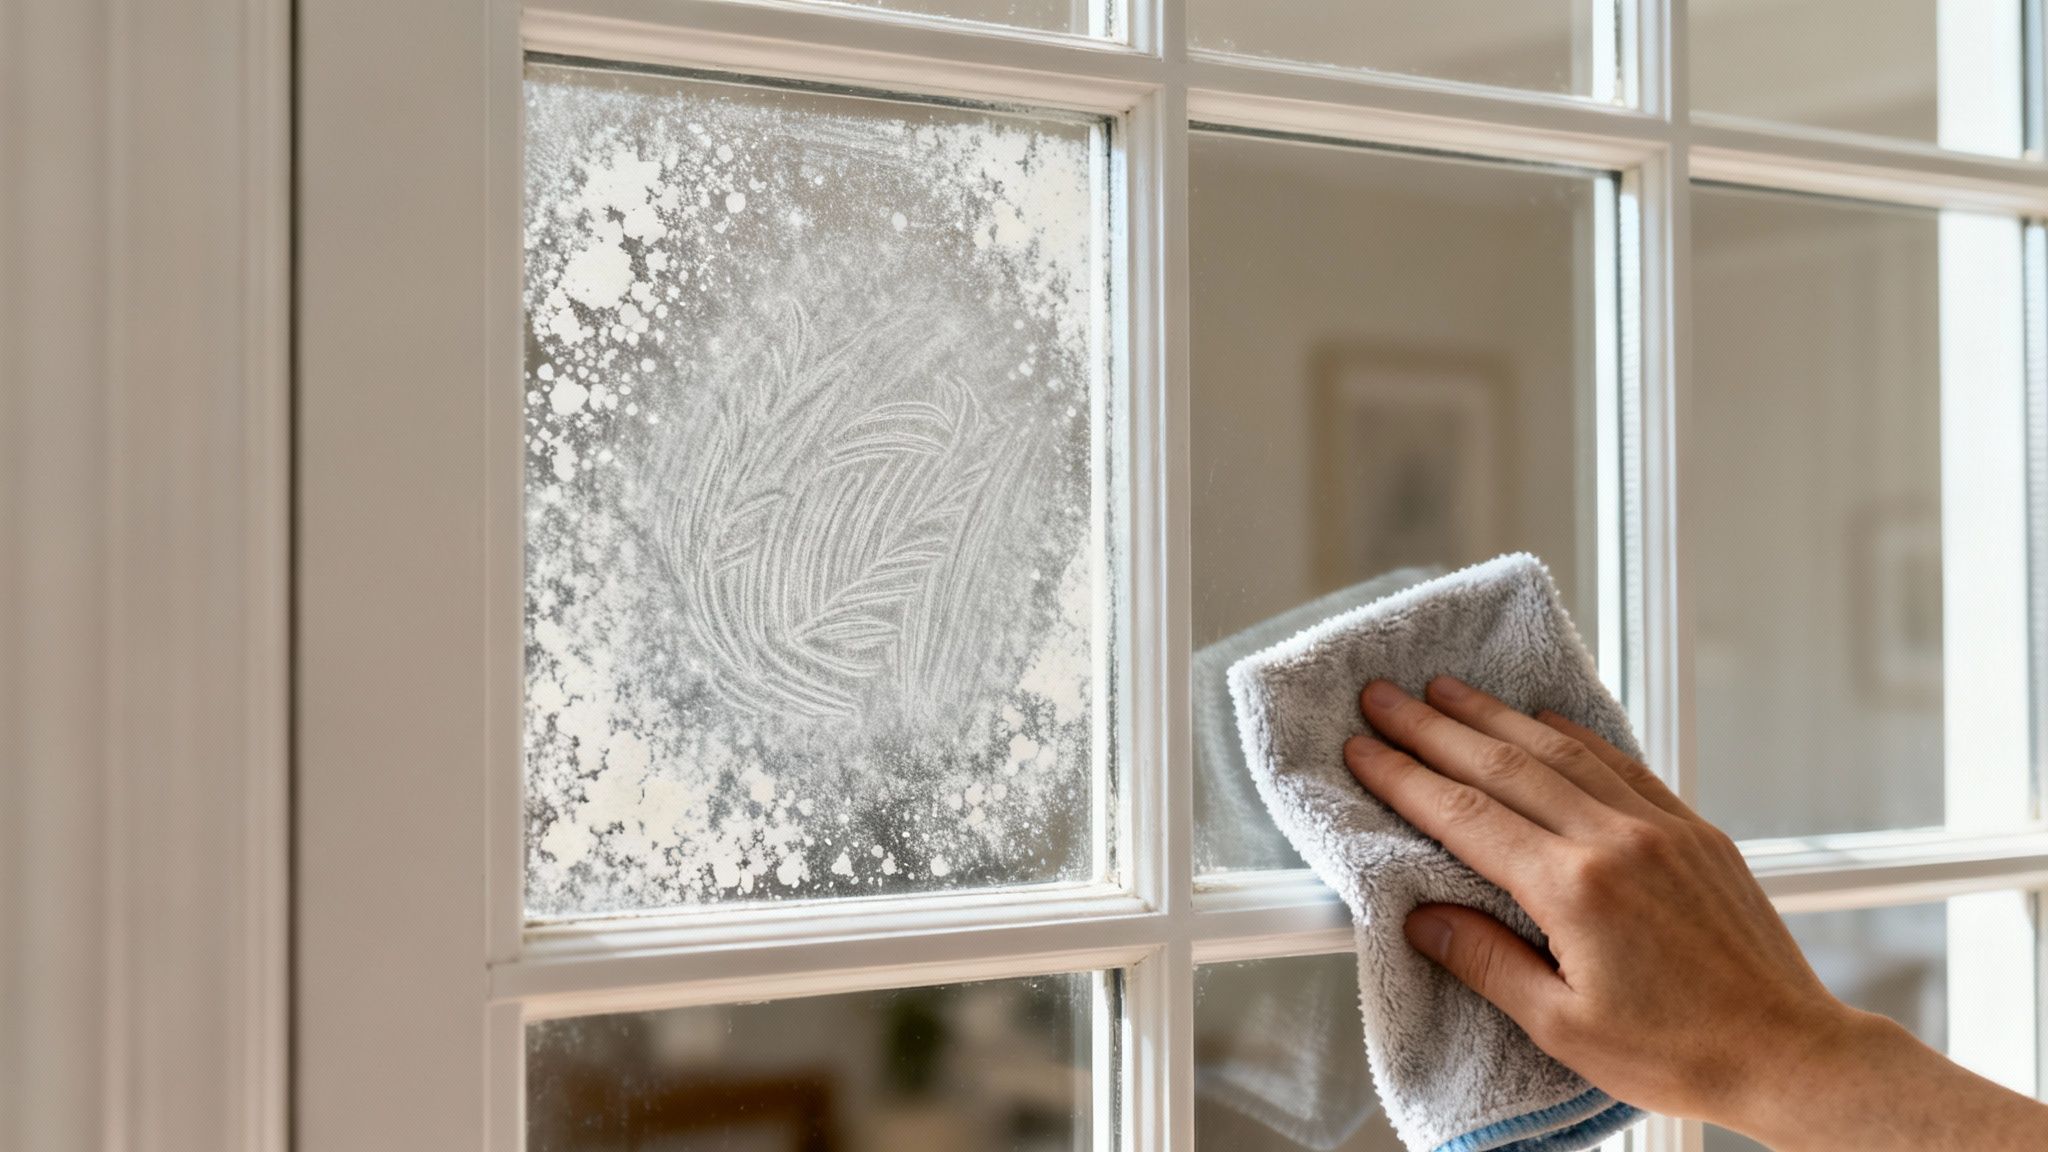
Standard glass cleaners are great for breaking down organic stuff like fingerprints, grease, and dirt. But they just aren't formulated to dissolve hardened minerals. It's a chemistry problem, not a dirt problem.
Over time, especially baked in by the hot sun, these mineral deposits can actually start to corrode the surface of the glass. This is what we call etching. At that point, you're not just cleaning a stain off the surface; you're dealing with microscopic damage to the glass itself.
The secret to a crystal-clear finish is using something that can chemically break down and dissolve the calcium and magnesium bonds. Regular soap and water just can't do that.
This is a massive issue for homeowners everywhere. In fact, the global market for specialized water spot removers is projected to hit USD 1.14 billion in 2024. If you want to dive deeper, you can learn more about the growing market and see just how many people are searching for a real solution.
Once you understand that you're fighting minerals, not dirt, you’re on the right track. Now, let’s get into the specific DIY methods that actually work.
Gathering Your DIY Cleaning Toolkit
Before you wage war on stubborn water spots, let's talk about supplies. Success really comes down to having the right stuff on hand, and the good news is you probably already have a powerful, safe cleaning arsenal hiding in your kitchen.
Getting everything together first turns what could be a frustrating chore into a pretty satisfying project. The whole idea is to dissolve those chalky mineral deposits without using harsh, abrasive chemicals that could mess up your glass or the window frames.
Household Heroes for Spotless Windows
Your main weapon against water spots is a mild acid. It's the secret to breaking down the alkaline minerals—mostly calcium and magnesium—that cause the problem in the first place. This is where a simple pantry staple gets to be the star of the show.
-
Distilled White Vinegar: The acetic acid in vinegar is what does the heavy lifting. It has a chemical reaction with the mineral buildup, dissolving it so you can just wipe it away. Make sure it's distilled white vinegar, otherwise, you're just putting new minerals back onto the glass.
-
Baking Soda: For those spots that just don't want to budge, a simple paste of baking soda and water offers a bit of gentle scrubbing power. Its particles are super fine, so it can lift deposits without scratching the glass like a harsh powder would.
-
Distilled Water: This is a big one. Always mix your vinegar solution with distilled water. If you use regular tap water, you risk leaving behind the very same minerals you're trying to get rid of. It kind of defeats the whole purpose.
Of course, you'll also need the right tools to apply your solutions and finish the job. A good squeegee and a few clean microfiber cloths are essential if you want that perfect, streak-free shine. If you want to get serious about your gear, our guide on the best window cleaning tools breaks down everything you might need.
The Secret Weapon for Tougher Jobs
Every now and then, you’ll run into mineral stains that have been sitting there for years, baked on by the sun. They can even start to lightly etch the glass. For these really stubborn situations, you need to bring out a more robust, but still safe, tool.
Meet your new best friend: #0000 grade steel wool. We're talking "four-zero" grade. It's the finest you can get, and when you use it with a lubricant (like your vinegar solution), it can gently buff away those etched-in stains without leaving a single scratch.
I can't stress this enough: never use any other grade of steel wool. A coarser grade, like #000 or #00, will absolutely ruin your windows with permanent scratches. Double-check the package to make sure you have the #0000 grade before you even think about touching it to the glass.
Once you’ve gathered these simple but effective items, you’re ready to take on pretty much any water spot that comes your way.
Your Guide to Removing Water Spots
Alright, you've got your tools, so let's get those windows crystal clear. We're going to walk through the best ways to get rid of those annoying water spots for good. The trick is to start with the mildest method first and only ramp things up if you need to.
For most everyday spots—like the light haze from a sprinkler hitting your patio door—a simple vinegar solution works wonders. It's my go-to first step and is surprisingly effective.
The Go-To Vinegar and Water Solution
So, what makes vinegar work? Its mild acetic acid is a natural enemy of the alkaline mineral deposits that form water spots. It literally dissolves them on a chemical level, letting you wipe them away without having to scrub like crazy.
Here’s the right way to do it:
- Mix Your Solution: Grab a clean spray bottle and mix equal parts distilled white vinegar and distilled water. I can't stress this enough: use distilled water. If you use tap water, you're just putting a new layer of minerals right back on the glass, which defeats the whole purpose.
- Spray and Saturate: Spray the solution generously onto the spots. You really want to drench the area so the vinegar can get to work on every bit of the stain.
- Let It Dwell: This is a crucial step. Let the solution sit on the glass for at least five minutes. This "dwell time" is when the magic happens, as the vinegar breaks down the buildup. For really stubborn spots, like on a shower door that hasn't been deep-cleaned in a while, you can even let it sit for ten minutes.
- Wipe and Dry: Use a fresh microfiber cloth to wipe everything away. To finish, either buff the window with a second, completely dry microfiber cloth or use a good squeegee. That's the secret to a perfect, streak-free shine.
This flowchart gives you a simple visual of how to approach the two main DIY methods we're covering.
As you can see, vinegar is the best starting point for a sprayable solution, while baking soda is your go-to when you need a paste for tougher, more concentrated spots.
Creating a Baking Soda Paste for Tougher Jobs
What happens when the vinegar spray just isn't enough? Some mineral stains, especially those that have been sitting on your outdoor windows and baking in the sun for months, are going to be a lot more stubborn. This is when a gentle abrasive can save the day.
A simple paste made from baking soda and water gives you just enough grit to lift those tough spots without scratching your glass. It’s the perfect next move before you even think about trying harsher chemicals.
Pro Tip: I like to think of the baking soda paste as a gentle exfoliant for your windows. The fine particles work to physically lift the mineral deposits that the vinegar couldn't fully dissolve on its own.
Making the paste is easy: just mix baking soda with a little bit of distilled water until it has a consistency like toothpaste. Dab the paste onto the spots using a soft cloth and rub gently in a circular motion. We cover more advanced techniques for different types of mineral buildup in our guide on how to remove hard water stains from windows.
And while we're focused on standard windows here, these same principles apply to other glass surfaces. For those hard-to-reach overhead windows, you can find helpful safety and cleaning tips in a complete home maintenance guide on how to clean skylights.
After you've scrubbed the spots, rinse the glass thoroughly with distilled water to get all the residue off. Then, dry it completely with a clean microfiber cloth. This one-two punch—starting with a chemical dissolver and following up with a mild abrasive—will take care of almost any water spot issue you'll face.
Dealing with Tough Stains and Tricky Glass
Let's be honest, sometimes the vinegar and baking soda paste just doesn't make a dent. You might be staring at mineral deposits that have been baking in the sun for years, slowly etching their way right into the glass. When you're up against that level of stubbornness, it's time to bring in something with a little more muscle—but you have to be careful.
For those deeply embedded stains, the secret weapon in a pro's toolkit is often #0000 steel wool. You'll hear it called "four-zero" steel wool, and it's the finest grade you can get. The key is to use it with a lubricant; it will gently buff away the mineral buildup without leaving scratches. I can't stress this enough: only use this specific grade. Anything coarser will absolutely leave permanent, visible damage.
Before you go to town on the whole window, always test a small, out-of-the-way spot first. A lower corner is perfect. Wet the area with your vinegar solution or just plain water to act as a lubricant, then gently rub the steel wool over the test spot. Use a light, circular motion. Wipe it clean and look at it from a few different angles in the light. If you don't see any scratches, you're good to go.
Cleaning Specialized Window Types
Not all glass is the same, and using the wrong cleaner on the wrong type can be an expensive mistake. If you have tinted windows or glass with special coatings, you need a much gentler approach.
Here’s what you need to keep in mind:
- Tinted Windows: Stay far away from any ammonia-based cleaners. Ammonia is the enemy of window tint; it attacks the adhesive and can cause the film to bubble, peel, or get discolored. For these, a simple soap-and-water mix or a mild vinegar spray is your best bet.
- Low-E or Coated Glass: A lot of modern windows have a low-emissivity (Low-E) coating to make them more energy-efficient. This microscopic metallic layer is surprisingly durable, but it can be ruined by harsh abrasives. Don't even think about using polishing compounds or coarse scrubbers. If you have water spots, you should only try the #0000 steel wool method after checking with your window manufacturer to make sure it's safe.
This kind of caution is especially important during peak cleaning seasons. It's no surprise that online searches for "glass water spot remover" go through the roof in the summer, hitting their peak in August when everyone's tackling outdoor projects. This trend just shows how common this problem is when the weather heats up. You can explore more insights on these seasonal cleaning patterns and see just how demand shifts over the year.
Crucial Takeaway: When in doubt about your window type, always start with the gentlest method possible. It’s much better to have to clean a spot twice than to cause irreversible damage on your first try.
When to Consider a Commercial Cleaner
If your homemade solutions aren't cutting it and you still can't remove water spots from windows, it might be time to look into a commercial-grade product. There are cleaners out there specifically formulated with mild acids and fine abrasives designed to dissolve mineral deposits.
I'd suggest looking for a non-abrasive cream cleanser that has a light polishing agent, like fine pumice. These products pack a little more punch than baking soda but are still gentle enough for most types of glass. And just like with the steel wool, always, always test the product on a small, hidden spot first to make sure it doesn't haze or scratch the surface.
How to Prevent Water Spots from Coming Back
It’s a great feeling to finally get those stubborn water spots off your windows. But the real win? Making sure they don’t come back. The secret is shifting from a reactive cleaning cycle to a proactive prevention mindset. This will save you a ton of scrubbing down the road and keep your glass looking crystal clear.
The game plan is simple: don't give mineral-heavy water a chance to sit on your glass and evaporate. If you can deal with the water before it dries, you’ll stop those chalky deposits from ever forming.
Adopt Simple, Preventative Habits
You don't need a complicated plan to win the war on water spots. Often, a few small tweaks to your daily or weekly routine can make all the difference. Think of these as easy habits that head off the problem before it even begins.
- Squeegee Shower Doors: This is a classic for a reason. Keep a squeegee hanging in your shower and give the glass a quick wipe after you're done. It takes less than 10 seconds and physically pulls the water droplets away before they can dry and leave minerals behind.
- Adjust Your Sprinklers: This is one of the most common culprits for outdoor windows, and it's an easy fix. Walk your property while the sprinklers are running and check their spray pattern. A simple adjustment to the sprinkler heads can keep them from drenching your windows and siding.
- Wipe Windows After Rain: If you know your area has hard water, getting ahead of post-rain spotting is key. Once the storm passes, a quick pass with a dry microfiber cloth can stop spots from forming as the sun comes out.
The most effective strategy is to manage the water itself. By controlling where it goes and removing it quickly, you get to the root cause of the mineral buildup.
Long-Term Solutions for Lasting Clarity
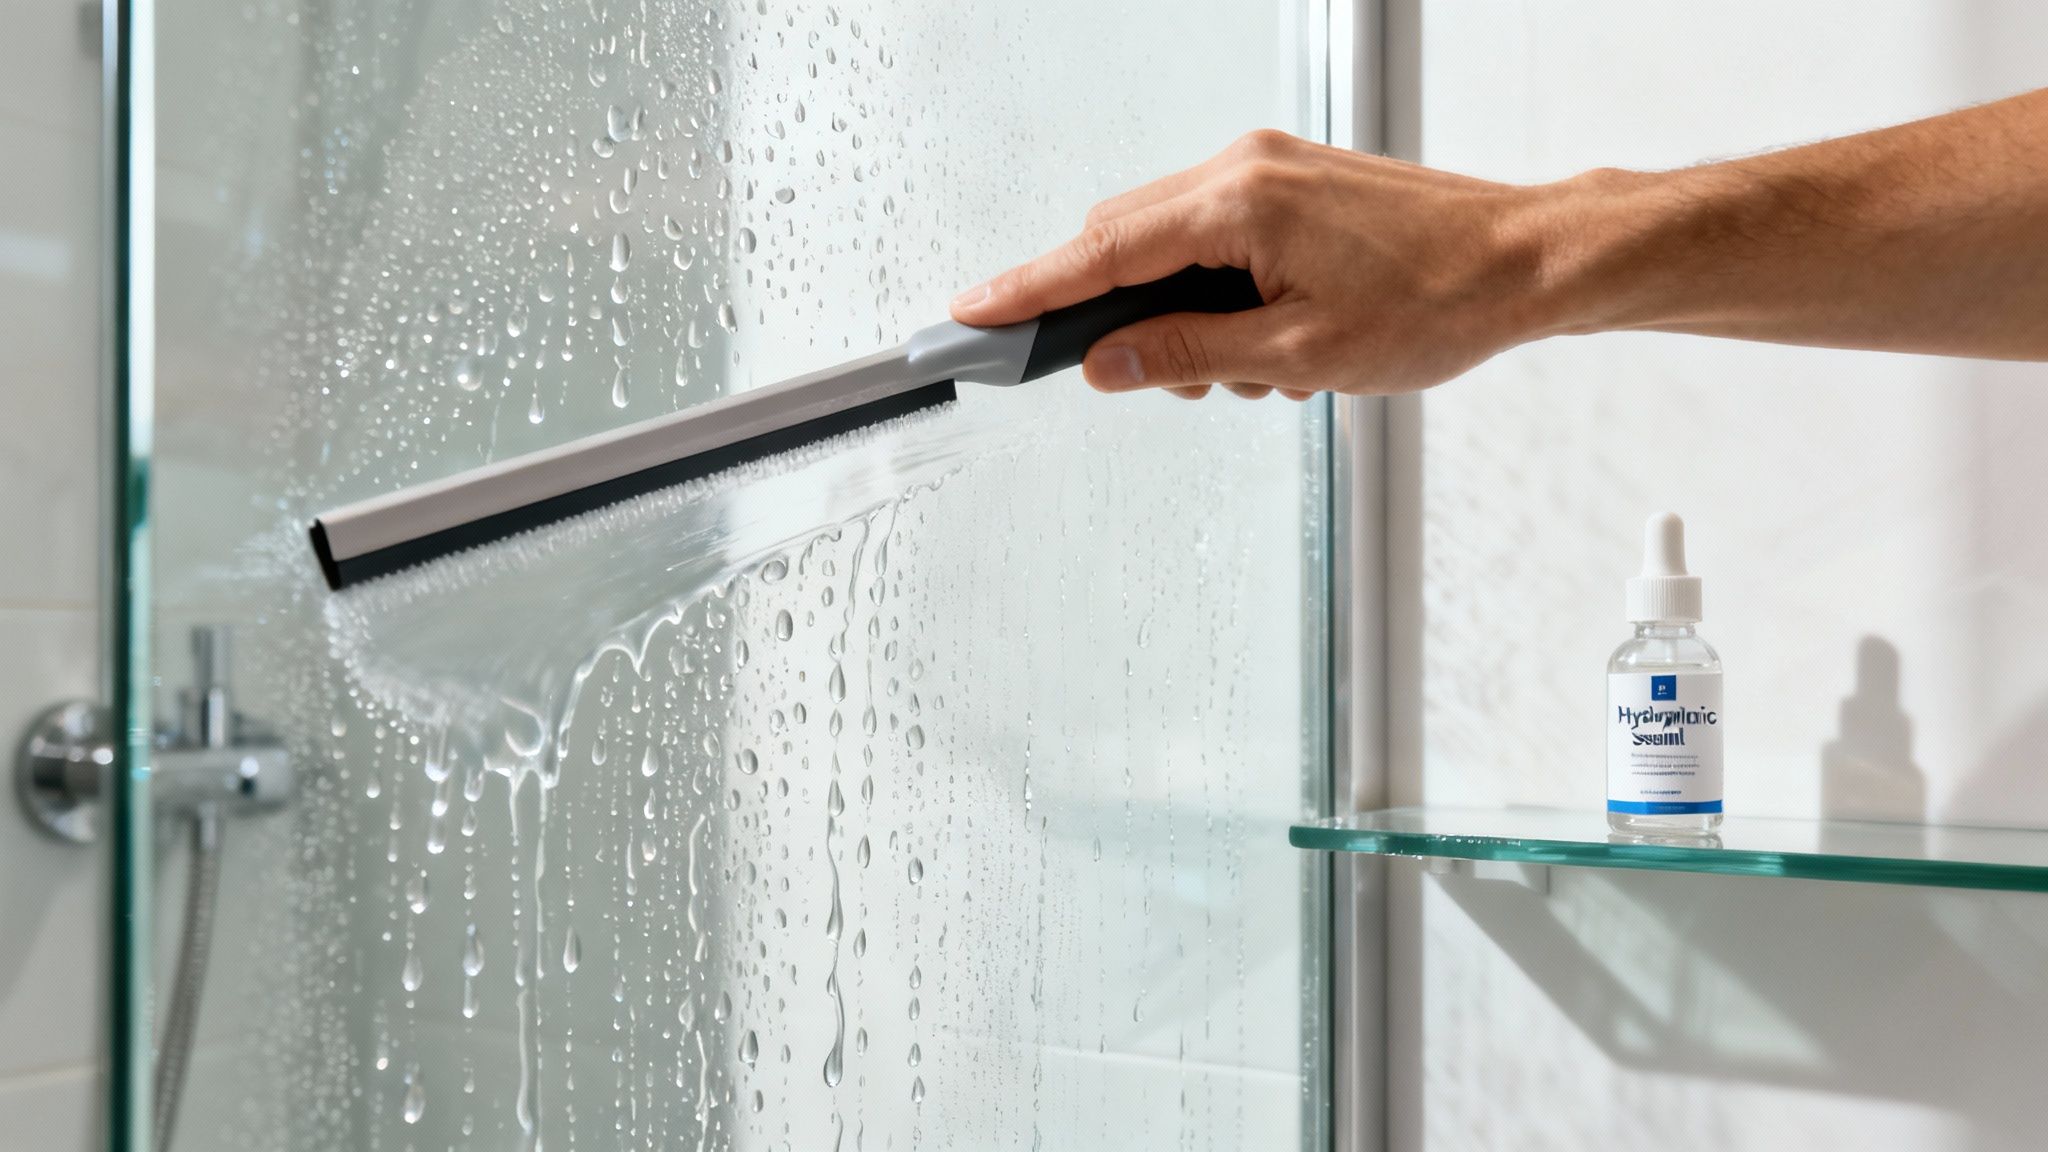
For a more set-it-and-forget-it approach, you can treat the glass itself. Applying a protective coating makes your windows work for you by actively repelling water.
Think about applying a hydrophobic glass sealant or a ceramic coating. These products create an invisible, super-slick barrier on the glass surface. Instead of clinging and spreading out, water beads up into tight droplets and simply rolls away, taking all those dissolved minerals with it. It's the same technology that makes rain fly off a car windshield.
Another pro-level strategy, particularly for cleaning, is to use purified water. Professional window cleaners often use deionized water systems because the water contains zero minerals—if there are no minerals, there's nothing to leave behind. You can learn more from this guide to pure water window cleaning to see how the experts get a guaranteed spotless finish every time.
By mixing these simple daily habits with a more robust long-term solution, you’ll find yourself having to remove water spots from windows far less often, giving you more time to just enjoy the view.
Your Top Water Spot Questions, Answered
Even with the best instructions, you're bound to run into a few head-scratchers when you're in the middle of a project. Getting those questions answered quickly can be the difference between a job well done and a day of frustration.
I’ve been cleaning windows for years, and these are the questions I hear all the time. Let's clear up some of the common "what ifs" you might be facing.
Is It Safe to Use Vinegar on My Car Windows?
Yes, a vinegar solution is a fantastic, safe starting point for your car's glass. Go ahead and use that same 50/50 mix of distilled white vinegar and distilled water. It works wonders on those stubborn mineral deposits left behind by sprinklers and rain.
But here’s a critical piece of advice: if your car has an aftermarket window tint, never use ammonia-based cleaners. Ammonia is the enemy of tint film; it can cause it to bubble, discolor, or peel right off. Stick with the gentle, effective vinegar and water solution.
What Can I Do About Really Old, Baked-On Spots?
Those spots that have been sitting on the glass for months—or even years—are a whole different animal. They’ve had time to really bond with the surface, so a single pass with a cleaning solution probably won't cut it.
Don't get discouraged. You'll need a bit more elbow grease and patience. Try applying your vinegar or baking soda paste a second or even a third time, letting it sit for a few minutes each round to do its work.
If you've tried a few times and the spots are still there, the minerals may have started to etch into the glass itself. At this point, I’d carefully try using a pad of #0000 steel wool (that’s the finest grade) with a lubricant or a high-quality commercial water spot remover to see if that breaks them down.
When Is It Time to Call a Professional?
Knowing when to throw in the towel is just as important as knowing how to do the job. Sometimes, the best DIY solution is picking up the phone.
You should consider calling a pro if:
- You’ve tried all the DIY methods, and the stains just won't budge.
- You suspect the glass is etched, especially if it’s over a large area.
- The windows are expensive, have special coatings, or are in hard-to-reach places.
Professionals have access to polishing compounds and specialized equipment that can restore glass without causing scratches or further damage. It’s a huge market for a reason—the global glass cleaner industry was valued at an astounding USD 3.29 billion in 2024. That number really highlights how common this problem is for everyone. You can read the full research on the glass cleaner market if you're curious about the industry trends.
When you’re not confident in a repair, hiring an expert is a small investment to avoid a much more costly mistake.
If you're dealing with impossible water spots and want a perfect finish without the risk, the team at Sparkle Tech Window Washing is ready to help. Contact us today for a free estimate and let us bring the sparkle back to your windows.