

A ripped screen isn't just an eyesore; it's an open invitation for every bug in the neighborhood to come on in. Learning how to repair a window screen is one of those incredibly useful DIY skills that saves you money and keeps your home comfortable and pest-free.
I'll walk you through everything you need to know, from quick patches for small holes to a full-on mesh replacement for more significant damage.
Your Guide to Flawless Window Screen Repair
Fixing a window screen yourself is a surprisingly satisfying job. Why spend money on a whole new screen and frame when a simple repair will do the trick? Most of the time, all you need are a few basic tools and a little patience. Let's break down the two main ways you can tackle this.
To Patch or to Replace?
First thing's first: you need to assess the damage. This will tell you whether you're looking at a quick fix or a more involved project.
- Quick Patching: Got a small hole or a tear no bigger than a quarter? A patch is your best bet. It’s a fast, straightforward fix that gets the job done in minutes and restores your screen's integrity.
- Full Mesh Replacement: If you're dealing with a massive tear, several holes scattered across the screen, or mesh that’s just old and brittle, it's time to replace the whole thing. A full rescreening gives you a much cleaner, more durable result that will last for years.
This is a home maintenance skill that’s more valuable than ever. With a door and window repair market valued at $26.69 billion in 2024, it's clear people are focusing more on home upkeep. Aging homes and a desire for better maintenance are driving this trend, which you can read about in the latest door and window repair service market trends.
By learning to fix what you already have, you're not just improving your home. You're also adopting a more sustainable mindset by cutting down on waste.
Of course, good maintenance goes a long way in preventing damage in the first place. For some expert tips on making your screens and windows last, check out our guide on maintaining screens and windows.
Gathering the Right Tools and Materials
Jumping into a screen repair without the right gear is a recipe for frustration. You'll end up with a wonky, loose screen that just doesn't look right. Taking a few minutes to get organized first is the key to a professional-looking fix that will actually last.
For any screen job, from a tiny patch to a full replacement, you'll need a few essentials. Make sure you have a flathead screwdriver, a sharp utility knife, and a trusty tape measure within arm's reach. The screwdriver is perfect for prying out the old, stubborn spline, and a fresh blade on your knife makes all the difference when you need a clean cut.
Tools for Replacing the Whole Screen
If the damage is too much for a patch and you're replacing the entire screen, a couple of specialty tools will make your life a whole lot easier. They're cheap, easy to find, and worth every penny.
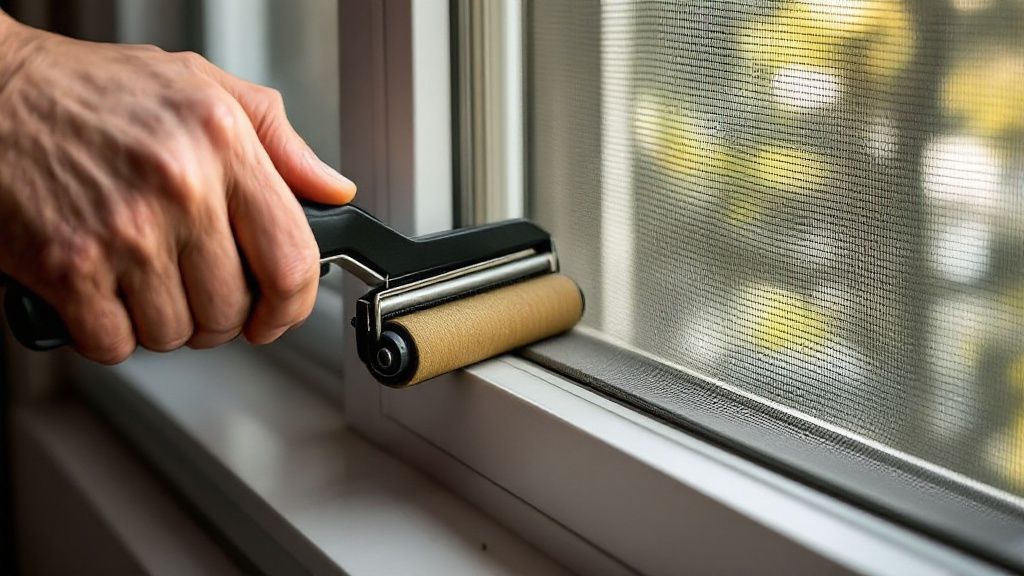
- Spline Roller: This little gadget is the star of the show. One side has a rounded wheel to press the mesh into the frame's channel, and the other has a grooved wheel to pop the spline in perfectly.
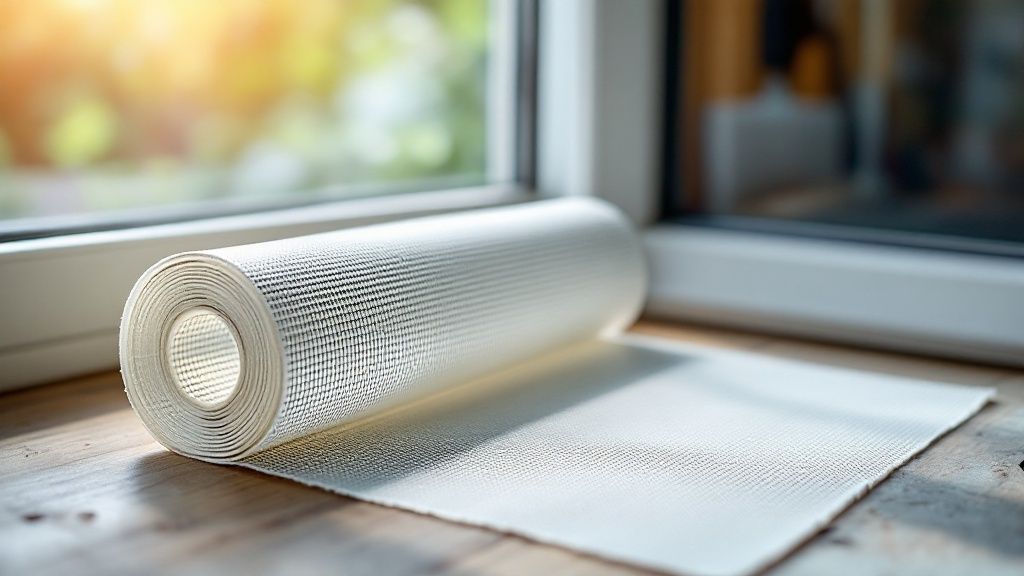
- New Screen Mesh: You've got choices here, which we'll dive into next.
- New Spline: This is the rubber cord that locks the mesh in place. Getting the right diameter is absolutely critical.
Pro Tip: Before you head to the hardware store, snip off a small piece of the old spline from your screen. Taking this sample with you is the only surefire way to get an exact match for a tight, secure fit.
Choosing the Right Window Screen Material
Not all screen mesh is created equal. The material you pick will affect everything from how clear your view is to how well it holds up against weather or even your cat's claws. To make the right call, it helps to see how the common options stack up.
Choosing the Right Window Screen Material
| Material Type | Key Features | Best For | Average Cost |
|---|---|---|---|
| Fiberglass | Flexible, affordable, doesn't crease easily. | Standard windows and doors; great for DIYers. | $0.25 – $0.50 per sq. ft. |
| Aluminum | Durable, won't sag, good visibility. | High-traffic areas, sunny climates. | $0.40 – $0.70 per sq. ft. |
| Pet-Resistant | 7x stronger than standard mesh, resists tears. | Homes with cats, dogs, or small children. | $0.75 – $1.25 per sq. ft. |
| Solar/Sun-Control | Blocks 65-90% of solar heat and glare. | Rooms that get intense afternoon sun. | $1.00 – $1.75 per sq. ft. |
Ultimately, fiberglass is the go-to for most people because it's so forgiving to work with. But if you have a four-legged friend who loves to climb, investing in pet-resistant mesh from the start will save you from doing this job all over again next year.
It's no surprise that people are paying more attention to home maintenance. The window repair market was valued at around $9 billion back in 2022 and continues to grow. It just goes to show that homeowners are seeing the value in keeping their homes efficient and in good shape. You can learn more about this trend in this detailed industry report.
Removing and Preparing the Screen Frame
Before you can fix anything, you've got to get the screen out of the window. A good repair starts with a clean slate, and this initial step, while simple, really sets the stage for a professional-looking finish.
Most modern screens are pretty easy to handle. They're typically held in place by tension springs on one side. Just find the side with the little pull tabs, push the frame firmly toward the opposite side (where the springs are), and then use those tabs to pop it right out of the window track.
Handling Different Frame Types
Of course, not every screen kooperates that easily, especially if it's an older model. I've run into a few tricky ones over the years.
Here’s a quick rundown of what you might encounter:
- Tension Springs: These are the little metal clips that do all the work. When you push against them, they compress and give you the slack you need to lift the other side out.
- Pull Tabs: These are your friends. Made of plastic or metal, they give you something to grab onto. Just be gentle—they can get brittle and snap off, especially on older screens.
- No Tabs or Springs: If you're working with an older screen, it might just be held in by friction. In that case, a flathead screwdriver or a putty knife is your best bet to carefully pry one edge loose without bending the frame.
Once the screen is out, find a flat, clean spot to work on it, like a workbench or a clean patch of the driveway. Now it's time to deal with all the grime that's built up over the years.
A pristine frame channel is the secret to a tight, long-lasting screen. Any lingering dirt or old spline fragments can prevent the new spline from seating correctly, leading to a loose, saggy finish.
Grab a stiff brush and give that channel—the groove where the spline sits—a good scrubbing. Then, wipe down the whole frame with a damp cloth and a little mild soap. If you’re replacing the entire mesh, you'll first need to dig out the old spline. Just use a small flathead screwdriver to pry up one end and pull the whole thing out before you start cleaning.
How to Patch Small Holes and Tears
When you're dealing with minor damage—a tiny hole from a pet's claw or a small snag from a branch—you don't need to go through the hassle of replacing the entire screen. A quick patch job is usually all it takes, and knowing how to repair a window screen with a simple patch can get your screen back in working order in minutes.
I've found there are a couple of solid ways to handle these quick fixes. Your choice really comes down to what you have on hand and how seamless you want the repair to look. Both methods work great for tears smaller than the size of a quarter.
Using Adhesive Screen Patches
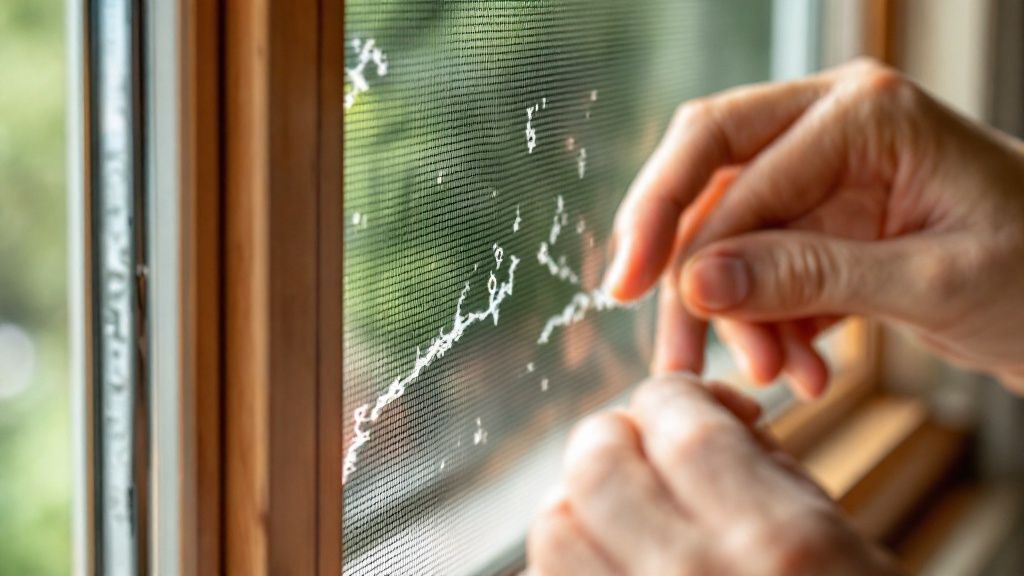
The easiest, fastest solution is to grab a pack of adhesive screen patches. You can find these at any hardware store. They're basically little squares of screen with a sticky back—think of them as a heavy-duty Band-Aid for your window screen.
All you have to do is wipe the area around the hole with a cloth to get rid of any dirt or pollen. Then, just peel the backing off the patch, stick it over the tear, and press it down firmly from both sides. It’s a no-fuss fix that literally takes seconds.
Creating a Nearly Invisible Repair
If you want a repair that blends in a little better, you can make your own patch with a scrap piece of matching screen material and some clear, waterproof sealant or super glue. This method takes a bit more effort, but the result is much less noticeable.
- First, cut a patch from your scrap mesh. Make sure it's about an inch larger than the hole on all sides.
- Next, carefully unravel a few strands from each edge of the patch. This creates a fuzzy border that will help it weave into the existing screen.
- Apply a thin line of clear sealant or glue right around the edges of the hole itself.
- Finally, press the patch firmly over the glued area. As you press, try to work the frayed ends into the original screen mesh.
This technique gives you a much stronger bond and a cleaner look. It might take a few extra minutes, but the repair is far more durable and practically invisible from a distance.
Time for a Full Replacement? Here's How to Rescreen Like a Pro
Sometimes, a patch just won't do the job. If your screen has a massive tear, is brittle from sun damage, or you simply want that clean, brand-new look, a full rescreen is the way to go. It might sound like a big project, but it’s one of the more satisfying DIY jobs out there. With a little patience, you'll have a professional-looking screen that will hold up for years.
The whole secret to rescreening is getting the tension just right. It's a bit of an art. You want the mesh to be perfectly taut—no sagging or wrinkles—but not so tight that you end up bending or warping the aluminum frame. It’s a delicate balance.
This visual gives you a quick rundown of the main steps.

As you can see, cutting the mesh a bit larger than the frame is your first move. This gives you a little wiggle room and makes the whole process much less stressful.
Setting Up and Securing the New Mesh
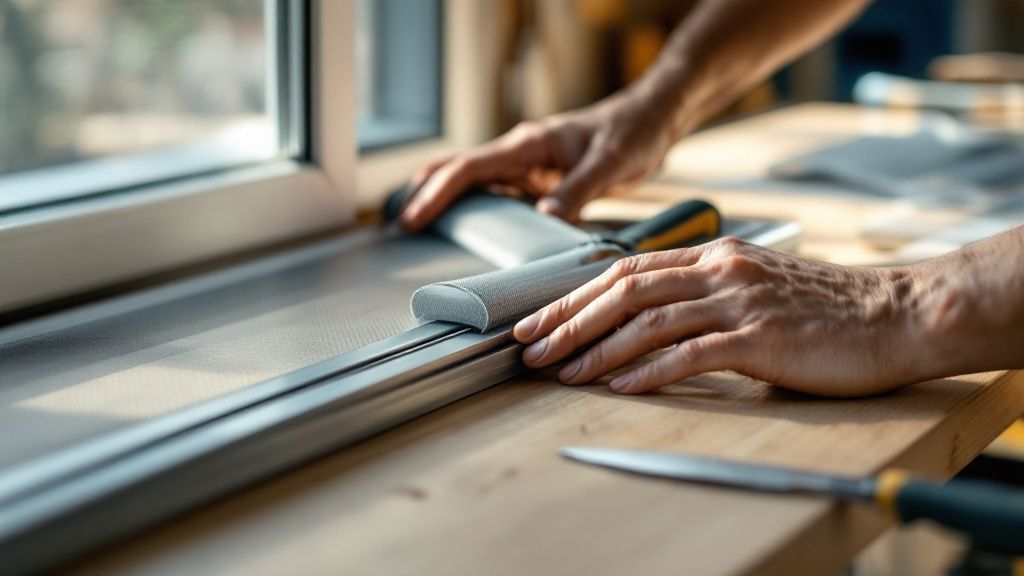
First things first, lay your new roll of screen mesh completely over the frame. Make sure you have at least an inch of overhang on all four sides. This extra material is your "handle" and keeps you from coming up short.
Grab your spline roller. Using the rounded (convex) wheel, gently press the mesh into the groove on one of the shorter sides of the frame. You're not putting the spline in yet; this just helps hold the mesh in place while you get started.
Now for the main event: installing the spline. Start at a corner on the side you just pre-rolled. Switch to the grooved (concave) wheel on your spline roller and begin pressing the spline down into the channel, directly over the mesh.
My Go-To Tip: As you roll the spline in, use your free hand to apply very light, even pressure on the mesh just ahead of the tool. This consistent, gentle tension is the real trick to getting that perfectly flat, drum-tight finish without any wrinkles.
Nailing the Wrinkle-Free Finish
With one side done, move directly to the opposite side. Pull the mesh taut—again, just enough to remove the slack, not so much that the frame starts to bow—and roll the spline into its channel. Repeat this for the last two sides. The corners can be a pain; I usually use a flathead screwdriver to carefully tuck the spline in for a snug fit.
Once the spline is fully seated all the way around, it's time to trim. With a sharp utility knife, carefully cut away the excess mesh. The best way to get a clean, professional-looking edge is to angle your blade away from the center of the screen and run it right along the outer edge of the spline.
It's no surprise that skills like this are in demand. The market for home maintenance is huge, with global glass and screen repair services projected to grow into a $15 billion industry by 2025. This boom is fueled by homeowners dealing with everything from storm damage to everyday accidents.
If you're a visual learner and want to see these steps in action, our guide on DIY window screen repair has more videos and tips to help you get it right the first time.
Answering Your Screen Repair Questions
Even with the best guide in hand, you're bound to hit a snag or two. Fixing a window screen often means being ready for those little "what do I do now?" moments. I've been there, so I've pulled together the most common questions I hear to help you get through it.
What’s the Best Screen Material for a First-Timer?
If you're just starting out, grab a roll of standard fiberglass screen mesh. Trust me on this one—it’s the most forgiving material you can work with. Unlike aluminum, which will crease or dent if you look at it wrong, fiberglass is flexible and much easier to handle.
That pliability is a lifesaver when you're trying to get the screen taut and roll the spline into its channel. You can pull and adjust it without worrying about creating a permanent mistake. Plus, it's cheap, so if you do mess up, it's not a big deal.
How Do I Know Which Spline Size to Buy?
Getting the spline size right is critical. If it’s not perfect, your screen will sag. The absolute best way to get it right is to snip a small piece of the old spline and take it with you to the hardware store. It’s a foolproof way to get an exact match.
No old spline to work with? You’ll have to carefully measure the width of the channel in the screen frame. Spline is measured by its diameter, and one that's too small just won't hold the screen tight.
A Little Trick I've Learned: If you find yourself stuck between two very similar sizes, go with the slightly larger one. The spline is designed to compress, and a tighter fit will lock the mesh in place beautifully.
Is a Bent Aluminum Screen Frame Salvageable?
Sometimes, yes. For minor bends, you can often coax the frame back into shape. Lay it on a completely flat, hard surface—a garage floor is perfect for this. Take a scrap block of wood and use it to apply slow, even pressure to the bent area. The key here is patience; go too fast, and you risk cracking the corner joints.
But you have to know when to call it. If the frame is severely twisted, warped, or has broken corners, a repair just won't hold up. Your best bet is to head to the hardware store for a new screen frame kit and build a replacement. It’s surprisingly straightforward and guarantees a solid, long-lasting result.
If you've run into a problem that feels a bit over your head, or you'd just rather have a pro handle it, Sparkle Tech Window Washing is ready to help. We provide expert window screen repair services to get your home back in top shape. Contact us today for a free estimate!