


If you want to know how to clean outside windows like a pro, it all starts with the right gear. Your results are only ever going to be as good as the tools in your hand.
The good news? A professional-grade kit is surprisingly simple and affordable to put together. This isn't about fancy gadgets; it’s about using the same reliable equipment the pros use for a flawless finish, every single time.
Your Essential Window Cleaning Toolkit
First, let's agree to put away the paper towels and that half-used bottle of blue spray from under the sink. To get a truly streak-free shine, you need tools designed for the job. Investing in a few quality items will save you a world of frustration and easily cut your cleaning time in half.
Think of it this way: you wouldn't paint a living room with a tiny craft brush, right? You'd use a roller. The right equipment makes all the difference, letting you work smarter, not harder.
Core Cleaning Gear
The heart of any pro window cleaning setup is built around just a few key pieces. These are the non-negotiables that do the heavy lifting.
-
A High-Quality Squeegee: This is your most important investment. Find one with a sharp, replaceable rubber blade and a handle that feels good in your hand. A 12 to 14-inch squeegee is a great, versatile size for most home windows. Brass or stainless steel models have a bit more heft and last much longer than cheap plastic ones.
-
A Window Mop (or T-bar Scrubber): This looks like a squeegee frame but is covered with a thick, absorbent sleeve. You'll use this to soap up the window and scrub away all the dirt and grime. It holds a ton of soapy water, letting you cover the entire pane quickly and evenly.
-
Microfiber Towels: You can never have too many of these. Keep one tucked in your belt to wipe your squeegee blade after each pull. Have a few more clean, dry ones ready for detailing the window edges and wiping up any drips on the sill. They’re super absorbent and, most importantly, lint-free.
The Support System
Beyond those main three tools, a few other simple items will make your workflow much smoother. This is what turns a clunky chore into an efficient, almost satisfying process.
My Two Cents: Your workflow is everything. Keeping your tools within arm's reach stops you from constantly bending over or hunting for what you need next. A simple tool belt or even just keeping your bucket right beside you makes a huge difference in your speed and energy.
A sturdy 5-gallon bucket is perfect for mixing your cleaning solution—it's big enough to dip your entire window mop into without making a mess.
And what about the solution itself? Honestly, a few gallons of water mixed with a small squirt of high-quality dish soap (like Dawn) is incredibly effective. It provides just the right amount of "slip" for your squeegee.
For a deeper dive into all the gear we swear by, check out our complete guide to the best window cleaning tools. Getting this basic kit together is the single most important step toward achieving that professional sparkle.
DIY vs. Commercial Window Cleaning Solution Comparison
Thinking about what to put in your bucket? You can either mix a simple solution at home or buy a professional concentrate. Neither is wrong, but they have their trade-offs.
Here's a practical breakdown of making your own window cleaning solution versus buying a pre-made commercial product.
| Solution Type | Key Ingredients | Pros | Cons |
|---|---|---|---|
| DIY Solution | Water, dish soap (e.g., Dawn), sometimes vinegar. | Extremely cheap, ingredients are readily available. | Can leave a film if mixed improperly, not as effective on tough grime or hard water stains. |
| Commercial Concentrate | Glycol, specialized surfactants, and wetting agents. | Highly effective, provides excellent "slip" for the squeegee, formulated to prevent streaks. | More expensive upfront, requires purchasing from a specialty supplier. |
Ultimately, for most homes in Phoenix dealing with standard dust and dirt, a simple DIY dish soap solution works great. But if you’re tackling stubborn hard water spots or haven't cleaned your windows in years, a commercial concentrate might give you the extra cleaning power you need.
Mastering the Pro Squeegee Method
If you want to know the secret that separates a DIY window cleaning job from a professional one, it's this: the squeegee. It’s the single biggest difference-maker between a window that looks just okay and one that’s perfectly, invisibly clear. While it looks simple, there’s a real technique to it. Get it wrong, and you’re left with a streaky mess. But once you get the hang of it, you’ll never go back to paper towels and spray bottles again.
The right tools, used in the right order, are everything.
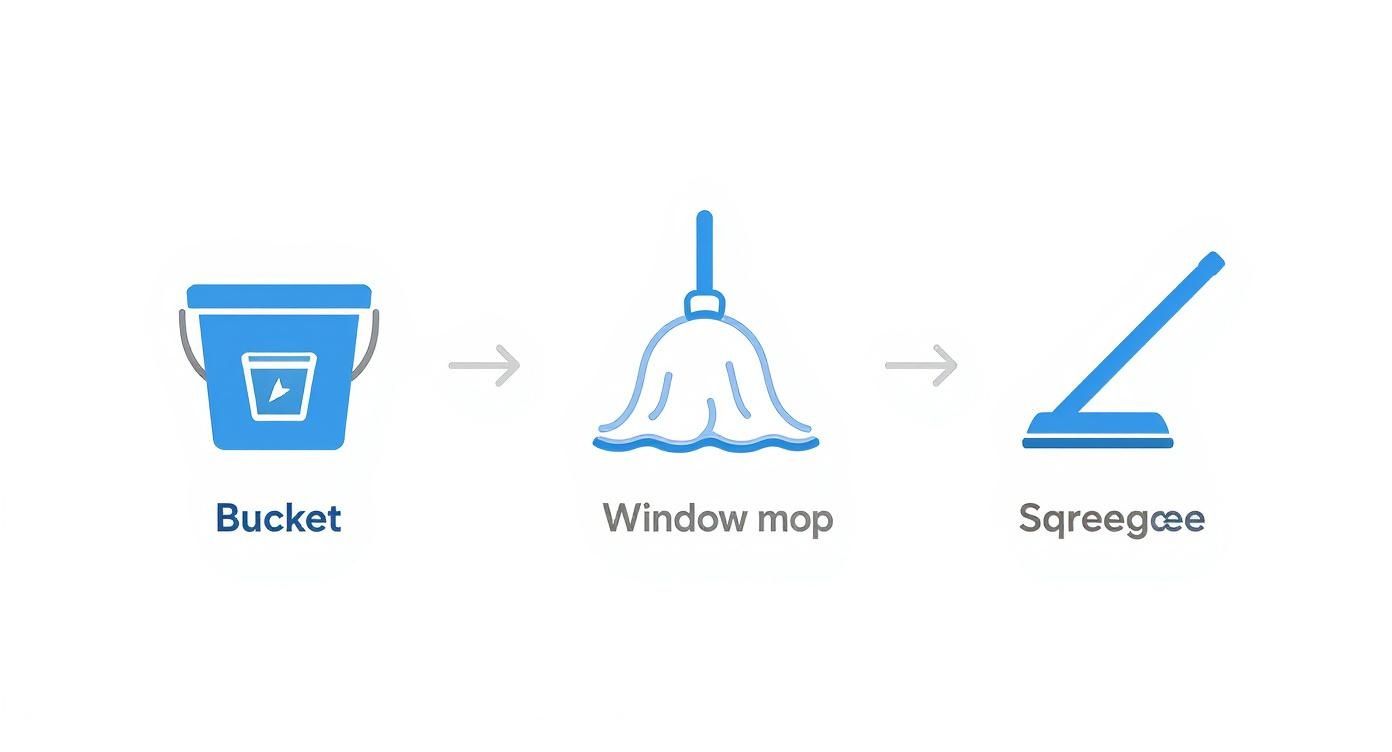
Think of it as a three-part system: a bucket for your cleaning solution, a scrubber (or mop) to apply it and loosen the dirt, and finally, the squeegee to whisk it all away. Each tool has its job, and the sequence matters.
Setting Up for a Flawless Finish
Before your squeegee even touches the glass, a couple of quick prep steps are non-negotiable. After you've soaped up the window with your scrubber, take a clean, dry microfiber cloth and wipe a thin, one-inch strip down one side and across the top of the glass.
This little trick creates what we call a "dry edge." It gives your squeegee a clean place to start and stops dirty water from oozing out from behind the window frames and causing drips. It's a small detail that makes a massive difference.
The real secret to a streak-free window isn't speed—it's control. A perfect angle and consistent, light pressure will always beat a fast, sloppy pull.
And one more thing: always keep a separate, dry microfiber towel handy, maybe tucked into a belt loop or back pocket. The golden rule is to wipe your squeegee blade after every single pull. This is crucial. It removes any grit you just collected, so you don't drag it across the next section and create new streaks.
The Right Squeegee Angle and Pressure
The way a squeegee works is all about simple physics. For it to perform correctly, you need to hold it at roughly a 30-degree angle to the glass.
- Too steep (over 45 degrees): The blade will skip and chatter, leaving behind ugly lines of water.
- Too flat (under 20 degrees): You'll just end up smearing dirty water around instead of cleanly removing it.
As for pressure, think light but firm. Most importantly, keep it consistent from the top of the pull to the bottom. Let the tool do the work. You don't need to muscle it; in fact, pressing too hard can bend the rubber blade and is a surefire way to cause streaks.
Executing the Perfect Pull
For most standard windows you’ll encounter at home, the straight pull is your go-to technique.
Start by placing the squeegee in the dry zone you created at the top of the pane. Press the blade firmly but gently against the glass and pull straight down in one smooth, continuous motion. Stop just shy of the bottom windowsill to avoid bumping it.
Now for the key part: for your next pull, overlap the previous stroke by about one inch. This overlap is what prevents those annoying little lines of water from forming between your passes. Repeat this all the way across the window, wiping your blade clean after each and every stroke. When you're done, use a detailing cloth to wipe any leftover water from the bottom edge and the sill.
For massive picture windows, you might see pros using what’s called the "S-Method" or "fanning," where they snake the squeegee across the glass in a fluid 'S' pattern without lifting it. It's fast and efficient, but it takes a lot of practice to get right without leaving marks. For home use, a series of disciplined, overlapping straight pulls will give you fantastic, streak-free results every time.
Tackling Hard Water Stains and Grime
Every so often, a simple soap-and-water wash just won’t do the trick. Here in Phoenix, we're not just fighting dust; we’re fighting baked-on grime and those stubborn, chalky spots left by our hard water. Over time, these mineral deposits can actually etch into the glass, making them feel permanent.
The secret to beating these tough messes isn't just about technique—it's about using the right tool for the right problem. While your squeegee work gives you that final shine, it’s the specialized solutions and prep work that do the heavy lifting.
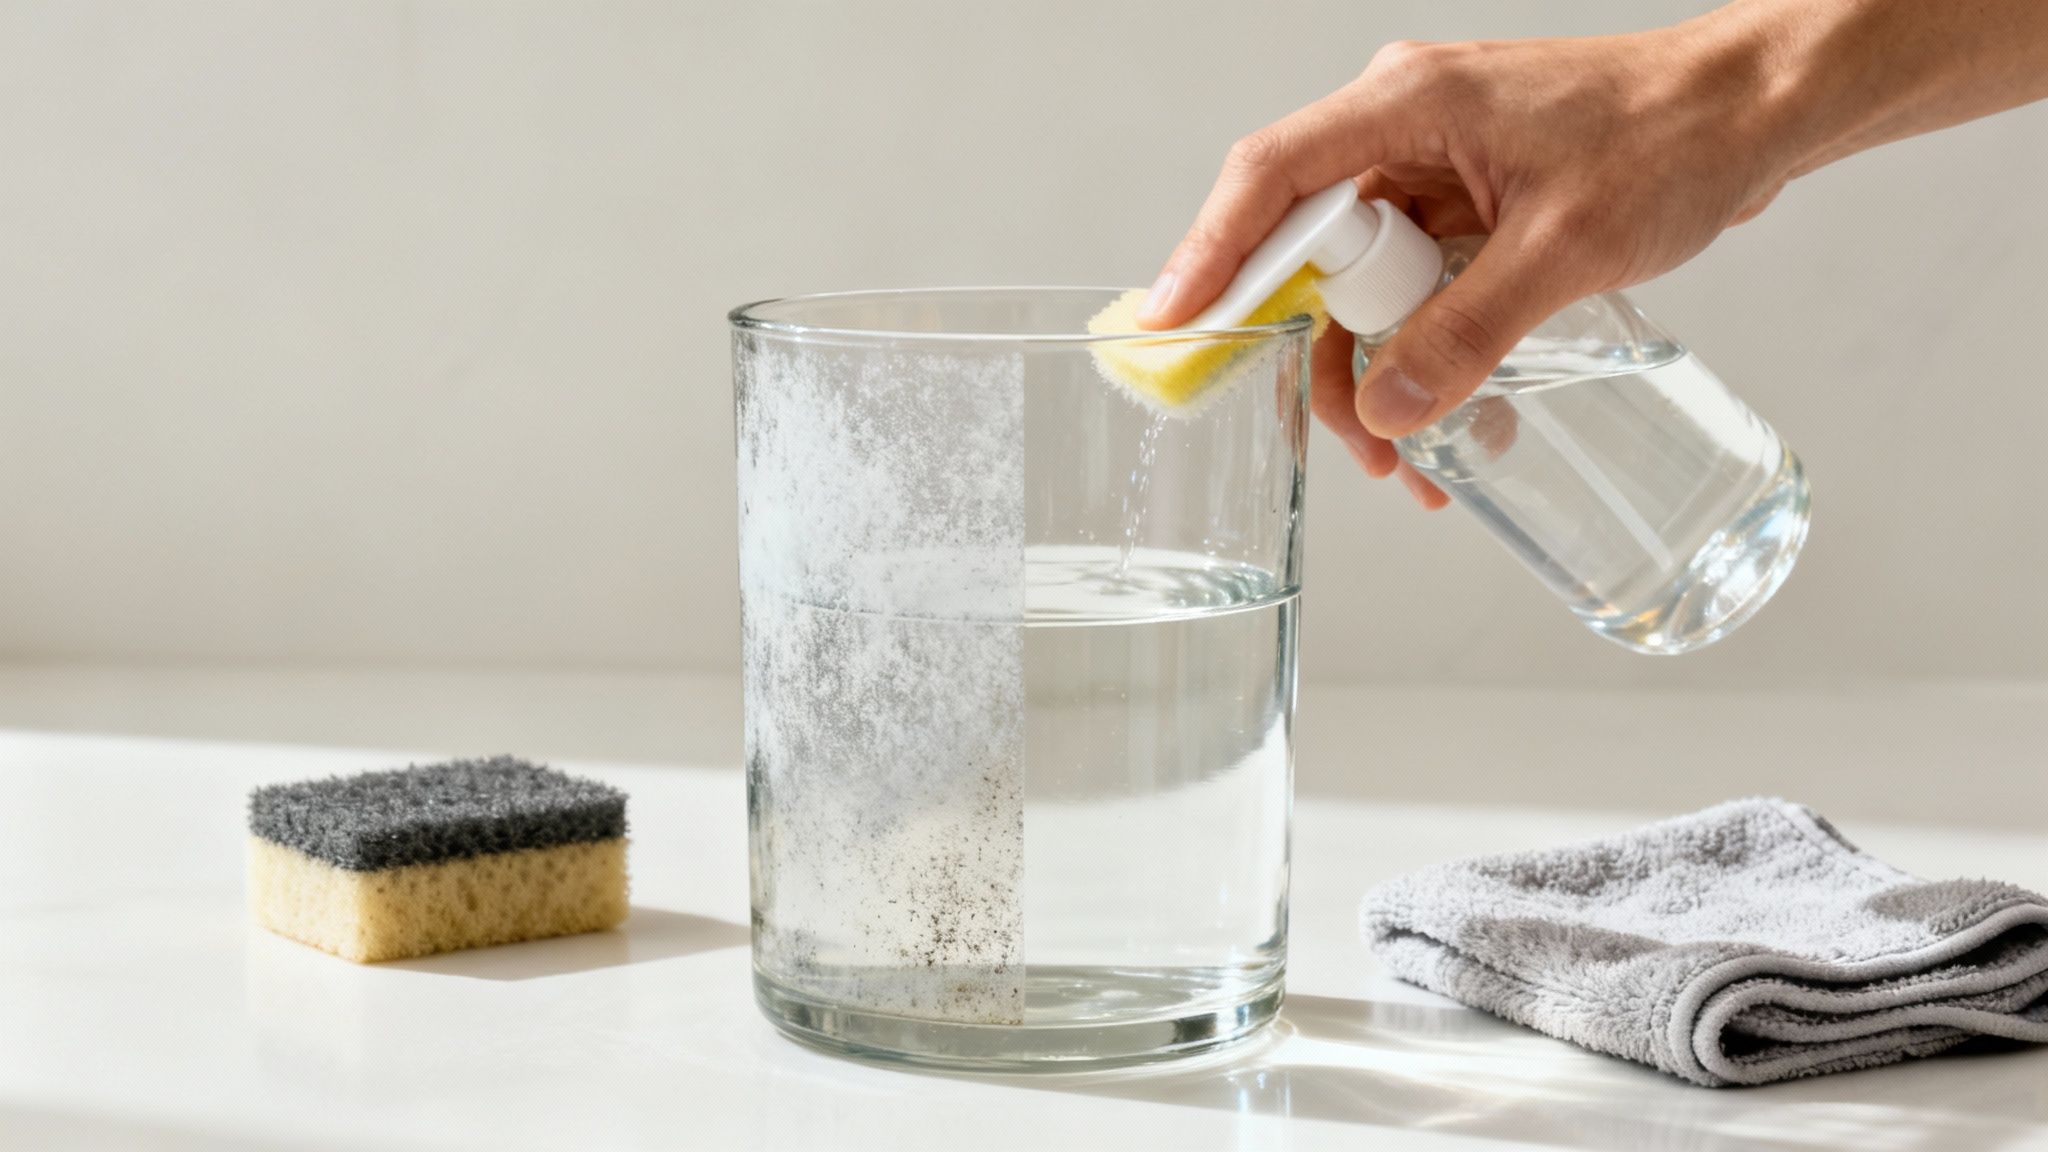
Dissolving Stubborn Hard Water Spots
Those white spots are basically mineral leftovers—calcium and magnesium—that get left behind when water evaporates. Your standard window cleaning mix can’t touch them. You need something with a bit of acidic muscle to chemically break those mineral bonds down.
A homemade mix of equal parts white vinegar and water is often surprisingly effective.
- Spray the solution directly onto the spots or apply it with a microfiber cloth.
- Let it sit and work its magic for at least 5-10 minutes. This is the most important part—you have to give the acid time to dissolve the minerals.
- Gently agitate the area with a non-abrasive pad. You can even use super-fine #0000 steel wool, which is perfectly safe for glass.
- Rinse the window completely before moving on to your regular cleaning.
For stains that have set in for years, you might need to bring out the big guns: a commercial hard water stain remover. These products are designed to cut through severe buildup without harming your glass. We go into much more detail in our guide on how to remove hard water stains from windows.
Managing Layers of Dust and Grime
In a dry climate like ours, fine dust can cake onto glass and turn into a concrete-like film, especially after a little rain turns it to mud. If you try to scrub that dry, you’re just asking for scratches.
The number one mistake I see homeowners make is trying to scrub heavy grime dry. It’s like taking sandpaper to your windows. Always pre-rinse to lift those abrasive particles before your scrubber ever touches the glass.
The fix is a good, thorough pre-rinse. Before you even think about soaping up, grab a garden hose and gently spray down the entire window. This simple step lifts the heaviest grit off the surface, making the real cleaning safer and way more effective.
What about second-story windows? A water-fed pole system is a game-changer. These poles hook up to your hose, letting you rinse and scrub high-up windows while your feet are planted safely on the ground. It ensures every window is prepped right for a perfect, streak-free finish.
Working Safely with Ladders and Heights
Let's be honest: cleaning ground-floor windows is one thing. The moment you start thinking about that second story, the entire job changes. This is where safety has to be your top priority, because falls from ladders are no joke—they're a major cause of serious injuries around the home.
A little bit of caution and a healthy respect for heights will keep you safe and get the job done right.

First things first, you need the right tool. For second-story work, you'll likely need a sturdy extension ladder. Make sure it's tall enough to extend at least three feet above the windowsill or roofline you're aiming for. That extra length gives you a secure handhold when you need it most.
Setting Up for Maximum Stability
Where you plant your ladder is just as critical as the ladder itself. Always, and I mean always, set it up on firm, level ground. Stay away from soft dirt, mulch beds, or any part of your yard that feels soggy or uneven. The last thing you want is for the base to shift when you're 15 feet in the air.
Getting the angle right is crucial. I always use the "4-to-1 rule"—it's a simple and effective guideline. For every four feet of height you're climbing, the base of the ladder should be one foot away from the wall. This creates a stable, secure angle that prevents the ladder from kicking out or tipping back.
A wobbly ladder is an accident waiting to happen. If the ground isn’t perfectly level, use a dedicated ladder leveling tool or firmly secured boards under one leg—never bricks or rocks. Your stability is non-negotiable.
Safe Practices While You Work
Once your ladder is set and secure, it all comes down to how you work. For jobs like this, having the right essential safety gear makes a huge difference. A simple tool belt is a game-changer; it keeps your squeegee and cloths within easy reach, freeing up your hands for a safe climb.
Drill these habits into your routine every single time you step on that ladder:
- Maintain Three Points of Contact: This is the golden rule. Always keep two hands and one foot, or two feet and one hand, firmly on the ladder.
- Never Overreach: Keep your body, especially your hips, centered between the ladder's side rails. It's tempting to stretch for that last little spot, but don't. It's always safer to climb down and move the ladder.
- Use Ladder Stabilizers: These are the U-shaped "arms" that attach to the top of your ladder. They rest against the wall on either side of the window, dramatically increasing stability and preventing the ladder from sliding sideways. Plus, they save your siding and gutters from getting scratched up.
Keeping Your Windows Gleaming and Knowing Your Limits
https://www.youtube.com/embed/LfYmpUN1iYA
Once you’ve put in the work to get your outside windows sparkling, you'll want to keep them that way. The good news is, a little regular upkeep goes a long way. Consistent cleaning stops that stubborn grime and hard water from building up, which makes the next cleaning job so much easier.
For most homes, a deep exterior clean twice a year hits the sweet spot. I usually recommend a spring cleaning to wash off winter’s gunk and another in the fall to get rid of all that summer dust and pollen.
Of course, here in Phoenix, "most homes" isn't always our reality. If you're near a busy street, get hit by our infamous dust storms (haboobs, anyone?), or live in a new development with lots of construction, you might find a quarterly cleaning is necessary. The trick is to tackle the dirt before the Arizona sun has a chance to bake it on.
When to Put Down the Squeegee and Pick Up the Phone
There's a great sense of accomplishment in a job well done yourself. But a big part of knowing how to clean outside windows is knowing when not to. This isn’t about admitting defeat; it’s about being smart and putting safety first. Some jobs just aren't worth the risk.
It's probably time to call in a professional if you're looking at any of these situations:
- Three Stories or More: The moment you're dealing with a third-story window, the risk goes up exponentially. Pros have the right ladders, safety gear, and—just as importantly—the insurance to work at those heights safely.
- Hard-to-Reach Windows: Got a window over a steep, tiled roof? Or one way up high in a two-story entryway? Those are the exact spots where accidents are waiting to happen.
- Serious Hard Water Stains: If you've tried the vinegar solution and scrubbed until your arm aches with no results, the minerals have likely started to etch the glass itself. A professional crew uses special buffing compounds and equipment to fix this without scratching the window.
Think of it this way: hiring a pro isn't just paying for clean windows; it's a smart investment in risk management. When a fall could be serious or a slip could mean a broken window, the cost of a professional service buys you priceless peace of mind.
The Real Value of an Expert Touch
There's a reason the professional window cleaning industry is thriving. It’s a strategic choice for homeowners who value their time and don't want to risk their safety. Experts simply get a level of clean that’s tough to achieve on your own without years of practice and pro-grade tools.
The industry has seen steady growth for years, with projections showing a 13% increase through 2028. That trend isn't just about convenience; it reflects a real demand for the quality and safety that only a professional service can guarantee. You can find more details in this window cleaners market growth analysis.
In the end, it all comes down to a realistic look at the job and your own comfort level. If you're still on the fence, our guide on knowing when to call a professional window washing company offers a more detailed breakdown to help you make the right choice for your home.
Got Questions? We've Got Answers.
Even the most straightforward DIY project can throw a few curveballs. When it comes to cleaning your own windows, a few common questions always seem to come up. Here are some of the things people ask me all the time, along with the no-nonsense answers you need.
What’s the Best Time of Day to Clean My Windows?
The absolute ideal time is a cool, overcast day. Direct sunlight is your enemy when it comes to window cleaning. It bakes the cleaning solution onto the glass almost instantly, leaving streaks and soap spots before you can even think about squeegeeing them off. It's the number one cause of frustration and a streaky finish.
If you don't have an overcast day and the job just has to get done, play it smart. Work on the side of the house that's currently in the shade. You can follow the sun around your home, always staying on the cool side. Early morning or late afternoon are always going to be your best bet, long before or after that intense midday sun.
Is Using a Pressure Washer on Windows a Good Idea?
I'm going to give you a hard "no" on this one, and any pro worth their salt would tell you the same. A pressure washer is just too powerful, even on its lowest setting. It's a recipe for expensive, irreversible damage.
A pressure washer might seem like a time-saver, but the risks are massive. You can easily break the window's seal, which leads to that permanent fogging between the panes. Worse, you could shatter the glass entirely or blast water behind your home's siding, setting yourself up for a nasty mold and rot problem down the road.
Stick with your garden hose. A simple spray nozzle will give you all the power you need to rinse off that initial layer of dust and grime. It’s effective, and most importantly, it’s safe.
How Should I Handle the Window Screens?
Don't skip the screens! Putting a dirty screen back on a perfectly clean window is a surefire way to undo all your hard work. The next time it rains, all that caked-on dust will just stream right back down onto your glass.
Cleaning them is easy, though. Here’s a quick rundown:
- Pop them out: Gently remove the screens from their frames.
- Lay them down: Find a flat spot on your driveway or lawn.
- Give them a light scrub: Use a soft brush with some mild soap and water. You just want to loosen the grime, not damage the mesh.
- Rinse well: Use your garden hose on a gentle setting to wash away all the soap and dirt from both sides.
- Let them dry: Lean them against a wall or fence to air dry completely before reinstalling them.
Taking this extra 15 minutes makes a world of difference and keeps your windows looking truly spotless.
If you'd rather leave it to the pros and avoid the ladders and hassle, we're here to help. Sparkle Tech Window Washing offers professional residential and commercial window cleaning across the Phoenix valley, delivering that perfect, streak-free shine every time. Get your free estimate today!