


Tired of looking at the world through a film of streaks and grime? If commercial cleaners have left you with less-than-sparkling results, the answer might be sitting in your pantry. It turns out, a simple DIY window washing solution is often the secret to getting that truly brilliant, professional-looking shine.
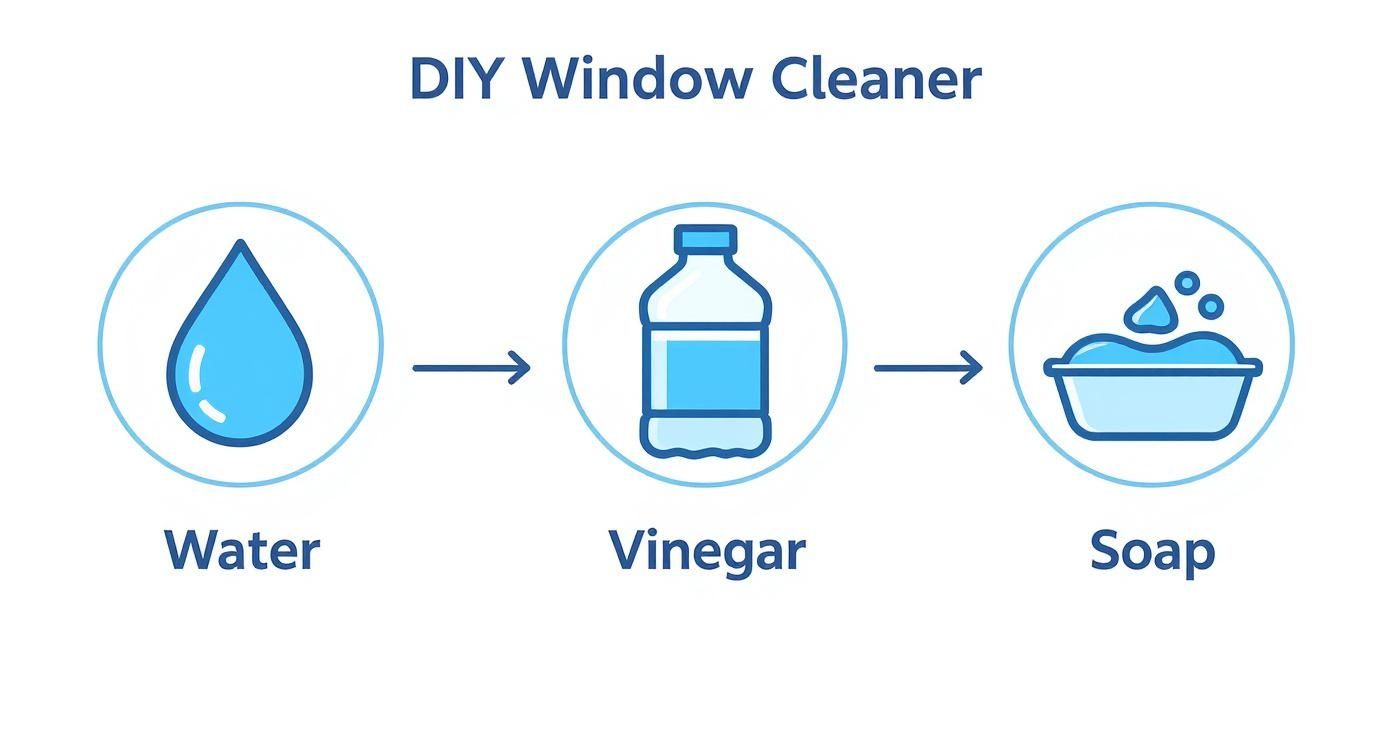
For a mix that cuts through just about everything, just grab a spray bottle and combine 2 cups of warm water, ½ cup of distilled white vinegar, and about ¼ teaspoon of dish soap. This simple recipe is my go-to for dissolving stubborn grime without leaving that frustrating film behind.
Get A Professional Clean Without The Professional Price
It's a common misconception that you need a bottle of something expensive and full of chemicals to get a pro-level clean. In my experience, the opposite is often true. The most effective solutions are usually the simplest and, luckily for us, the most affordable.
When you mix your own cleaner, you have total control over the ingredients. This means you can skip the harsh chemicals found in many store-bought options—stuff that can potentially damage your window frames or pose a risk to pets and plants.
Going the DIY route gives you more than just a crystal-clear view. The benefits are pretty clear:
- It’s incredibly cheap. The ingredients for a homemade batch cost just pennies, a tiny fraction of what you'd pay for a commercial cleaner.
- It’s better for the environment. Using simple, biodegradable ingredients like vinegar and soap is a great way to reduce your household's environmental footprint.
- You know exactly what’s in it. This is a huge plus for anyone with allergies, chemical sensitivities, or just a desire to keep things natural at home.

Why This Simple Mix Works So Well
The magic behind this recipe is all about simple chemistry. The distilled white vinegar contains acetic acid, a natural solvent that is fantastic at breaking down mineral deposits from hard water and cutting right through greasy, hazy films.
Meanwhile, that tiny drop of dish soap acts as a surfactant. All that means is it reduces the water's surface tension, which helps your squeegee glide effortlessly across the glass, pulling away every bit of dirt and cleaner with it. No streaks, no drag.
This back-to-basics approach is catching on. The window cleaner market itself was valued at USD 2.68 billion in 2023 and is expected to hit USD 5.34 billion by 2031, driven by a growing focus on home maintenance. People want clean windows, and they're realizing they don't need complicated formulas to get them.
The real takeaway here is that you don't need a complex chemical cocktail for a perfect shine. A basic mixture of vinegar, water, and soap often beats the expensive stuff because it directly tackles the root causes of dirty windows: grime, grease, and mineral buildup.
To give you a better idea of the differences, let's compare the DIY approach to what's on the shelf.
DIY Window Cleaner vs Store-Bought Brands: A Quick Comparison
| Feature | DIY Vinegar Solution | Brand A (Ammonia-Based) | Brand B (Eco-Friendly) |
|---|---|---|---|
| Est. Cost-Per-Gallon | ~$0.25 | ~$15.00 | ~$20.00 |
| Active Ingredient | Acetic Acid (Vinegar) | Ammonium Hydroxide | Plant-Derived Surfactants |
| Common Additives | None | Fragrances, Dyes, Solvents | Essential Oils, Preservatives |
As you can see, the cost savings are dramatic, and the ingredient list for the DIY version is as simple as it gets.
Of course, while a homemade solution is perfect for most household windows, some jobs require more specialized gear. For those hard-to-reach second-story windows, professionals often rely on tools like a water-fed pole window cleaning system to work safely and efficiently from the ground.
And don't forget, a truly clean window area isn't just about the glass. To complete the job and make the whole space feel fresh, it helps to know how to effectively wash vertical blinds and get them looking just as good.
Putting Together Your Window Washing Arsenal
Having the perfect DIY window washing solution is a fantastic start, but let's be honest—the real secret to a professional, streak-free shine is all in the tools. The right gear makes the job faster, easier, and delivers results that a roll of paper towels can only dream of.
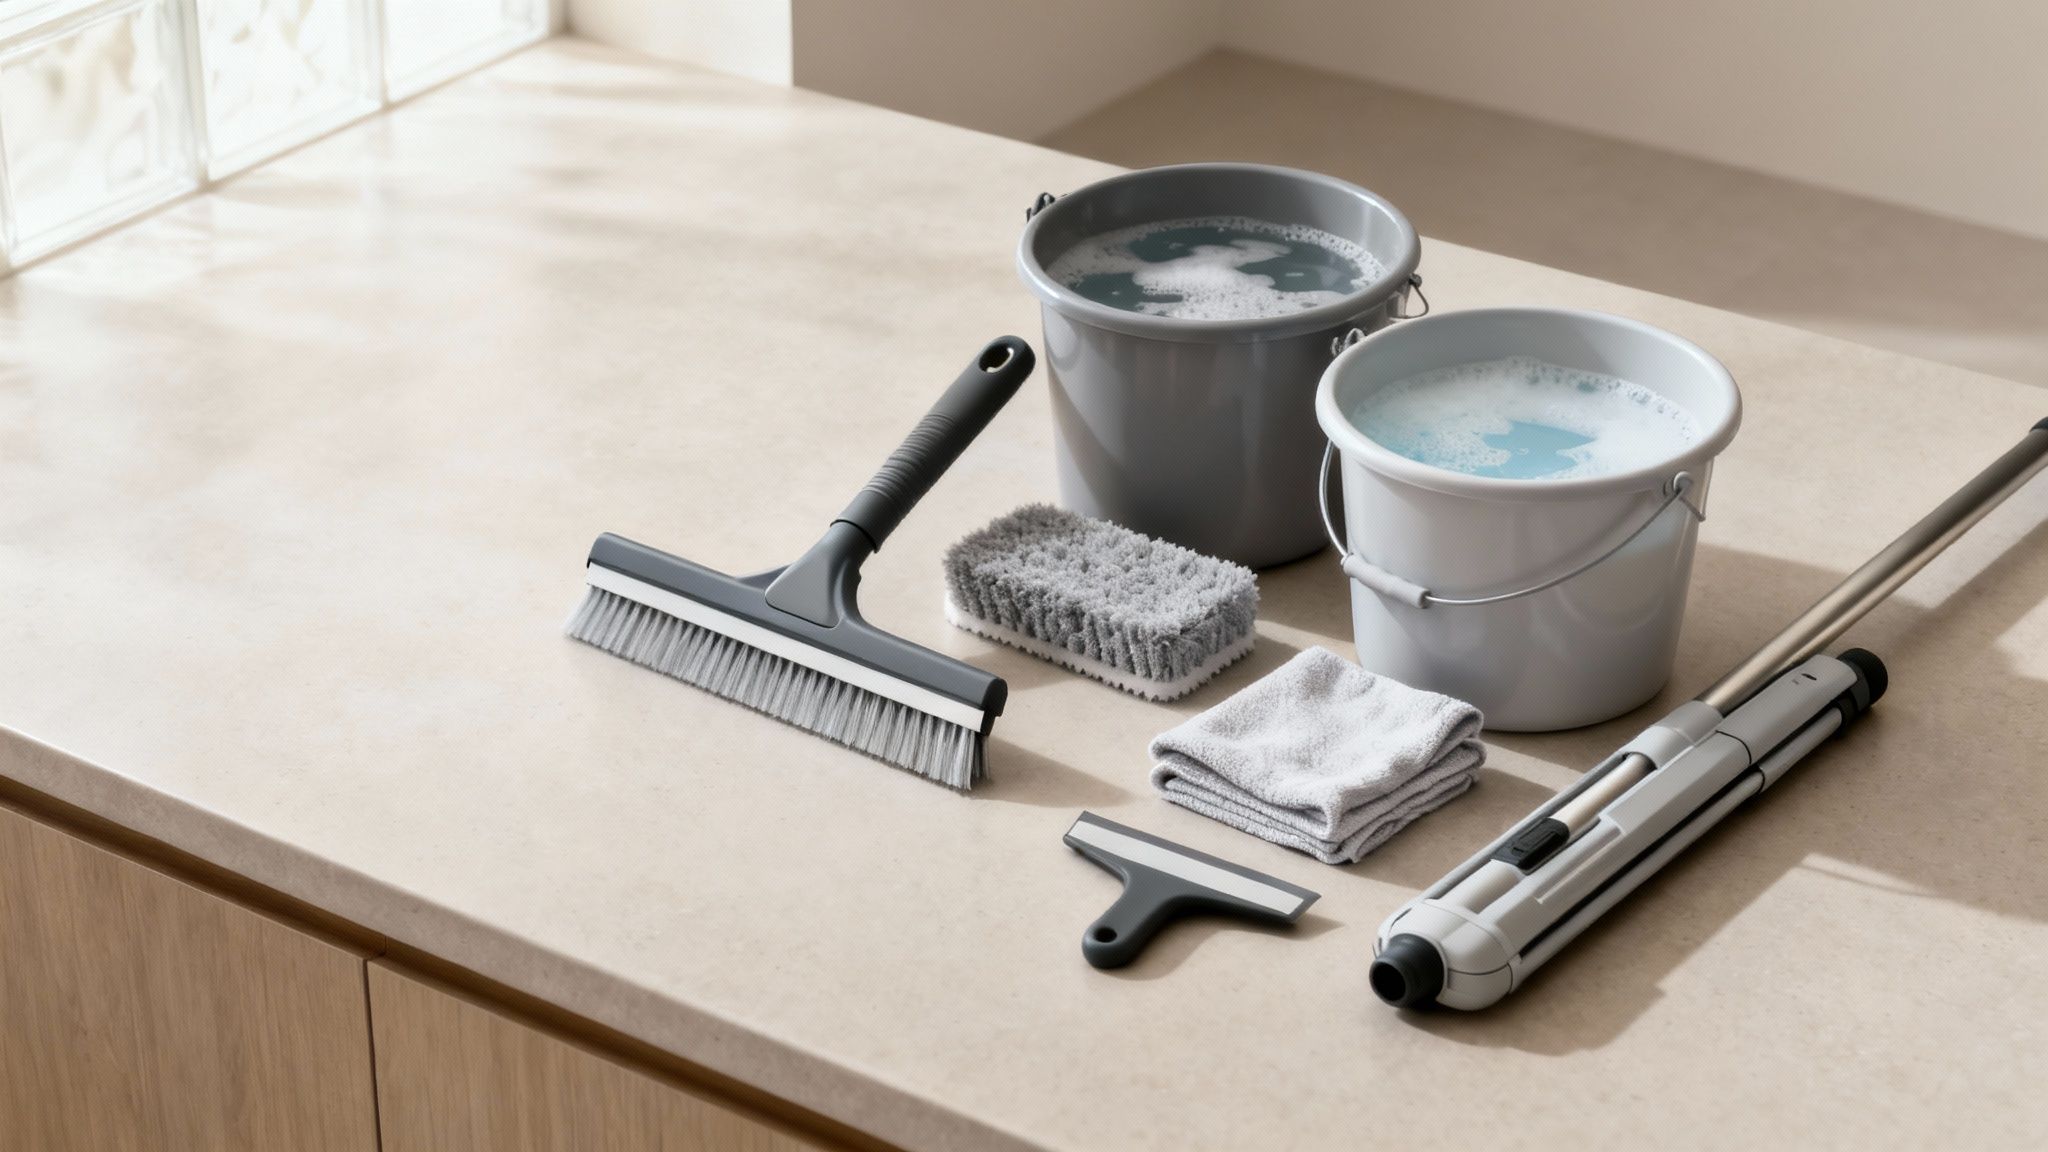
If you're going to splurge on one thing, make it a high-quality squeegee. This is not the place to cut corners. A cheap, flimsy squeegee with a hard, nicked rubber blade will skip, chatter, and leave a mess of streaks, completely undermining your efforts. You want something with a sharp, pliable rubber blade that feels solid in your hand.
The Must-Haves for Your Kit
Beyond a great squeegee, a few other key items will turn this chore into a craft. Getting these basics together means you’ll be ready for just about any grime your windows throw at you.
-
Microfiber Scrubber or T-bar: This is what you'll use to apply your soapy solution. It soaks up a ton of water and is built to scrub away dirt without scratching the glass. It's a huge step up from a basic sponge, which often just pushes grime around.
-
Two Buckets: Here’s a classic pro tip. One bucket is for your cleaning mix, and the second is just for clean rinse water. This simple setup stops you from dipping a dirty scrubber back into your clean solution and putting grime right back onto the window.
-
Lint-Free Microfiber Cloths: Forget old newspapers or paper towels that leave lint behind. You need a small stack of clean, dry microfiber towels to wipe your squeegee blade clean after every single pass. They’re also perfect for detailing the corners and edges of the glass for a truly flawless finish.
The single biggest mistake I see people make is not keeping their tools clean while they're working. A dirty scrubber or a wet squeegee blade is a guaranteed recipe for streaks. Wiping that blade after every pull isn't optional—it's essential.
If you want to go deeper on picking the right equipment, this guide on the best window cleaning tools is a fantastic resource.
Gear for the Trickier Jobs
Finally, a couple of extra tools can help you handle more challenging situations safely and effectively. An extension pole is non-negotiable for second-story windows, letting you work from the ground instead of a shaky ladder.
For those stubborn bits of dried-on paint, sap, or bug residue, a small scraper with a fresh blade is your best friend. The trick is to always use it on a wet window, holding it at a very shallow angle to prevent any scratches. With this toolkit, you’re ready to get that crystal-clear, professional shine every time.
Mixing Up the Perfect DIY Window Washing Solution
With your tools in hand, it's time to create the magic formula. The right DIY cleaning solution is the secret weapon for a streak-free, professional-grade finish. While the basic recipe is a solid go-to, knowing why it works and having a couple of variations will prepare you for any kind of grime you run into.
It's no surprise that people are leaning into these tried-and-true methods. The market for window panel cleaning kits, often centered around simple DIY solutions, hit a value of USD 1.52 billion in 2023 and is expected to climb to USD 2.3 billion by 2032. That’s a lot of people discovering how effective and affordable it is to mix their own cleaners. You can dig into more of this data over at wiseguyreports.com.
The Classic Streak-Free Vinegar Solution
This is my go-to recipe for routine cleaning on just about any window. It's incredibly simple, brutally effective, and you probably have everything you need in your kitchen right now.
The Recipe:
- 2 cups of warm water: Use warm water, not cold. It does a much better job of loosening up dirt.
- ½ cup of distilled white vinegar: Vinegar's acetic acid is a natural powerhouse. It slices right through greasy film, smudges, and even the mineral deposits left by hard water.
- ¼ teaspoon of dish soap: This is the game-changer. Just a tiny drop of soap acts as a surfactant, breaking the water's surface tension. This is what lets your squeegee glide like a hot knife through butter instead of skipping and leaving those dreaded streaks.
Just pour these into a clean spray bottle or a bucket and give it a gentle swirl. Don't shake it like a cocktail—you’ll end up with a bucket full of foam and not much else.
The Heavy-Duty Alcohol Solution for Tough Grime
Sometimes, you need to bring out the big guns. An alcohol-based solution is perfect for cool, damp days when you need the cleaner to evaporate quickly. It's also my secret for tackling stubborn, greasy fingerprints, especially on kitchen windows.
For this mix, just add ¼ cup of isopropyl (rubbing) alcohol to the classic vinegar recipe above. The alcohol is a solvent that dissolves oils and dries in a flash, leaving nothing but crystal-clear glass behind.
After years of doing this, I can tell you the number one mistake people make is using too much soap. It feels like more soap should mean more cleaning power, but it’s actually the primary cause of streaks and that cloudy film you’re trying to eliminate. Seriously, a quarter teaspoon is all it takes.
A Few Tips on Mixing and Safety
A little prep goes a long way in making sure your DIY solution is both effective and safe.
- Always use distilled water if you can get it. Tap water, especially if you live in a hard water area, is full of minerals. Those minerals are what leave behind spots and streaks when the water dries.
- Label your bottle! Grab a permanent marker and clearly write "DIY Window Cleaner" on it. You don't want any mix-ups with other household chemicals.
- Mix it fresh. You'll get the best results by mixing a new batch right before you start cleaning. The ingredients are most potent when they're freshly combined.
Knowing what not to put on your windows is just as important as knowing what to use. To avoid any costly damage, take a moment to learn about the common window cleaning chemicals to avoid before you start. With these recipes in hand, you’re ready to get that flawless, professional shine.
Mastering the Art of the Squeegee
You can mix up the best DIY window washing solution on the planet and buy the fanciest tools, but the real secret to that flawless, invisible-glass look? It all comes down to technique. The squeegee isn't just a hunk of rubber and metal; it’s the key that unlocks a professional finish. Learning to wield it properly is what separates a frustrating, streaky mess from a sparkling, clear view.
Before a drop of water touches the glass, do a quick prep run. Grab a dry cloth or a soft-bristled brush and give the window frames, sills, and tracks a quick wipe-down. This simple step takes ten seconds but saves you from creating a muddy paste out of dust and cobwebs once things get wet.
Applying the Solution Correctly
Alright, time to get things soapy. Dunk your T-bar scrubber or microfiber sponge into your bucket and get the glass good and wet. Don't hold back—you want the window dripping. A barely-damp window is a squeegee’s mortal enemy and the number one reason for that awful skipping and chattering sound.
Scrub the entire pane, working up-and-down and side-to-side. This isn't just about applying the solution; you're actively breaking up the grime. Think of it as loosening all that baked-on dirt and bug splatter so the squeegee can whisk it away effortlessly.
As you can see, the best formulas are often the simplest.
You really don't need a bunch of harsh chemicals to get powerful results.
Perfecting Your Squeegee Stroke
With the window soapy and scrubbed, it's time for the moment of truth. The magic is all in the angle and pressure.
-
Find the Angle: Place your squeegee on the glass at roughly a 30-degree angle. This is the sweet spot where the blade efficiently sluices water away instead of just pushing it around. Too steep, and you'll bulldoze the water; too flat, and you'll leave wide, hazy streaks.
-
Start with a Dry Edge: Here’s a little pro tip. Take a microfiber cloth and wipe a one-inch dry strip down the side of the glass where you plan to start. This "dry zone" gives the squeegee a clean starting line and stops water from creeping back in from the edge of the frame.
-
Overlap Every Stroke: This is crucial. As you make each pull, overlap the previous one by about an inch. It’s a simple habit that guarantees you won't leave behind those skinny, infuriating lines of water between passes.
If you’re tackling a big picture window, you might see pros using a fluid, snake-like motion called the "S-method." It takes some practice to master, but it lets you clean a huge pane of glass in one continuous, efficient move.
If you remember only one thing, make it this: Wipe your squeegee blade with a clean, dry cloth after every single pass. This tiny action is the difference between success and failure. It prevents you from dragging dirty water from the last pull onto the next clean section, which is the main culprit behind those annoying vertical streaks.
Once the main surface is done, grab a fresh, dry microfiber cloth for the final "detailing." Carefully wipe any leftover drips from the corners and along the bottom sill. This last touch is what makes the job look truly finished and professional.
Troubleshooting Common Window Washing Problems
https://www.youtube.com/embed/bmc11KqVbEE
Even when you've mixed the perfect DIY window washing solution and think you've mastered your technique, frustrating issues can still pop up. Streaks, spots, and stubborn films happen to the best of us, but the good news is they’re almost always fixable once you know what’s causing them. Let’s walk through the most common window washing woes and how to solve them.
The number one complaint I hear is about streaks appearing after the glass dries. This problem is rarely about the cleaning solution itself; it’s almost always about the conditions you're working in and the tools you're using. If you try to wash windows in direct, hot sunlight, your cleaning solution will evaporate in seconds, leaving behind a soapy residue before your squeegee even gets a chance to do its job.
The golden rule of window washing is to always work in the shade or on a cool, overcast day. This gives you plenty of time to apply your solution, squeegee it off properly, and detail the edges without racing against the sun.
Another major culprit is simply using too much dish soap. I see this all the time. Remember, more soap doesn't mean more cleaning power—it just creates a mountain of suds that are nearly impossible to remove completely. If you suspect this is your issue, just cut back the soap in your next batch to a few drops.
Conquering Hard Water Stains and Mineral Buildup
If you live somewhere with hard water, you've definitely battled those chalky, white spots that feel fused to the glass. Those are mineral deposits, mostly calcium and magnesium, left behind as water evaporates. Your standard DIY solution just isn't acidic enough to cut through them.
To tackle these stubborn spots, you need to give your cleaner an acidic boost.
- Mix a stronger solution: Start with a potent mix of 50% distilled white vinegar and 50% water.
- Let it dwell: Spray this directly onto the hard water stains and just let it sit for five to ten minutes. You need to give the acetic acid time to work its magic and break down those mineral bonds.
- Gentle agitation: Before you squeegee, use a non-abrasive scrubbing pad or a microfiber cloth to gently work on the spots. Then, clean as usual.
This works because the acid effectively dissolves the alkaline mineral deposits. For really tough, layered stains that have been there for years, you might need to repeat the process a couple of times.
Handling Other Sticky Situations
Beyond streaks and spots, you’ll inevitably run into other challenges like caked-on bug residue, sticky tree sap, or old adhesive from tape and stickers. For hardened bug splatter or sap, the key is pre-soaking. Just drench the area with your cleaning solution for a few minutes to soften it up, which will make it much easier to scrub off.
The preference for home-brewed solutions is a big reason the multi-purpose cleaners market, which includes glass cleaners, was valued at USD 54.3 billion in 2023. With over 60% of glass cleaner usage being residential, it's clear people want simple, effective methods they can use at home. You can find more insights about the growing glass cleaner market from Grand View Research.
For that leftover sticky gunk from adhesives, your safest bet is to wet the area and gently scrape it with a plastic razor blade. It has enough of an edge to lift the residue without scratching your glass.
When to Hang Up Your Squeegee and Call a Pro
There's a real satisfaction in mixing up your own window cleaner and getting that perfect, streak-free shine. But I'll be the first to tell you that some jobs just aren't worth the DIY hassle—or the risk. Knowing when to step back and call in a professional is just as important as knowing the right recipe.
Honestly, it all boils down to one thing: safety.
Your well-being is more important than a clean window. If the job requires you to get on a tall extension ladder, hang way out of a second-story window, or scramble around on a steep roof, just stop. That's a huge red flag. Professional window cleaners don't just have better squeegees; they have the right safety gear, proper training for working at heights, and—crucially—the right insurance. If something goes wrong, you're covered.
Don't Risk Damaging Specialty Windows
Beyond the obvious safety stuff, some windows just need an expert's touch. That simple vinegar solution that works wonders on your picture window could be a disaster on more delicate glass.
It's time to call in a pro if you're dealing with:
- Tints or Films: A lot of windows now have special aftermarket tints or energy-saving films. The vinegar or alcohol in a homemade cleaner can make these films cloudy, cause them to peel, or just plain ruin them.
- Stained or Leaded Glass: This is a classic one. Old, decorative glass is often fragile and can have a bad reaction to the wrong cleaning solution. Professionals know how to handle it with pH-neutral cleaners that won't cause damage.
- Special Coatings: Some modern glass comes from the factory with unique coatings. Using the wrong cleaner can strip them off and even void your warranty.
When the Job is Just Too Big or Too Tough
Sometimes the problem isn't risk, it's just sheer scale. If you're looking at a whole weekend dedicated to washing dozens of windows, a pro can knock it out in a few hours and get a better result.
Then there's the really stubborn stuff, like severe hard water staining. Your vinegar mix is great for light spotting, but if you have mineral deposits that have been baked on for years, you’re not going to scrub them off. That's a job for professional polishing compounds and orbital buffers. Trying to scrape it off yourself is a surefire way to end up with permanently scratched glass.
Look, the DIY approach is fantastic for your regular, ground-level window cleaning. But when you’re dealing with serious heights, specialty glass, or problems that are literally etched into the window, hiring a pro isn't a failure. It's the smart call to protect yourself and your home.
And let's not forget those other headaches, like storm windows that are painted shut or screens that feel impossible to get out without breaking something. A professional has run into this a hundred times and has the right tools and tricks to handle it without damaging your frames. It’s all about weighing the risk and deciding if your time is better spent making a phone call instead of another batch of cleaning solution.
For those challenging jobs that are best left to the experts, Sparkle Tech Window Washing offers safe, reliable, and professional service across Arizona. We have the training and insurance to handle any window, no matter the height or complexity. Visit us at our Sparkle Tech Window Washing website to get a free quote and let us give your windows the perfect sparkle.