



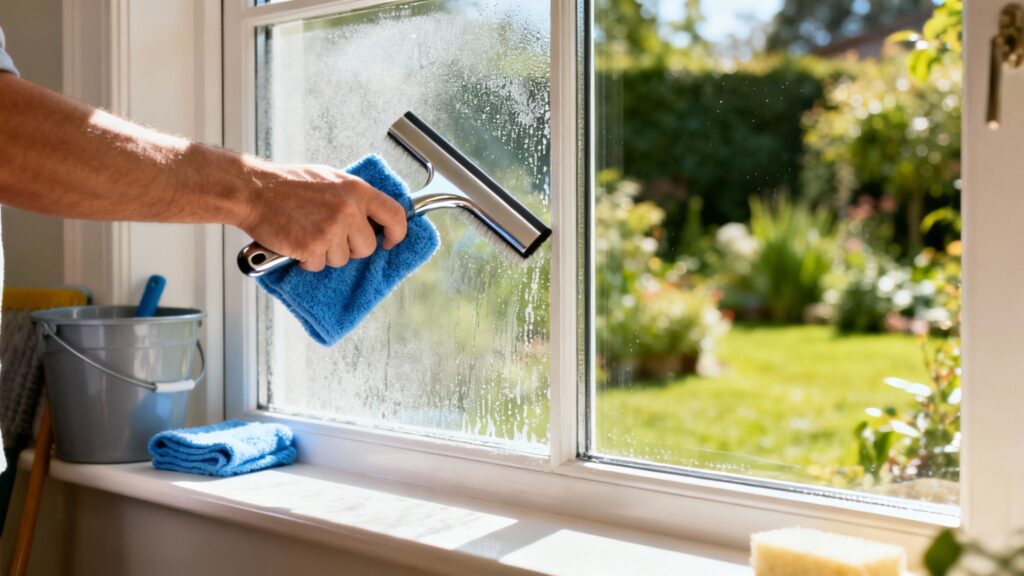
Before you can get your cloudy glass sparkling again, you have to figure out why it's hazy in the first place. Is it just stubborn grime on the surface, or is the fog trapped between the panes? Getting this right from the start is the key, because it determines whether a little elbow grease will do the job or if you need to call in a pro.
Why Your Windows Are Cloudy and What to Do About It
So, before you even think about grabbing a squeegee, you need to put on your detective hat. That frustrating film blocking your view isn't usually just everyday dirt. It’s almost always a sign of a specific issue, and each one needs a different game plan.
There are really only two main culprits to consider: gunk on the glass or moisture trapped inside it.
- Surface Contamination: This is the one you're hoping for. It means the cloudiness is on the outside or inside of the window, and you can absolutely clean it off. The usual suspects are mineral deposits from hard water (sprinklers are notorious for this), leftover soap scum from bad cleaning jobs, or even oxidation on much older windows.
- Failed Window Seal: This one's a bigger deal, especially for double-pane or insulated glass units (IGUs). The seal that keeps the panes airtight has broken, letting humid air sneak in. That moisture condenses, creating a fog that’s physically impossible to reach and scrub away.
Diagnosing the Problem
Here's a quick, no-fuss way to tell what you're up against. Pick a small spot on the cloudy window and give it a thorough cleaning on both the inside and the outside. If that spot clears up, you're in luck! The problem is on the surface. But if the haze is still there, it's trapped between the panes, which means you have a failed seal.
This simple test saves a ton of frustration and points you in the right direction.
To make it even clearer, I've put together this quick table to help you diagnose the issue at a glance.
Quick Guide to Diagnosing Cloudy Windows
Use this guide to pinpoint the cause of your cloudy windows and find the best solution.
| Symptom | Most Likely Cause | Your Next Step |
|---|---|---|
| Haze disappears after cleaning a test spot | Surface Contamination (hard water stains, soap film, oxidation) | Proceed with one of the DIY cleaning methods detailed in the next section. |
| Cloudiness remains after cleaning both sides | Failed Window Seal (moisture trapped between panes) | Stop scrubbing. This requires professional repair or window replacement. |
| You can see condensation or water droplets inside | Failed Window Seal | Contact a professional window service like Sparkle Tech for an assessment. |
| The glass has a rainbow-like sheen or looks distorted | Glass Etching or Coating Damage (often from harsh chemicals or acid rain) | Test a small area with a non-abrasive cleaner. If it persists, consult a glass expert. |
This table should help you quickly identify what you're dealing with so you don't waste time on a solution that won't work.
This flowchart also does a great job of walking you through the decision-making process.
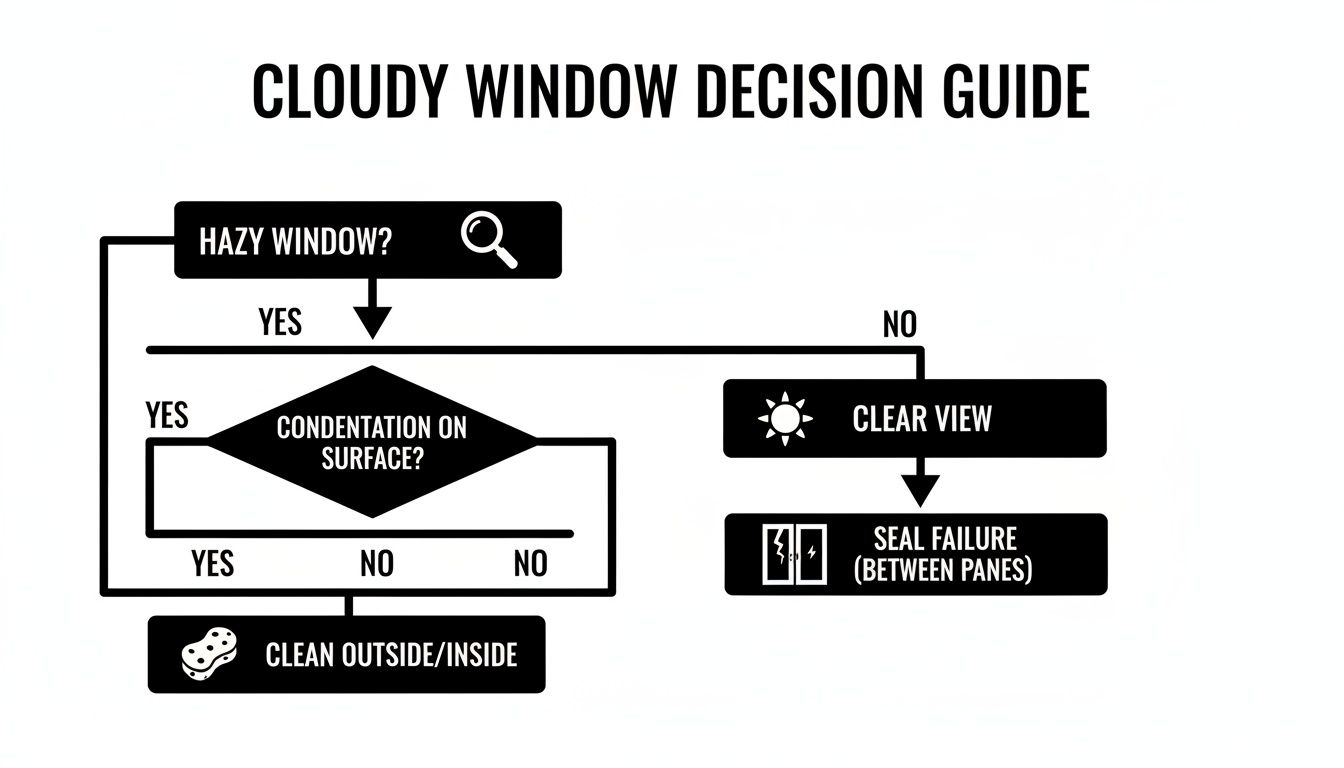
As you can see, if the cloudiness is on the surface, you’re good to go with cleaning. But if it’s between the panes, you’re looking at a seal failure. If you've discovered the issue is a broken seal, our guide on how to clean between window panes explains why this is a job best left to the pros.
It’s no surprise that the residential window cleaning market is expected to grow to over $12 billion by 2025. A lot of homeowners are dealing with this exact problem and looking for the best way to get their view back.
Key Takeaway: Don't waste your energy scrubbing a window with a broken seal. A two-minute diagnostic test will tell you right away if the problem is something you can fix yourself or if it's time to call for backup.
For more helpful tips on keeping your home looking its best, check out these related insights on window care. Knowing the cause is truly half the battle won.
Getting Your Window Cleaning Kit Together
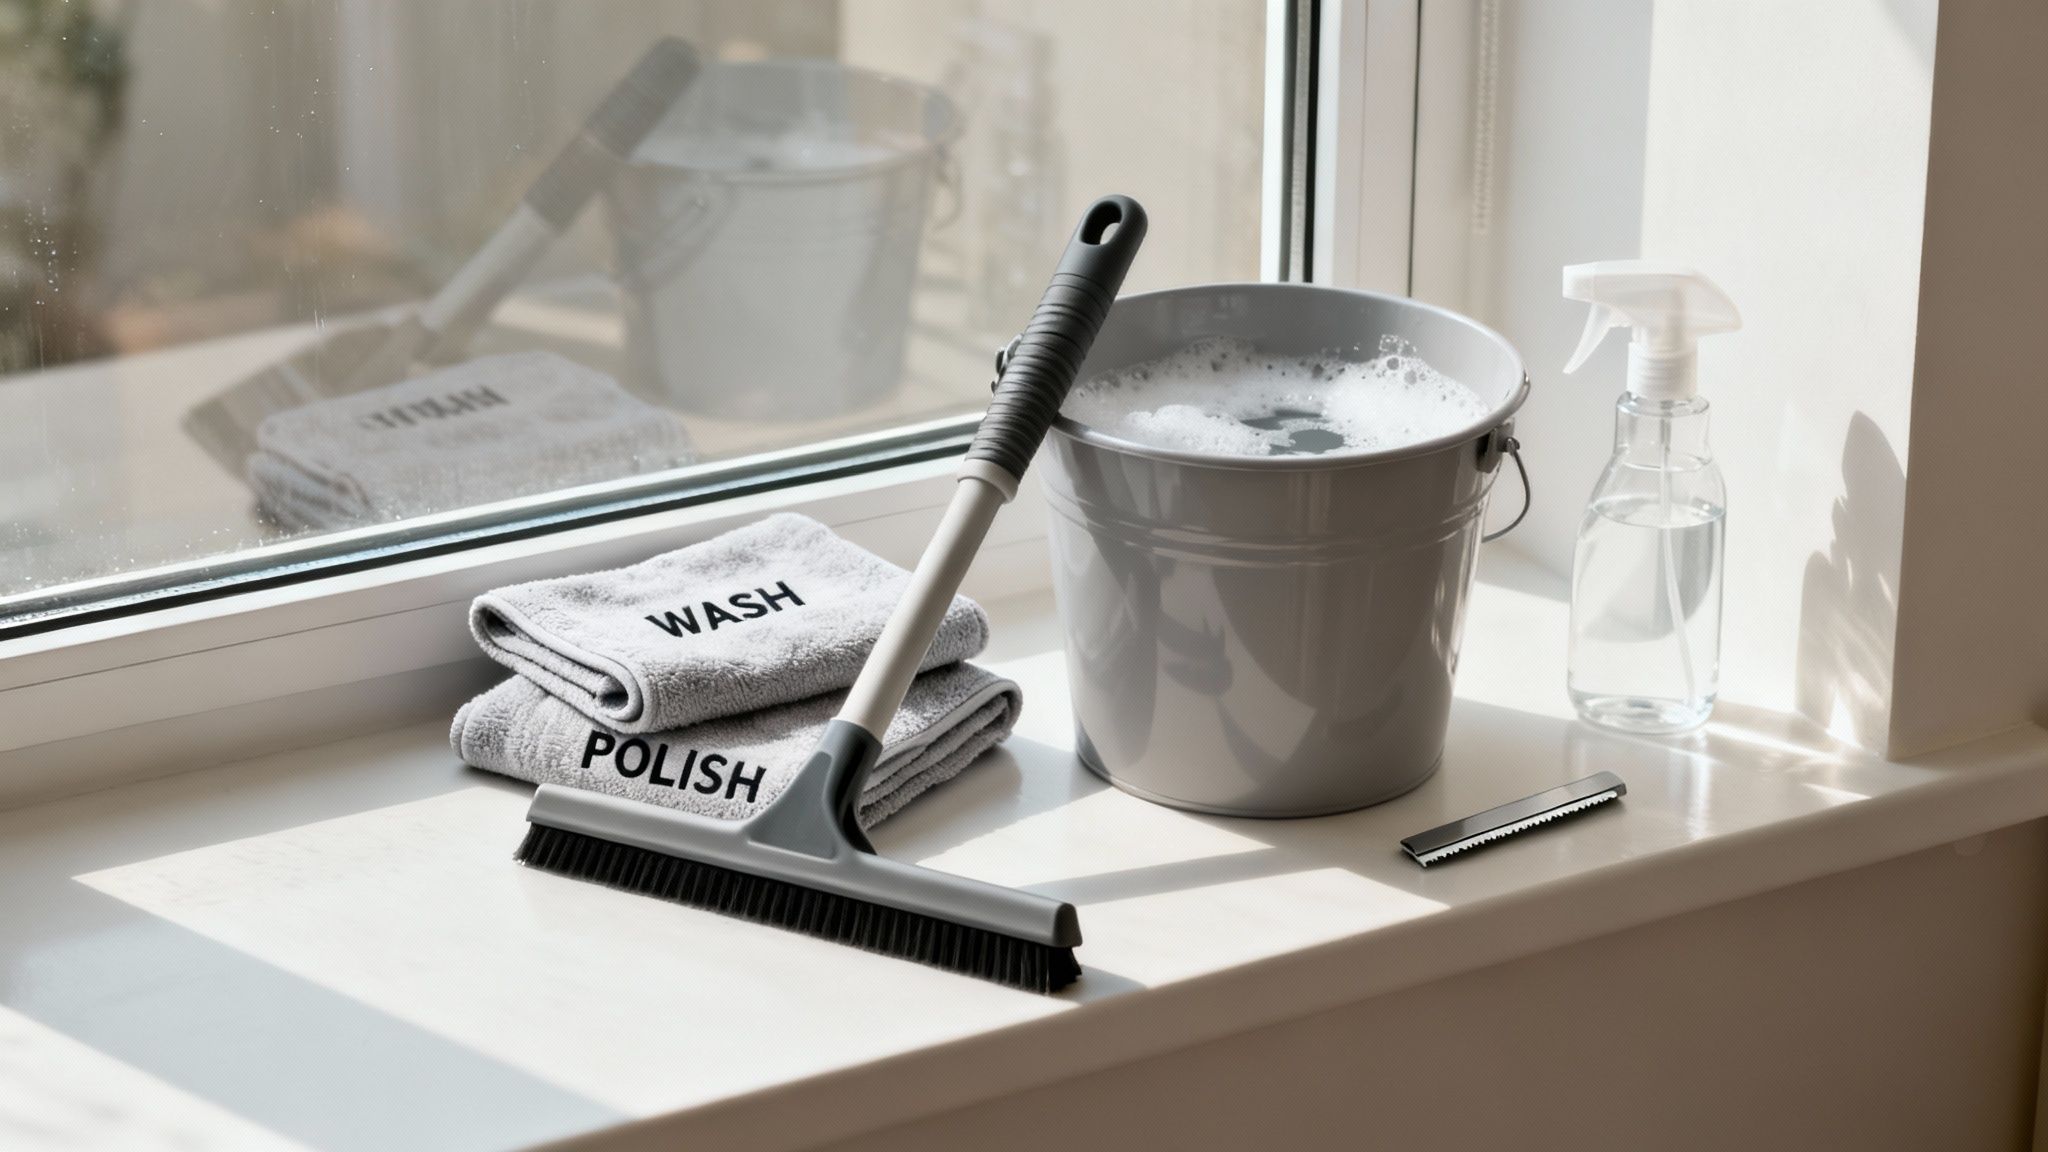
Before you can get that crystal-clear finish, you need the right gear. Seriously, fighting cloudy glass with a roll of paper towels is a recipe for frustration. You'll just be chasing lint and streaks around.
Let's build a proper toolkit. The good news is, you likely have some of these items already, and the rest are a small investment for a massive payoff in quality and speed. Think of it like cooking—you need the right pans and knives. Window cleaning is no different.
The Tools That Do the Real Work
These are your non-negotiables, the core items that will handle the scrubbing and drying. Skimping here is what separates a frustrating afternoon from a quick, satisfying job.
-
A Solid Squeegee: This is the single most important tool in your arsenal, hands down. Forget the cheap ones. A quality squeegee with a fresh, sharp rubber blade is what gives you that perfect, streak-free pull. A 10- or 12-inch model is a great all-rounder for most home windows.
-
Two Kinds of Microfiber Cloths: This is a pro tip that makes a huge difference. You need one cloth for washing—something plush and absorbent—and a second, flat-weave polishing cloth. The washing cloth scrubs, and the polishing cloth is for wiping your squeegee blade and detailing the edges of the pane. This system is the secret to a flawless finish.
-
A Scrubber or Gentle Sponge: You need something to apply your cleaning solution and loosen up the dirt. A dedicated window scrubber (often called a t-bar or mop) is what the pros use, but a soft, non-abrasive sponge works just fine. Just make absolutely sure it's clean and has no grit embedded in it that could scratch the glass.
Buckets, Bottles, and Problem Solvers
With the basics covered, a few more items will make you ready for any situation, from a single smudged door to a whole house worth of dirty windows.
- Bucket and a Spray Bottle: A standard five-gallon bucket is your best friend for big jobs, letting you mix up a batch of cleaning solution. For inside work or quick touch-ups, a spray bottle is much cleaner and easier to manage. Having both gives you options.
I keep both in my kit at all times. If I'm just cleaning a sliding glass door, the spray bottle is perfect. But for the big spring clean, the bucket method is way faster and more efficient than running back to the sink a dozen times.
- Scrapers for the Tough Stuff: Every so often, you’ll run into stubborn gunk like dried paint splatter or caked-on bug residue. A new, single-edge razor blade in a safety holder can, when used carefully on wet glass at a low angle, pop these right off. If that feels too aggressive, a plastic scraper is a much safer alternative.
Once you have this gear, you’re ready to tackle almost any kind of surface grime. For a deeper dive into my favorite brands and models, check out our guide on the best window cleaning tools. With the right tools in hand, you’re no longer just wiping glass—you’re restoring it with precision.
DIY Cleaning Recipes That Actually Work
Forget that aisle of expensive, chemical-heavy cleaners. You can get a better, streak-free shine using simple ingredients you probably already have in your pantry. Making your own cleaner saves money, and more importantly, it gives you total control over what you're spraying around your home.
After years in the business, I've tried dozens of homemade formulas. I always come back to these three powerhouse recipes. Each one is tailored for a specific job, whether you're dealing with everyday dust, greasy kitchen film, or the first signs of stubborn hard water stains.
The Classic All-Purpose Vinegar Solution
This is the undisputed champion of window cleaning for a reason—it just works. Distilled white vinegar is a fantastic natural degreaser, and its mild acidity is perfect for dissolving the everyday film that makes glass look dull. Getting the ratio right is everything.
- The Mix: Simply combine one part distilled white vinegar with one part warm water in a spray bottle.
- Best For: This is your go-to for 90% of window cleaning tasks, easily tackling general dirt, dust, fingerprints, and light water spots.
- Pro Tip: If you can, use distilled water. Tap water, especially in hard water areas like we have all over Arizona, is loaded with minerals that leave behind their own spots. It kind of defeats the purpose of all your hard work.
The science is pretty simple. The acetic acid in vinegar breaks down gunk and mineral deposits without leaving the soapy, streaky residue that many store-bought cleaners do.
The Grease-Fighting Dish Soap Booster
Every now and then, especially on kitchen windows or glass near an outdoor grill, vinegar alone won't cut it. Oily, greasy films need a little extra muscle, and that's where a good surfactant comes in.
For these tougher jobs, just a single drop of a quality dish soap (I prefer Dawn) is all you need. Soap molecules are designed to latch onto grease and lift it right off the surface.
Insider Tip: Whatever you do, resist the urge to add more soap! Too much is the #1 cause of streaks. You just need enough to break up the grease, not create a sudsy mess that’s impossible to rinse off. Seriously, one or two drops in a full spray bottle is plenty.
This one simple addition transforms your basic vinegar spray into a powerful degreaser. It’s perfect for those stubborn smudges on a kitchen window or the hazy film on a sliding glass door that sees a lot of hand traffic.
The Gentle Abrasive Paste for Mineral Spots
When you run into those stubborn, chalky spots that won’t budge with a simple spray, you're looking at early-stage mineral deposits from hard water. Before you reach for harsh chemicals, a gentle abrasive paste can often lift the stain without scratching the glass.
Baking soda is the hero here. It's a mild alkali that helps dissolve mineral buildup, and its fine, soft particles provide just enough scrubbing power.
How to Make and Use the Paste
- Whip up the paste: In a small bowl, mix a few tablespoons of baking soda with just enough water to form a thick, toothpaste-like consistency.
- Apply and scrub: Dab the paste onto the mineral spot with a damp microfiber cloth. Gently rub the area in a circular motion for a minute or two, letting the paste do the work.
- Rinse and shine: Spray the spot with your vinegar-and-water solution to neutralize the baking soda, then wipe it all clean with a fresh, damp cloth. Finish with your squeegee for that perfect, clear shine.
This trick is incredibly effective for isolated spots, but it's always smart to test it on a small, hidden corner first. It's a fantastic way to tackle those tough blemishes yourself.
The demand for crystal-clear windows is huge, and it's a growing part of home maintenance. Across the United States and Canada, the window cleaning industry has seen major growth. In fact, residential demand alone is projected to jump by 15% by 2025, much of it from homeowners prepping their properties for sale. You can dig into more details in this report on window cleaning industry statistics on ntpropertycare.com. Having these DIY recipes in your back pocket means you can achieve that professional-level clarity all on your own.
Mastering the Pro Squeegee Technique
Alright, you've got your tools and your cleaning mix ready to go. Now for the part that truly separates a DIY job from a professional finish: the technique. Believe it or not, mastering the squeegee is less about speed and more about precision. It's the real secret to banishing streaks for good and getting that invisible-glass look.
So many people think the cleaning solution is the star of the show, but that's only half the story. The squeegee’s job is to lift that solution—and all the dirt suspended in it—off the glass in one clean sweep. When you get it right, window cleaning goes from a frustrating chore to a seriously satisfying craft.
Set the Stage for a Perfect Finish
Before your squeegee even gets near the glass, a little prep work goes a long way. A classic rookie mistake is focusing only on the glass itself while ignoring the frame and sill. These spots are magnets for dust, cobwebs, and all sorts of grime.
If you jump straight to scrubbing the window, you'll just pull all that gunk from the edges onto your clean pane, creating a muddy, streaky mess. Always start by wiping down the window frame, sill, and tracks with a damp microfiber cloth. This one simple step creates a clean zone to work in.
Pro Tip: Timing is everything. Never, ever clean your windows in direct, hot sunlight. The heat will bake your cleaning solution right onto the glass before you can squeegee it off, leaving you with a streaky nightmare that's even tougher to remove. An overcast day is your best friend for a flawless finish.
Applying Your Solution the Right Way
With the frame clean, it’s time to get the glass wet. Whether you're using a bucket and scrubber or a spray bottle, the goal is a generous, uniform coat of your cleaning solution. Don't be shy here—a dry squeegee will skip and stutter across the glass, which is a guaranteed recipe for streaks.
Use a dedicated window scrubber (or a soft sponge in a pinch) to work the solution over the entire pane. Make sure you get into every corner and gently agitate any stubborn spots. You want the glass completely wet, creating a lubricated surface for the squeegee blade to glide across smoothly.
The Secret to the S-Stroke
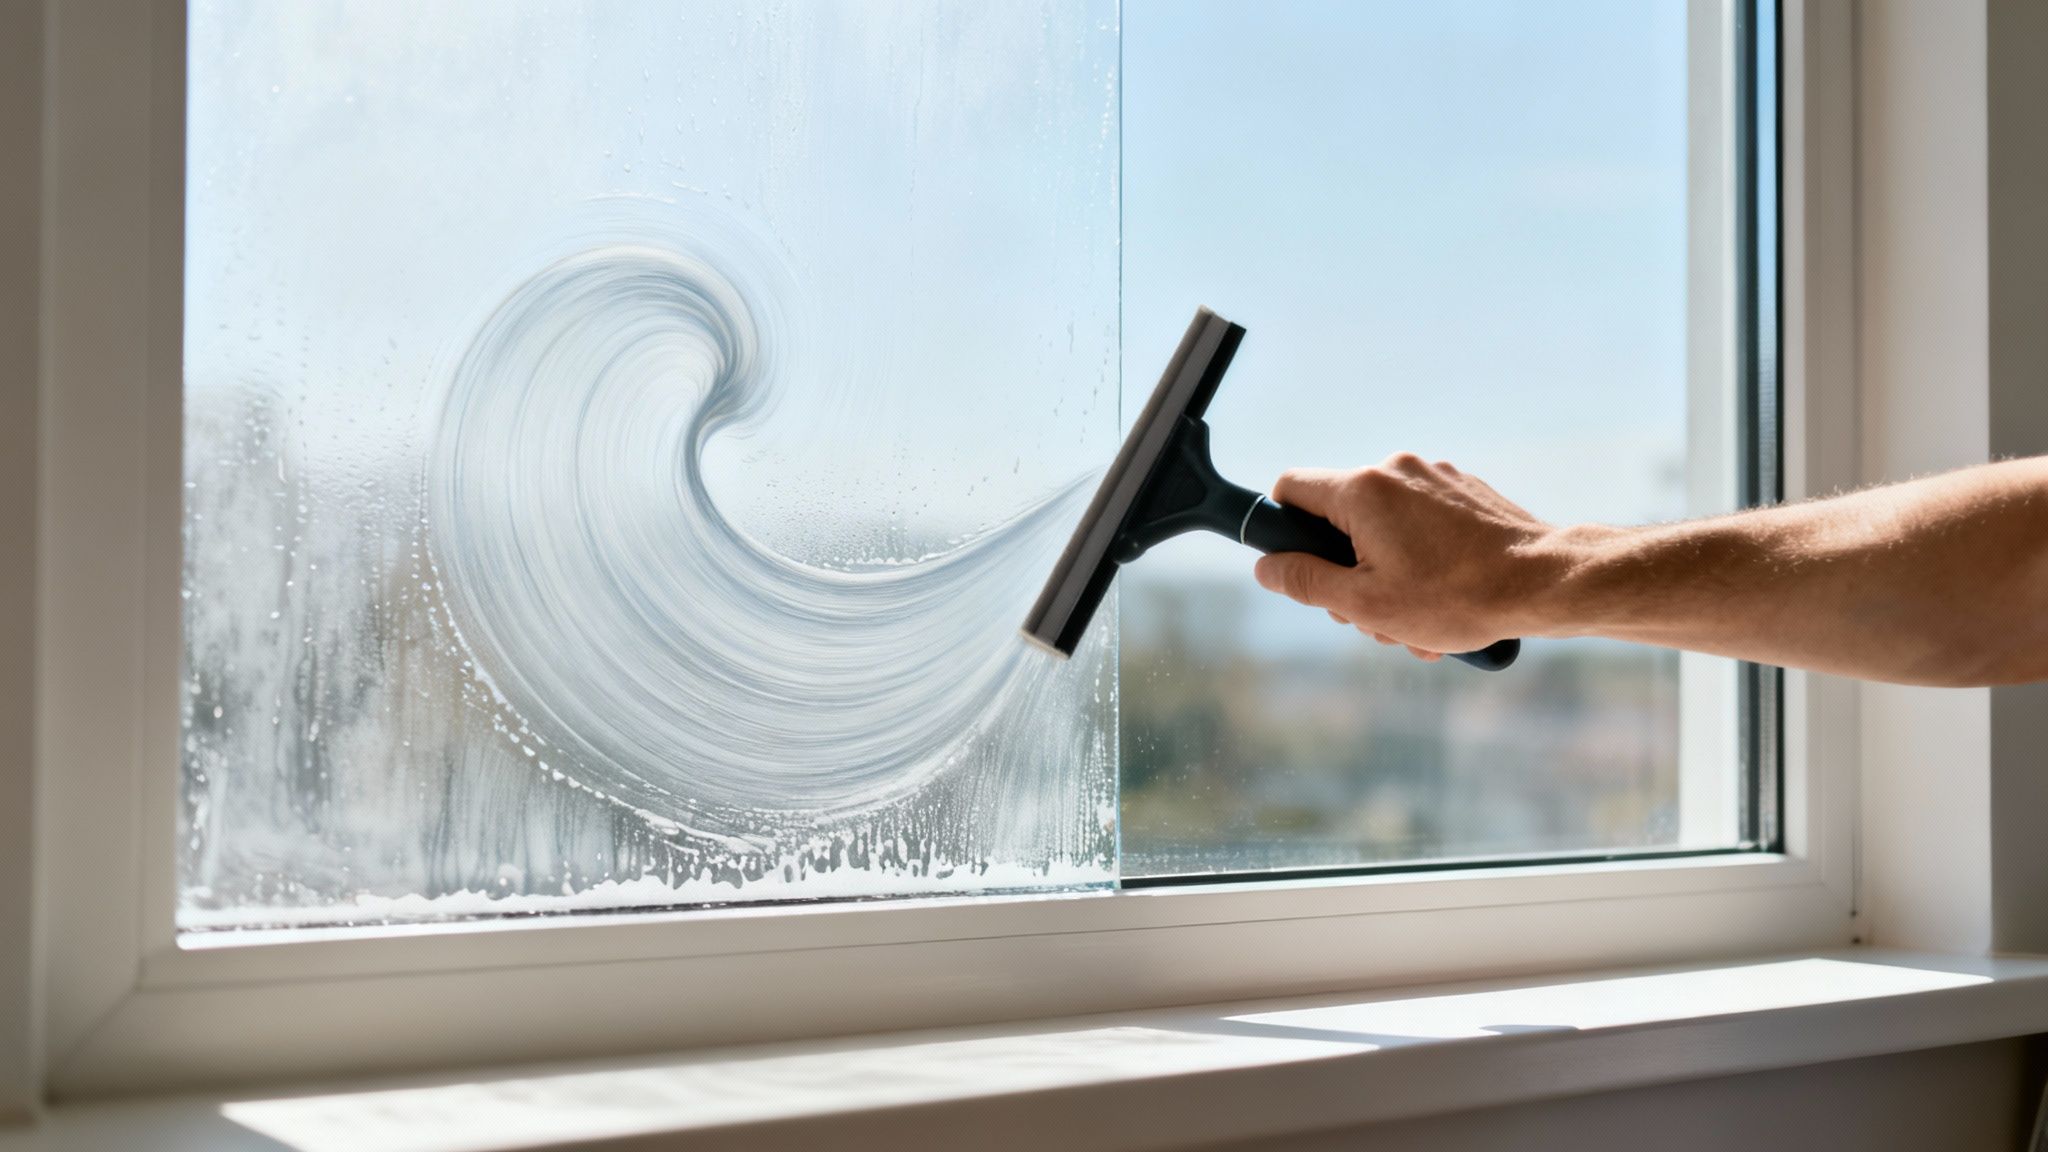
This is where the magic happens. A straight pull from top to bottom can work for small bathroom mirrors, but for larger windows, the "S-stroke" (also called the snake or fanning method) is the professional's choice. It’s far more efficient and keeps the dirty water contained as you work your way down the glass.
Here’s how to nail the technique:
- Create a Dry Edge: First, take a clean, dry microfiber cloth and wipe a narrow, one-inch strip down one side of the window. This "dry zone" gives your squeegee a clean place to start and stop each pass.
- Angle and Press: Place your squeegee at the top of that dry strip, tilting the blade at about a 30-degree angle to the glass. Apply just enough gentle, even pressure for the rubber blade to flex slightly.
- The First Pull: Pull the squeegee horizontally across the top of the window, overlapping your dry zone by about an inch.
- The Pivot: As you reach the other side, smoothly pivot the squeegee downward in an arc, so you’re ready to pull back across in the opposite direction. The goal is for each new pass to overlap the previous one by an inch or two.
- Keep the Rhythm: Continue this "S" motion all the way down the window, keeping the squeegee in constant contact with the glass and maintaining that slight overlap.
Once you hit the bottom, use a separate detailing cloth to wipe any leftover solution from the sill. And here's the most critical part: wipe your squeegee blade clean after every single pass. A dirty blade leaves dirty lines.
It might feel a bit awkward at first, but with a little practice, this technique becomes second nature. To dig even deeper, you can explore more professional window cleaning techniques for a streak-free shine. It’s the single most effective method for cleaning cloudy glass and getting that coveted, crystal-clear result every time.
Dealing with Tough Hard Water Stains and That Stubborn Haze
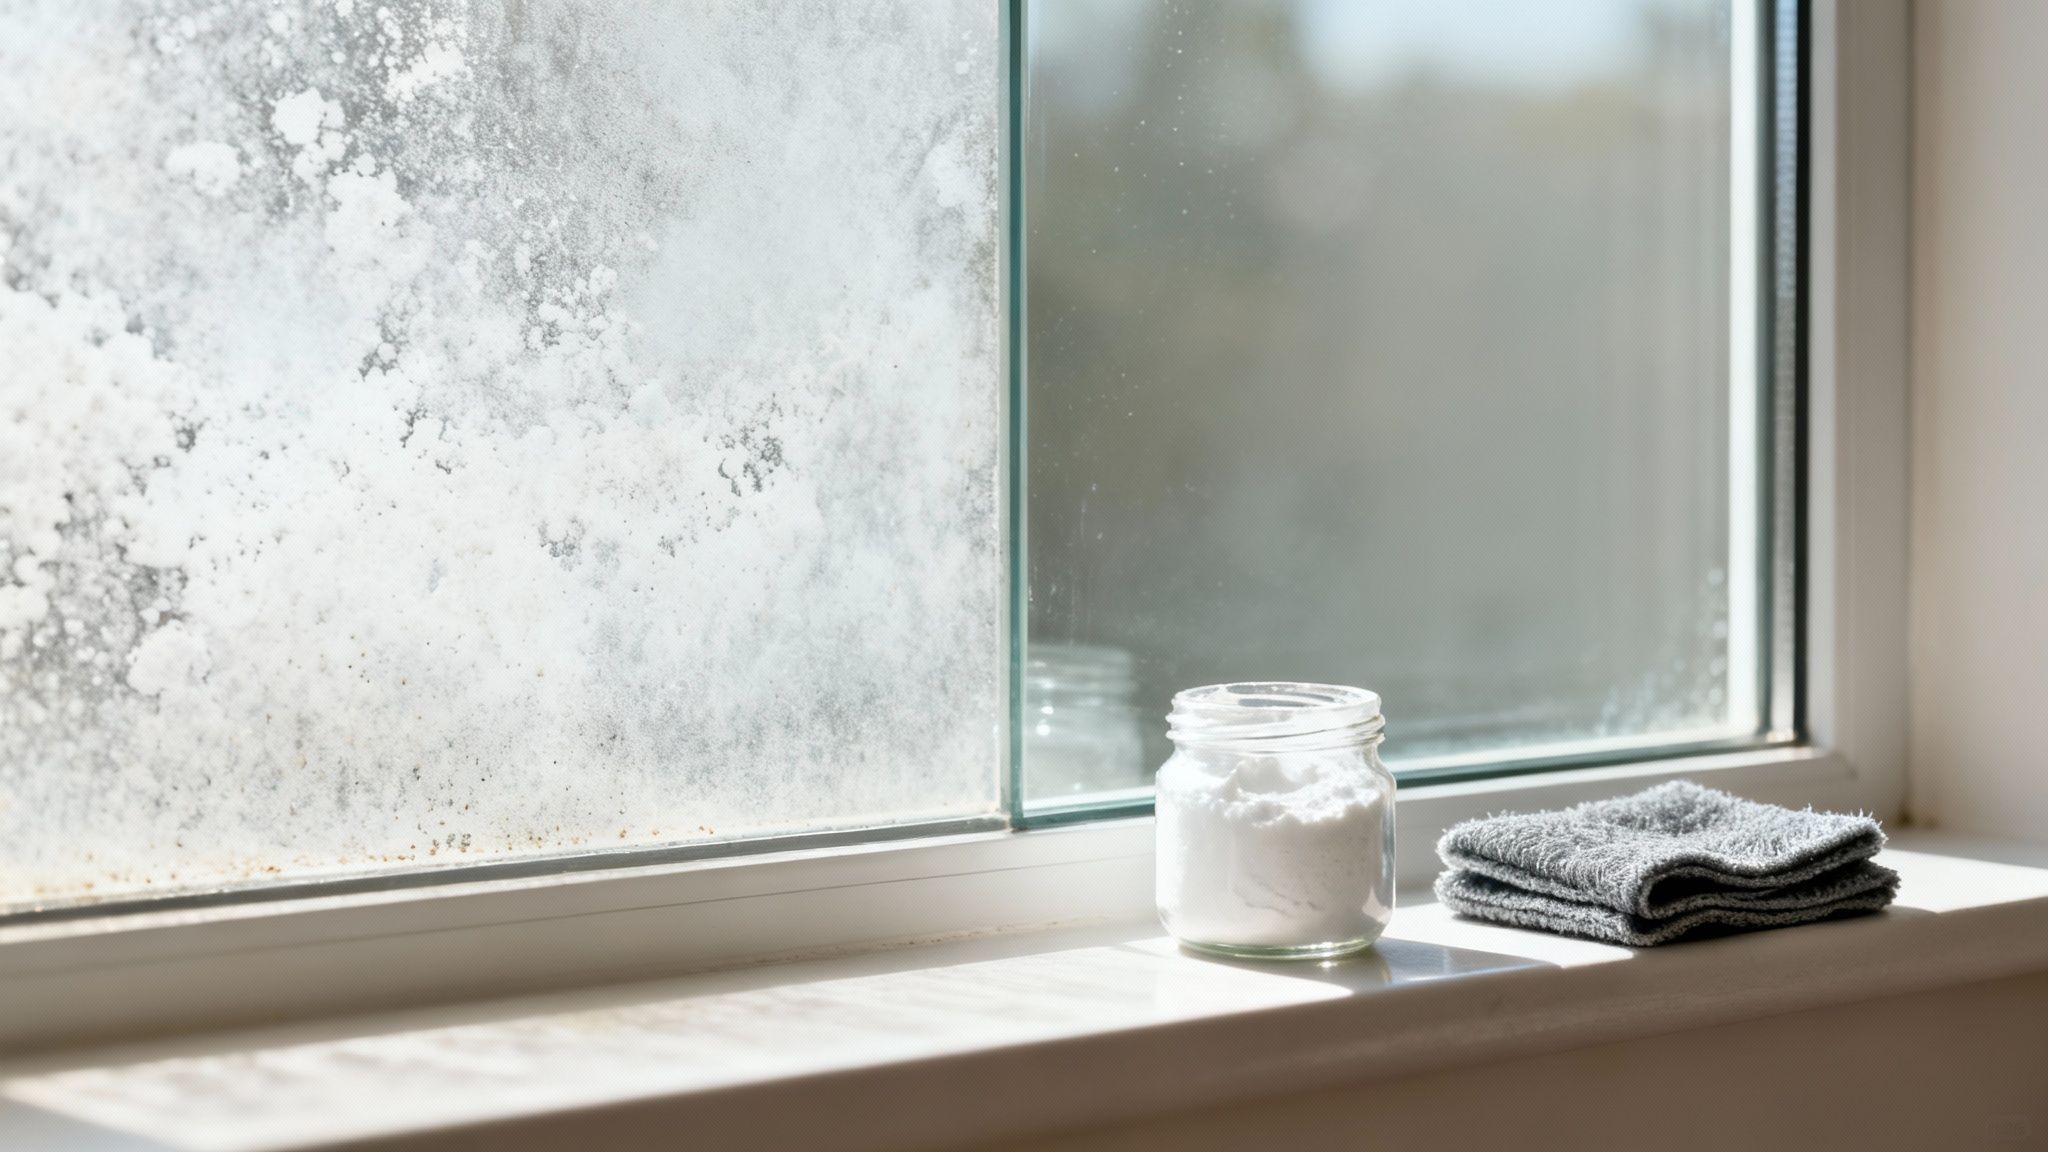
There are times when the classic vinegar spray and squeegee just don’t make a difference. You can clean a window perfectly, only to watch in frustration as ghostly spots and a faint, milky film reappear once it’s dry. This is the classic signature of mineral deposits—the stubborn residue left behind by hard water, often from sprinklers or even just years of washing with unfiltered tap water.
These stains are a common headache, especially in areas where the water has a high mineral content. Unlike regular grime, these deposits actually bond to the surface of the glass. That's why a basic cleaning solution just glides right over them without making a dent. To really beat them, you’ve got to bring out the bigger guns.
This is where you shift from everyday cleaning into what I’d call restoration. The idea is to dissolve or physically buff away that mineral buildup without doing any harm to the glass itself. It takes a bit more patience, but seeing that crystal-clear result is worth it.
The Right Way to Use Steel Wool
I know what you're thinking—steel wool and glass sound like a disaster waiting to happen. But here’s a little secret from the pros: the right kind of steel wool is a fantastic tool for this job. The key is to only use 0000-grade steel wool. This is the finest grade you can buy, and anything coarser will absolutely leave scratches.
This ultra-fine steel wool acts as a gentle abrasive, essentially shearing off the mineral spots without gouging the glass.
Here’s the safe way to do it:
- Always Work Wet: Never, ever use steel wool on dry glass. Lubrication is your best friend here. Keep the window soaked with your vinegar solution or just plain water.
- Light, Even Pressure: Gently rub the hazy spots in small, circular motions. You don't need to put a lot of muscle into it; let the steel wool do the work.
- Rinse and Check: After buffing for a minute or so, rinse the section and squeegee it dry to check your progress. You might need to repeat the process a few times for really set-in stains.
A Critical Warning: Do not use steel wool on tinted, coated, or specialty glass like tempered or laminated panes. It can easily damage these sensitive surfaces. If you’re not sure what kind of glass you have, always test it in a small, out-of-the-way corner first.
When to Bring in an Acidic Cleaner
For widespread, really severe hard water staining, a specialized acidic cleaner might be the next logical step. These products are formulated with mild acids that are specifically designed to dissolve the calcium and magnesium that cause hard water stains.
Just remember, these cleaners are much stronger than a simple vinegar mix and need to be handled with respect. Always wear gloves and eye protection when you're working with them.
The most important rule here is to do a spot test. Before you start on a whole window, find a small, hidden area to test the cleaner. Apply a bit, follow the product’s instructions to the letter, then rinse and dry it completely. Look closely for any discoloration or damage to the glass or the frame before you even think about moving on. This step is non-negotiable and can save you from a very costly mistake.
For a deeper dive into this, our guide on how to remove hard water stains from windows offers more safety tips and professional techniques.
Knowing how to handle these tough jobs is all about escalating your approach carefully. Start with the gentlest method first, and only move up to more aggressive tactics when you absolutely have to.
Choosing Your Approach for Tough Stains
When faced with stubborn cloudiness, it can be tough to decide whether to stick with a DIY solution or call in a professional. This table breaks down the common scenarios to help you make the right call.
| Stain Type | Effective DIY Method | When to Call a Professional | Estimated DIY Cost |
|---|---|---|---|
| Light Mineral Spots | Vinegar & Water, 0000 Steel Wool | Stains persist after multiple DIY attempts. | $5 – $15 |
| Severe Hard Water Buildup | Commercial Acidic Cleaner (with caution) | You're uncomfortable using acidic products or the glass is specialty/coated. | $15 – $30 |
| Suspected Glass Etching | None. Etching is permanent surface damage. | The "stain" won't come off no matter what; glass feels rough. | N/A |
| Unknown Persistent Haze | Start with steel wool, then consider an acidic cleaner spot test. | DIY methods fail, and you can't identify the cause of the cloudiness. | $5 – $30 |
Ultimately, DIY methods can be incredibly effective for many common issues. But for persistent, severe staining or when you suspect the glass itself is damaged, getting a professional assessment from a team like Sparkle Tech Window Washing is the safest and most effective path to getting your windows clear again.
Knowing When to Call a Window Cleaning Pro
Look, sometimes the smartest move you can make is putting down the squeegee and picking up the phone. While getting that streak-free shine on your own is a great feeling, there are definitely times when a job is best left to the experts. Knowing your limits is just as crucial as knowing the right cleaning solution.
Safety is the big one. If you're looking at windows on the second story or higher, or any pane that requires a wobbly ladder and a prayer, just don't risk it. A fall isn't worth it. The pros have the proper training, safety harnesses, and specialized gear like water-fed poles to reach those tricky spots without a second thought.
When DIY Is Not the Answer
Beyond the obvious safety concerns, some messes are just too stubborn for homemade solutions. If you're dealing with severe, widespread hard water stains that have laughed off every vinegar soak you've thrown at them, it's time for a pro. They have access to professional-grade compounds and polishing equipment that can often restore the glass. Trying to muscle through it yourself with the wrong tools is a fast track to permanently scratching the pane.
Here's the real deal-breaker: if you’ve figured out the cloudiness is actually moisture trapped between the panes of a double-pane window, stop right there. That's a broken seal. No amount of cleaning on the outside will ever fix it. You'll need a specialist to come out and determine if the unit can be repaired or if it's time for a replacement.
Calling a service like Sparkle Tech Window Washing isn’t a sign of defeat—it's a smart investment in your home. The demand for skilled window cleaners is huge for a reason; the global market hit around USD 93.16 billion in 2024 and is still climbing. You can read more about this growing industry on Grandview Research.
Ultimately, hiring a pro for the really tough jobs saves you time, keeps you safe, and delivers that flawless, crystal-clear result you were after in the first place.
Got Questions? We've Got Answers
When you're trying to get your glass back to its crystal-clear best, you're bound to have a few questions. We get these all the time from folks trying to tackle cloudy windows, so let's get you some straight answers from our years of experience.
When's the Best Time of Day to Wash My Windows?
This is a great question, and the answer makes a huge difference. You'll want to clean your windows on an overcast day, or very early/late in the day. The big thing to avoid is direct, hot sunlight.
If the sun is baking your glass, your cleaning mix will dry up in seconds. That's what causes those frustrating, streaky messes before you even have a chance to wipe them down. A cooler pane gives you the working time you need to squeegee everything off properly for a perfect finish.
Are Paper Towels Okay for Drying Windows?
I know it’s tempting, but please, step away from the paper towels! Grabbing a roll is probably the most common mistake we see, and it always leads to disappointment.
Paper towels are a problem for two main reasons:
- They fall apart. When they get wet, they leave a trail of linty fibers all over the glass you just cleaned.
- They just smear. Instead of absorbing the dirty water, they tend to push it around, creating a streaky mess.
Your best bet is a good squeegee to get the bulk of the water off, followed by a fresh microfiber cloth to catch any drips along the edges. Trust me, the difference is night and day.
Expert Takeaway: A squeegee is designed to lift and remove water and dirt in a single, clean motion. A paper towel just moves the grime around. If you're after that professional, invisible-glass look, using the right tool is non-negotiable.
How Often Do My Exterior Windows Really Need a Cleaning?
For most houses, giving your exterior windows a solid cleaning two to three times a year is the sweet spot. Sticking to that schedule keeps dirt, pollen, and mineral deposits from getting caked on and becoming a real problem.
Plus, a little regular maintenance makes each cleaning session go so much faster. It's way easier to wipe away a light layer of dust than it is to scrub off a year's worth of grime.
If you've tried everything and are still staring at a stubborn haze, or if you're just not thrilled about getting up on a ladder, Sparkle Tech Window Washing is ready to step in. Our pros have the tools and experience to bring back the sparkle, no matter the challenge. Swing by our site at https://sparkletechwindowwashing.com to get your free estimate scheduled.