



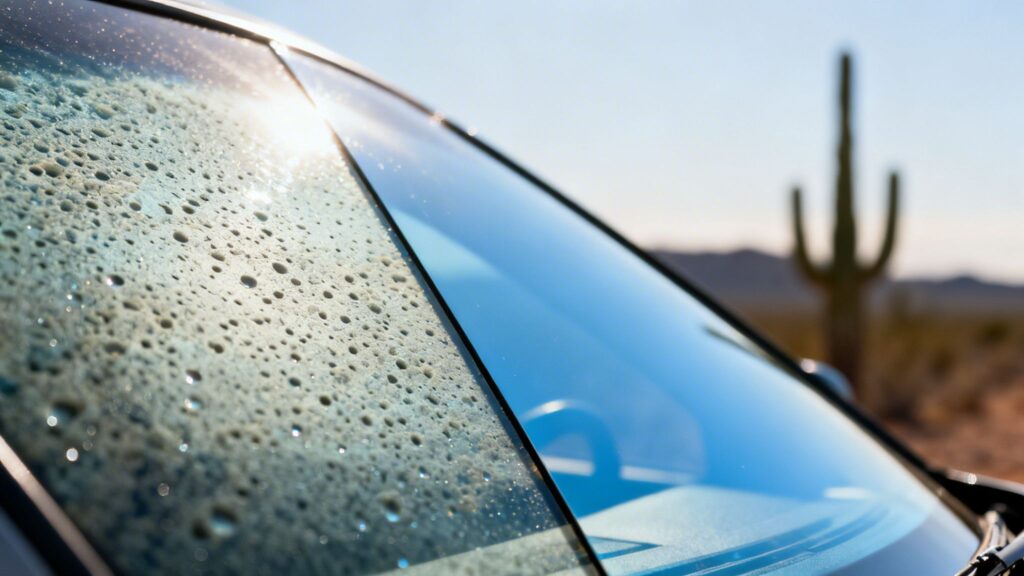
When you see those stubborn, ghost-like spots on your car windows that just won't wipe away, you're not just dealing with dirt. Those are the tell-tale signs of a much bigger problem, especially here in Arizona: water etching.
Unlike a simple water spot that sits on the surface, water etching is physical damage—a permanent pit or crater that corrodes the glass itself. Removing it takes a lot more than just a good cleaning.
What Is Water Etching and Why Does It Happen?
To really get what water etching is, you first have to understand its tamer cousin, the water spot.
Think about a drop of water sitting on your car’s glass. As it evaporates, it leaves behind any minerals it was carrying, which are usually calcium and magnesium. This chalky residue is what we call a water spot. It’s sitting on top of the glass, and if you catch it early enough, you can typically wipe it away without much trouble.
Water etching is what happens next if that spot is ignored. The best analogy is a cavity in a tooth. If you don't brush away plaque (the water spot), the acid it creates starts eating into the tooth’s enamel. It's the same idea with your windows. When mineral deposits are left on the glass, the intense Phoenix sun bakes them in, triggering a chemical reaction that literally corrodes the surface and carves out microscopic pits. That’s water etching—actual, physical damage to the glass.
Before you start scrubbing, it's critical to know whether you're dealing with a simple surface stain or permanent damage.
Water Spot vs Water Etching At a Glance
This quick table breaks down the key differences so you can accurately assess the situation.
| Attribute | Water Spots (Stage 1) | Water Etching (Stage 2) |
|---|---|---|
| Appearance | Chalky, white, or cloudy film on the surface. | Looks like a "ghost" of a water spot; visible from certain angles. |
| Feel | May feel slightly gritty, but the glass underneath is smooth. | The glass surface itself feels rough or pitted to the touch. |
| Removal | Can often be removed with vinegar, water, or a clay bar. | Cannot be wiped off; requires polishing or grinding the glass. |
| Damage | Sits on the glass; no permanent damage yet. | Corrodes into the glass; permanent damage has occurred. |
Knowing the difference is everything. One is a cleaning job, while the other is a restoration project.
The Science Behind the Damage
This isn't a random problem; it's practically engineered by our local environment. Arizona, and Phoenix in particular, is a perfect storm for water etching.
Our notoriously hard water, sourced mainly from the Colorado River, is loaded with dissolved solids—sometimes between 300-500 mg/L. When that water dries on your car, the year-round sun acts like a kiln, rapidly evaporating the moisture and concentrating those corrosive minerals. This destructive combo means damage happens much faster here than in milder climates.
It's a widespread issue. Some reports indicate that up to 70% of cars in areas like Phoenix show visible etching after just one summer, especially from exposure to sprinklers. Untreated glass can develop permanent pits in as little as 6 to 12 months.
More Than Just a Cosmetic Flaw
Sure, etched windows look bad, but the problem runs much deeper than aesthetics. The thousands of tiny pits scattered across the glass disrupt its smooth surface, causing light to scatter in dangerous and unpredictable ways.
This creates several serious safety hazards for drivers:
- Increased Glare: Driving toward a low sun at sunrise or sunset becomes blinding as the light refracts in all directions.
- Reduced Nighttime Visibility: Headlights from oncoming cars can create a disorienting "starburst" effect, making it incredibly difficult to see the road ahead.
- Impaired Vision in Rain: Water no longer sheets off the window as it should. Instead, it clings to the pitted surface, smearing with every swipe of the wipers and obstructing your view.
Understanding the basic anatomy of auto glass helps you appreciate why preserving its integrity is so important. If you want to dive deeper into the different layers and functions, this complete guide to car window parts and repairs is an excellent resource. It really puts into perspective how crucial this component is for your safety on the road.
How to Assess the Damage on Your Car Windows
Before you grab any polish or cleaner, you need to figure out exactly what you’re up against. Is it a simple mineral stain, or has the glass itself been damaged? Getting this diagnosis right from the start is the most important step—it dictates your entire plan of attack and helps you avoid making the problem worse.
Think of it like being a detective for your car's glass. Your first and most reliable clue comes from a simple touch test.
Conduct the Feel Test
First, give a small, affected part of the window a good cleaning with a decent glass cleaner and a fresh microfiber cloth. Make sure the area is completely dry.
Now, close your eyes and run your fingertips slowly over where the spots are. If the surface is perfectly smooth, you’re in luck. You’re likely dealing with Stage 1 mineral deposits—basic water spots that haven't had time to cause permanent damage.
But if you feel any texture at all—a subtle roughness, grittiness, or even tiny pits—you’ve found water etching. Those little craters are physical imperfections that have been chemically carved into the glass itself. They can't just be wiped away. This tactile test is the most definitive way to know the problem has gone beyond a surface-level stain.
This flowchart breaks down that simple diagnostic process.
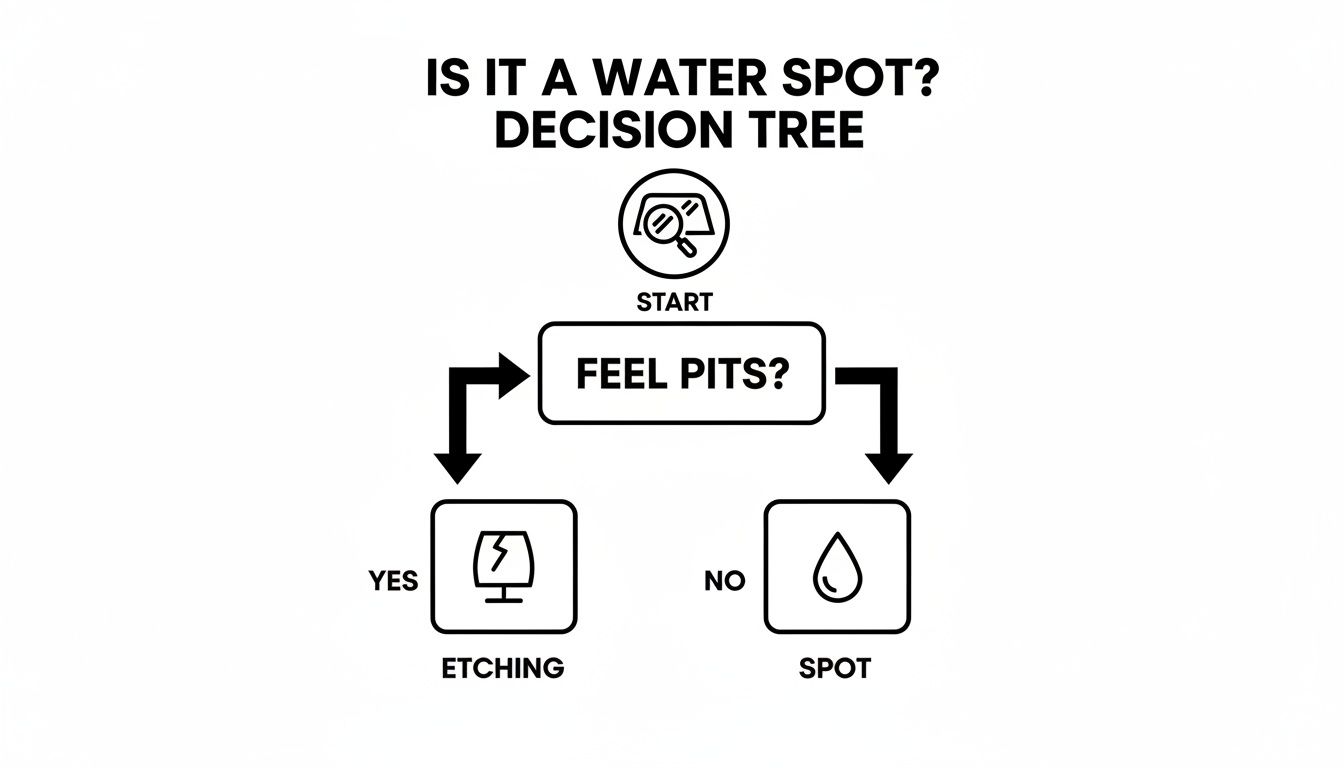
As you can see, it really just comes down to texture. If you can feel the damage, the glass is etched.
Use Light to Reveal the True Damage
Water etching can be surprisingly sneaky. On a bright, sunny day, you might look at your windows and think they look fine. The real damage often only shows up when you use angled light to expose it.
For the best results, wait until dusk or pull your car into a dark garage. Grab a powerful, focused light source, like the flashlight on your phone or a dedicated inspection lamp. Hold the light at a very low, sharp angle to the glass—almost parallel with it—and sweep the beam across the surface.
Pro Tip: Always check the glass from both the inside and the outside. Etching that looks minor from one side can appear much more severe from the other, giving you the complete picture you need.
This trick forces the microscopic pits and valleys from the etching to catch the light, revealing a ghostly pattern of spots and trails that were completely invisible moments before. Now you can see the true scope of the problem.
Classify the Severity
With the full extent of the etching revealed, you can now judge how bad it is. This is key to deciding whether it’s a job you can tackle yourself or if you need to bring in a professional.
- Light Etching: You can feel a slight roughness, but the spots are faint and mostly visible only with your angled light trick. They don't get in the way of your vision during normal driving.
- Moderate Etching: The pits are easy to see from a few different angles and feel noticeably rough to the touch. You might be starting to see some minor glare or light distortion, especially when driving into the sun at sunrise or sunset.
- Severe Etching: The glass feels very coarse, almost like fine-grit sandpaper. The damage creates a visible haze, serious glare from oncoming headlights, and a "starburst" effect around lights. Your vision is clearly impaired.
Be honest with your assessment. Trying to fix moderate-to-severe etching with DIY products is a recipe for frustration. Worse, you can end up creating a permanent haze or a "funhouse mirror" distortion in the glass. For anything beyond light etching, calling a pro is always your safest and most effective bet.
DIY Methods for Removing Light Water Etching
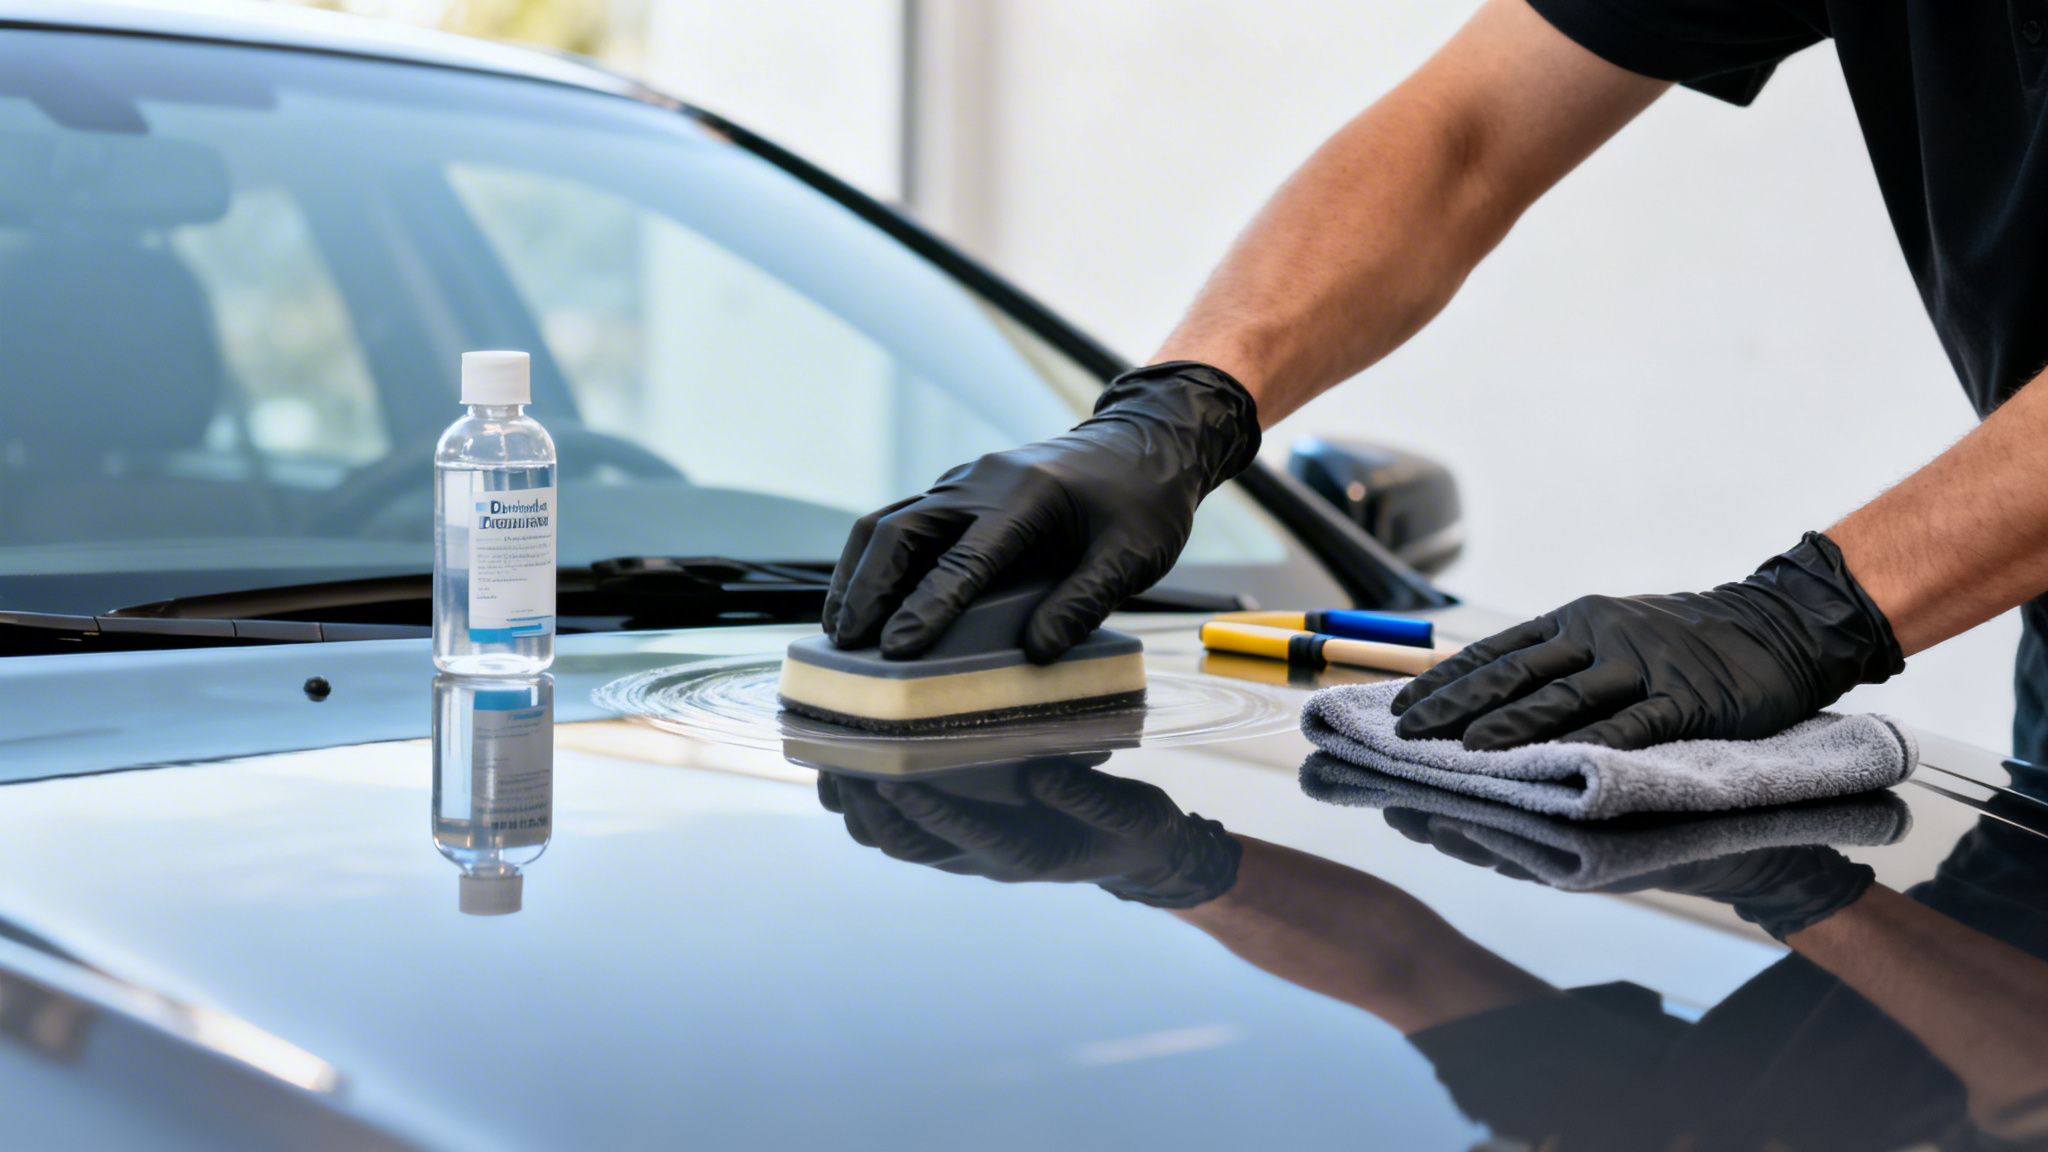
If you're the kind of person who likes to roll up your sleeves, you can absolutely tackle light water etching yourself. It just takes a bit of patience, the right tools, and a careful approach. Before you touch that glass, though, live by two rules: always wear protective gloves and safety glasses, and always test any product on a small, out-of-the-way spot first.
I’ve laid these methods out from the gentlest to the most aggressive. Start with the first one and only move on if the etching proves stubborn. Keep in mind, this is all for light damage.
Method 1: The Vinegar Solution
For those fresh, barely-there mineral spots, a simple acidic solution is your best first move. The thinking here is pretty simple: hard water minerals are alkaline, so a mild acid like vinegar can neutralize and dissolve them before they dig in and cause real damage.
You’ll need:
- Distilled white vinegar
- Distilled water (using tap water can just add more minerals back!)
- A clean spray bottle
- Two high-quality microfiber towels
Just mix equal parts distilled water and white vinegar in your spray bottle. Give the affected glass a good spray, and let it sit for 5 to 10 minutes. This dwell time is key—it gives the vinegar a chance to work its magic and break down the mineral bonds. Afterwards, give it a gentle scrub with one microfiber towel, rinse it off with more distilled water, and dry it completely with the clean towel.
Method 2: The Clay Bar Treatment
What if the vinegar didn't quite do the trick? If you can still feel a gritty texture, it means the contaminants have bonded more tightly to the glass. This is where a detailing clay bar comes in. It’s a fantastic tool, typically used on paint, for physically lifting these embedded bits off your car windows.
A clay bar works by grabbing and pulling out contaminants that have stuck to the glass. Imagine using a lint roller on a sweater—it yanks off all the stubborn bits that a simple wipe leaves behind.
To use a clay bar, you need a lubricant. A dedicated clay lube spray is ideal, but a quick-detailer spray works in a pinch. Spray the lube generously on a small patch of glass, then just glide the clay bar back and forth over the area. You’ll literally feel the surface go from rough to slick as the bar pulls out the grit. Wipe away the residue, and you're ready for the next section.
Method 3: Using #0000 Steel Wool
When the chemical approach and clay bar aren't quite cutting it, you can step up to a very gentle abrasive. We're talking about #0000 (quadruple-aught) steel wool. Used correctly, this grade is fine enough to polish glass without scratching it. But you have to be careful.
Crucial Safety Warning: Never, ever use any other grade of steel wool; anything coarser will instantly put scratches in your glass. And don't even think about using it dry. You must always use a lubricant like a glass cleaner or soapy water to let the steel wool glide safely.
Spray your lubricant on the glass and gently rub the #0000 steel wool in small, circular motions with light pressure. You’re polishing, not scrubbing. Keep the surface wet, and as soon as you feel the roughness disappear, rinse and dry the window. To learn more about this technique, take a look at our guide on how to remove hard water stains from windows.
Method 4: Consumer-Grade Glass Polish
This is your final stop on the DIY train for light water etching. A dedicated glass polishing compound contains extremely fine abrasives, such as cerium oxide, designed to physically grind down the high points of the glass surface until it's level with the bottom of the etched pits.
It's critical to understand the difference here. The other methods clean or lift contaminants. A polish is an abrasive that removes a microscopic layer of the glass itself.
You'll need the polish, a microfiber or foam applicator pad, and a few clean microfiber towels. Put a small dab of polish on the pad and work it into a small section of glass using firm, overlapping circles. Keep polishing until the product begins to dry out, then take a clean towel and buff off all the residue. Check your work with a good light source from an angle. It takes some elbow grease, but this method can deliver fantastic results on light etching.
Why Severe Etching Requires a Professional Touch
We all love a good DIY project, but there are times when you have to know when to tap out and call in the pros. While tackling a few light water spots is one thing, dealing with severe etching is a completely different ballgame. Drawing that line is key to protecting your glass—and your wallet.
Simply put, the polishes you can buy at an auto parts store just don't have the muscle for this kind of job. They lack the aggressive abrasives needed to safely level a heavily damaged glass surface. It’s like trying to sand a rough-sawn plank with flimsy finishing paper; you’ll just make a bigger mess without ever fixing the real problem. Those products just can't cut deep enough to restore true clarity.
The Professional Toolkit
When a pro shows up, they aren't just bringing a stronger version of what you have. They're carrying a specialized arsenal of equipment that takes serious training to use without causing damage.
Here's what a real restoration job requires:
- Rotary Polishers: These aren't your friendly orbital buffers. Rotary machines spin on a single, fixed axis at incredible speeds. That action generates the heat and cutting power needed to grind down the glass itself, but it can also warp the glass permanently if you don't know exactly what you're doing.
- Cerium Oxide Slurries: This is the magic ingredient for professional glass polishing. We mix a super-fine cerium oxide powder with water to create a slurry. The secret isn't just the powder; it's the precise ratio, the machine speed, and the exact amount of pressure, all of which take years of hands-on experience to master.
- Specialized Polishing Pads: We use specific felt or rayon pads designed to work hand-in-glove with cerium oxide. They’re built to hold the slurry against the glass and, just as importantly, to manage the intense heat that builds up during polishing.
Using this gear without training is a huge gamble. The same power that makes these tools effective can ruin your window in the blink of an eye.
The Real Risks of DIY on Severe Etching
When you try to fix severe water etching on car windows on your own, you're not just risking a failed attempt. You're risking permanent, irreversible damage that's far worse than the original spots.
The most common mistake is creating a "funhouse mirror" effect. By applying uneven pressure or using a rotary polisher incorrectly, you can create low and high spots in the glass. This optical distortion makes driving dangerous, as it warps your perception of the road.
Another major risk is creating a permanent haze. Too much heat from an aggressive polish can literally bake the compound into the glass or cause tiny micro-fractures. You might manage to remove the etching, but you’ll be left with a constant, blurry fog that you can’t see through.
This isn't just speculation. Experts classify severe acid-rain etching as Stage Two corrosion, a problem affecting over 30 million vehicles annually in polluted areas where rain pH can hit 4.2. Within just 24-48 hours, the glass can be permanently pitted. Even for pros, it's a race against time. While about 70% of cases are fixable if treated within six months, that success rate drops to just 60% after two years.
The Smarter Choice
When you’re looking at moderate to severe etching, the smartest and safest move is to call for professional help. Paying for a service like Sparkle Tech isn't just about the tools; you're investing in expertise, safety, and a predictable outcome. Our technicians are trained to assess the damage correctly and perform the restoration without creating distortion or haze. We've fine-tuned our methods for the specific kind of severe water etching on car windows we see every day here in the Phoenix valley.
It all boils down to a simple cost-benefit analysis. A failed DIY job can easily lead to a full window replacement, which can cost hundreds, if not thousands, of dollars. By knowing when to call a professional window washing company, you're protecting your vehicle's value and, more importantly, your own safety.
How to Prevent Water Etching in Arizona
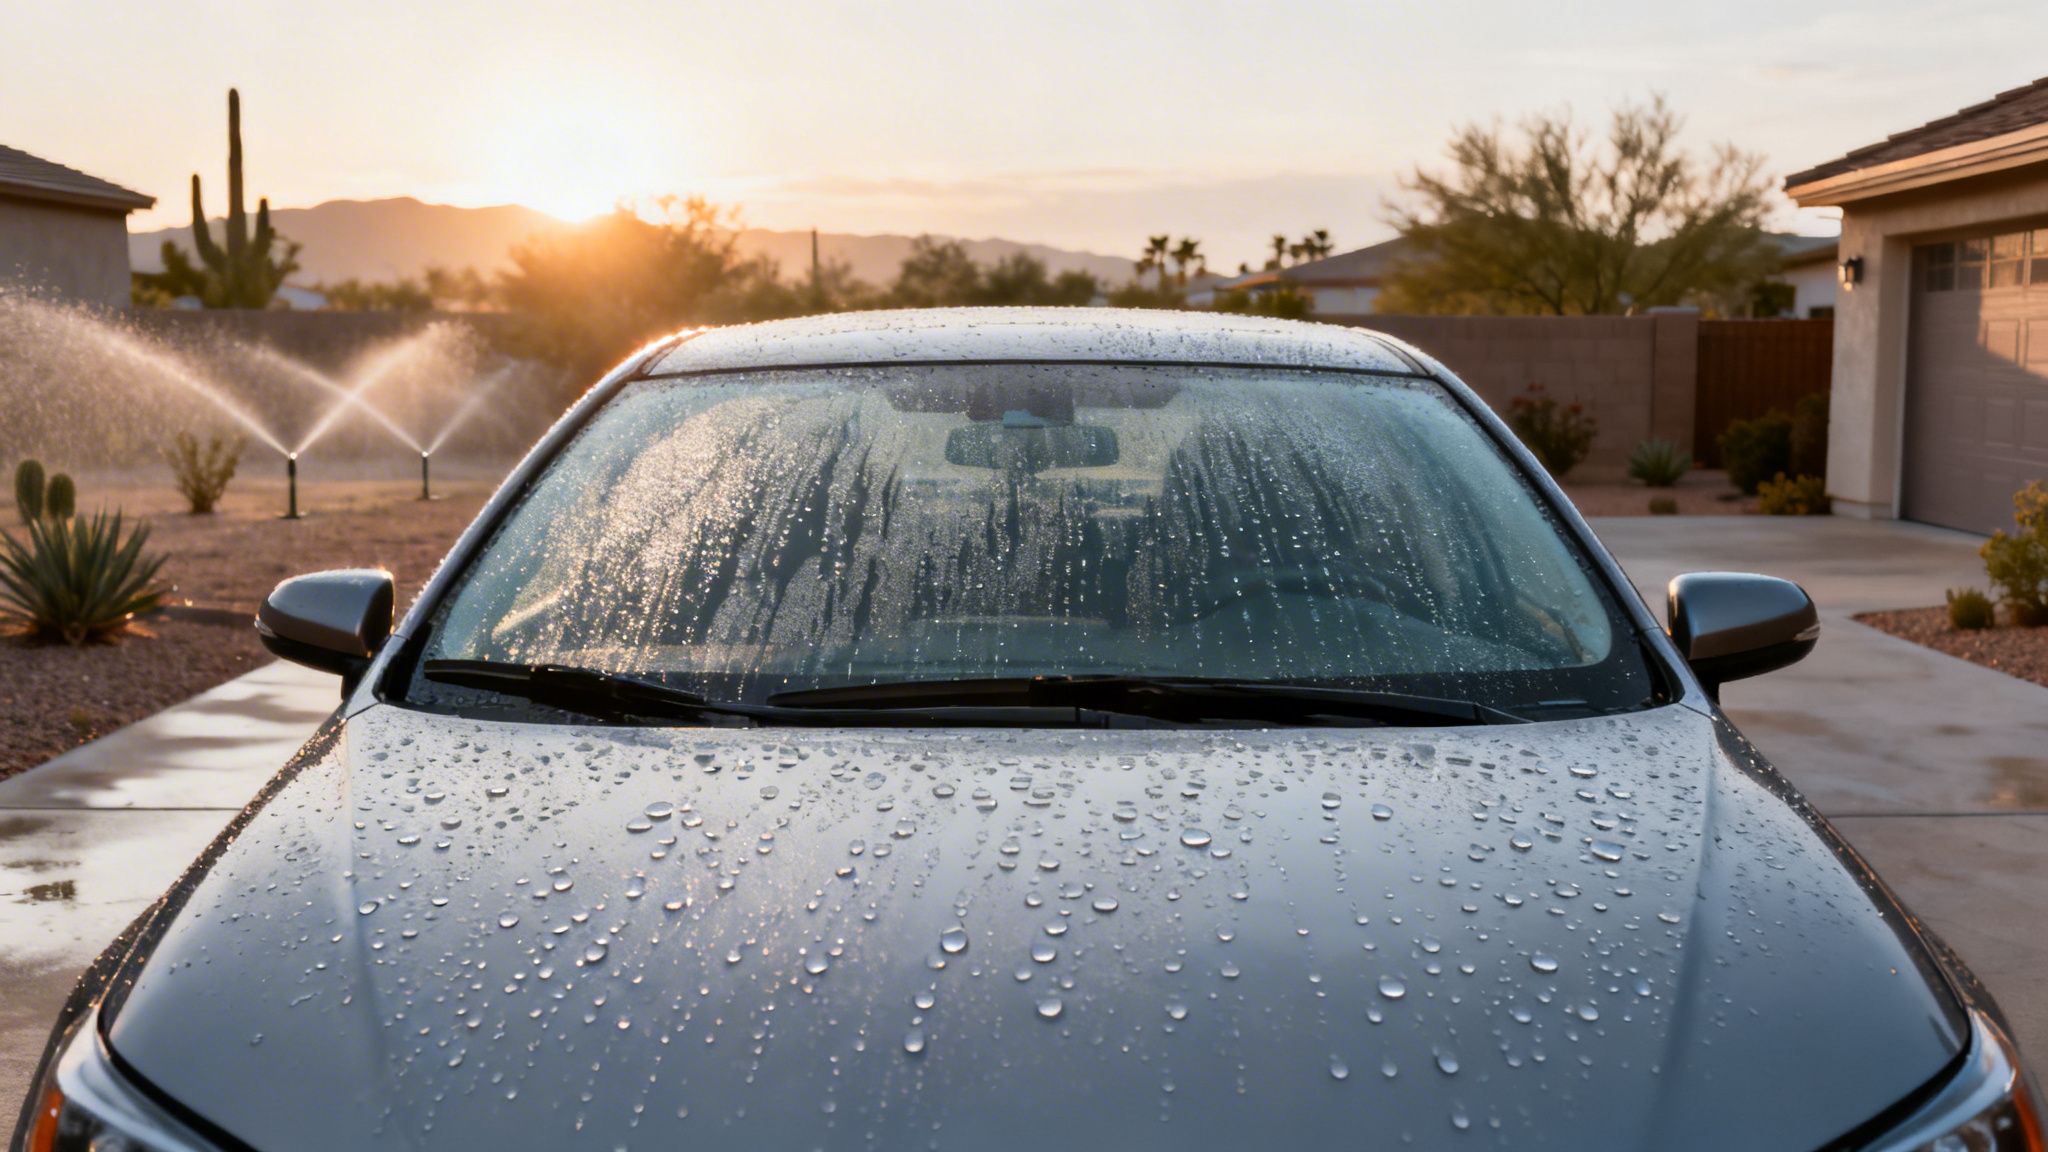
When it comes to water etching, an ounce of prevention is truly worth a pound of cure, especially here in Arizona. The combination of our intense sun and mineral-heavy water creates the perfect storm for damaged glass. The good news is that protecting your car windows doesn't take a lot of work—it just requires a few smart habits.
The best defense is a good offense, and that means keeping hard water off your glass in the first place. This really comes down to being mindful of where you park. That fantastic shaded spot right next to the grass might seem perfect, but it puts your car directly in the line of fire from sprinkler systems. Around here, that’s one of the fastest ways to get severe etching.
And after a rare Phoenix rainstorm or even just a trip to the car wash, never let the sun do the drying for you. Grab a clean microfiber towel and give the windows a quick wipe-down. This five-minute step lifts those mineral-packed water droplets off the glass before they can bake on and start eating away at the surface.
Build a Defensive Shield with Protective Products
Beyond just being careful, the single best thing you can do is apply a protective layer to your glass. These products work by creating a hydrophobic (water-repelling) barrier. Instead of sitting flat and drying into a spot, water beads up and rolls right off, taking all those damaging minerals with it.
You've got a few great options, each offering a different balance of durability, performance, and cost.
- Glass Sealants: These are synthetic polymers made just for glass, and they're incredibly easy to apply. They create a super slick surface that makes water fly off, and you can expect them to last for 3 to 6 months under the intense Phoenix sun.
- Ceramic Coatings for Glass: If you want the most durable, long-term solution, a ceramic coating is the way to go. These products form a hard, chemical bond with the glass itself, delivering serious protection for 1 to 2 years, sometimes even longer.
- High-Quality Waxes: While they’re really meant for your paint, a good carnauba or synthetic wax can give you a temporary hydrophobic layer on glass. Think of this as a short-term fix, as it will likely only last a few weeks.
Comparing Your Protective Options
So which one is right for you? It really depends on your budget and how much time you want to spend on upkeep. A ceramic coating offers the ultimate long-term defense against water etching on car windows, but a quality sealant that you re-apply a couple of times a year is also an extremely effective strategy.
| Protective Product | Typical Durability (Arizona) | Hydrophobic Properties | Average Cost |
|---|---|---|---|
| Glass Sealant | 3–6 Months | Very Good | $ |
| Ceramic Coating | 1–2+ Years | Excellent | $$$ |
| Car Wax | 2–4 Weeks | Good | $ |
I can't stress enough how important prevention is. The damage is cumulative and adds up fast. Research has shown that ongoing water etching can reduce a car window's lifespan by a staggering 25-35%. In fact, 52% of vehicles over five years old already show measurable glass degradation from mineral deposits.
This problem is only amplified here in the Phoenix Valley. Our scant eight inches of annual rainfall means that when it does rain, the water is full of concentrated pollutants, leading to 60% more etching than in more humid climates. You can see the science behind how water spots damage surfaces by reading the detailed findings from Dr. Beasley's.
The Key Takeaway: Consistent, simple maintenance is your most powerful weapon against permanent glass damage. By parking smart, drying your windows promptly, and using a protective sealant, you can keep your glass crystal clear and save yourself hundreds of dollars in future restoration costs.
Your Local Experts for Phoenix Window Etching Repair
When the water spots have gone from a simple nuisance to a rough, etched-in problem, DIY methods just won't cut it anymore. This is the point where you need a professional who truly gets the harsh Phoenix climate. Trying to tackle severe etching without the right gear and experience can easily make things worse, leaving you with hazy glass or even a distorted "funhouse mirror" effect. Ignoring it isn't an option either—the corrosion will only deepen, hurting your vehicle's value and compromising your view of the road.
That's where Sparkle Tech Window Washing comes in. As a local, family-owned business, we specialize in repairing the exact kind of severe water etching on car windows that Arizona's hard water and relentless sun create. We're not just offering a quick clean; we provide a full glass restoration service meant to restore clarity and protect your investment for the long haul.
The Sparkle Tech Restoration Process
Our process is a world away from what you can achieve with a bottle and a cloth from the auto parts store. We’ve developed a meticulous method to ensure your windows aren't just clean, but professionally restored to the best condition possible. When you work with us, you're getting the peace of mind that comes from a team that is fully insured, bonded, and registered right here in Arizona.
Here’s what our comprehensive service looks like:
- Professional Assessment: It all starts with a close-up inspection. We need to see just how deep the etching goes. This lets us choose the right approach and give you an honest, realistic expectation for the final result.
- Multi-Stage Polishing: We use specialized rotary polishers paired with professional-grade cerium oxide compounds to carefully resurface the glass. This isn't just buffing—it's a precise process of grinding down a microscopic layer to level out the pits and craters caused by the mineral deposits.
- Protective Sealant Application: Once the glass is restored, we apply a high-quality sealant. This final step is crucial. It creates a hydrophobic barrier that makes water bead up and roll away, stopping new mineral deposits from ever getting a foothold and starting the cycle again.
Choosing Sparkle Tech means choosing clarity, safety, and confidence. We combine advanced techniques with local expertise to deliver results that DIY products simply can't match, ensuring your view of the road is as clear as possible.
When you're ready for a permanent solution, it’s time to call in the pros. For a deeper dive into our services, check out our complete guide to professional window cleaning in Phoenix, AZ. Don't let water etching put your safety at risk—let our experts restore your windows the right way.
Frequently Asked Questions About Water Etching
Even after getting the basics down, you probably have a few more questions rattling around. Let's tackle some of the most common ones we hear from car owners dealing with water etching.
Can Water Etching Really Lower My Car's Resale Value?
Without a doubt. Think about it from a buyer's perspective: heavy water etching isn't just an ugly cosmetic flaw, it's a legitimate safety concern. That hazy film and the blinding glare it can cause at sunrise and sunset are immediate red flags for any savvy buyer or professional appraiser.
We've seen visible etching knock a car's resale price down by $500 to $1,200. Spending a bit on professional glass restoration before you sell isn't just an expense; it's a smart move to protect your investment and get the top-dollar price your vehicle deserves.
Is It Safe to Use #0000 Steel Wool on My Car Windows?
This is one of those "yes, but" situations that requires a lot of caution. The idea circulates on forums because #0000 (quadruple-aught) grade steel wool is incredibly fine and, when used perfectly, won't typically scratch automotive glass.
Crucial Warning: The key word is perfectly. You absolutely must use a lubricant—like a good glass cleaner or plenty of soapy water—to create a buffer. Never, ever use it dry. And keep it far away from tinted films, mirrors, and your paint, as it will ruin them instantly. Honestly, if you have any hesitation at all, it's much safer to stick with chemical cleaners or just call in a pro.
How Often Should I Apply a Glass Sealant in Phoenix?
Living in a place like Phoenix, with our intense sun and heat, means you have to be extra vigilant. The UV rays and high temperatures here are brutal on protective coatings, breaking them down much faster than in cooler climates.
For our area, reapplying a quality glass sealant every 3 to 6 months is a solid plan. The easiest way to know it's time? Watch your windshield during the next rainstorm (or when you wash it). If water isn't beading up and rolling off cleanly, your protective barrier is gone. Staying on top of this simple task is the single best thing you can do to prevent new water etching on your car windows.
When you're dealing with stubborn water etching, don't leave your safety and your vehicle's value to chance. Sparkle Tech Window Washing provides professional glass restoration to bring back clarity and protect your windows for the long term. Get a free quote today by visiting https://sparkletechwindowwashing.com.