



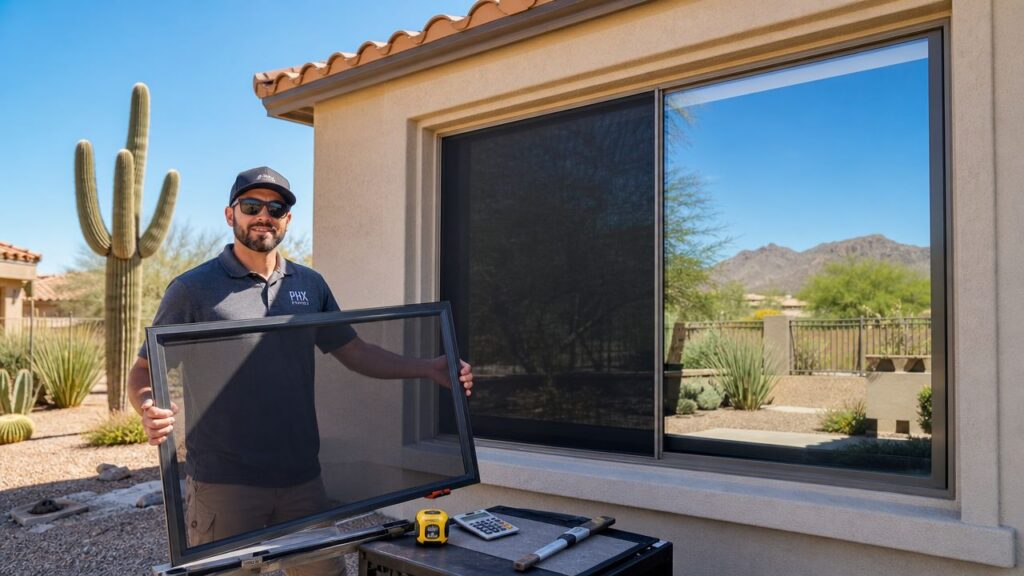
Professional solar screen installation in Phoenix typically runs $50 to $150 per window, and many homeowners land around $160 per window including labor depending on size, density, and fit. The key question isn't just what solar screens cost. It's what drives your project toward the low end or the high end.
If you're reading this in the middle of a Phoenix summer, you probably already know the feeling. The west-facing room gets blasted every afternoon, the glass is hot to the touch, and the AC seems to run without a break. People usually start looking at solar screens when one part of the house becomes annoying enough that they finally want a fix.
In Arizona, solar screens aren't a cosmetic add-on. They're a heat-management upgrade. But Phoenix makes the buying decision trickier than most national guides admit. Dust loads up mesh faster here. Intense UV exposure is rough on low-grade materials. And if you live in an SRP service area, rebates can change the math enough that the cheapest-looking quote isn't always the best value.
Beat the Heat and Your Energy Bill
A lot of homeowners start with the same complaint. One bedroom is always warmer, the living room has too much glare in the afternoon, and the AC bill feels worse every summer. In Phoenix, that usually points to sun exposure first, not just HVAC performance.
Solar screens help because they stop a chunk of the sun before it reaches the glass. That matters most on west- and south-facing windows where rooms can heat up fast in the afternoon. If the home already struggles with airflow or dust in the system, it also helps to cut utility costs with HVAC care so the whole house works together instead of asking one fix to do everything.
Homeowners who are just beginning their research usually want one clear answer first. What should they expect to pay? In Phoenix, the usual installed range is $50 to $150 per window, but that only tells part of the story. Density, frame quality, custom sizing, and whether the installer is building screens precisely for your openings all affect the final number.
For anyone comparing options, it's useful to understand how solar screens for Phoenix homes are typically used. The goal isn't to make every room dark. The goal is to reduce heat and glare where the sun punishes the house most.
Practical rule: Start with the windows that make your house uncomfortable, not every opening on day one. The best first installs are usually the ones you already avoid standing near in the afternoon.
That approach keeps the project practical. It also gives you a better way to judge value. If a screen solves a real hot-spot problem, the cost makes sense much faster than when it's treated like a generic house-wide upgrade.
Decoding Solar Screen Prices A Detailed Cost Breakdown
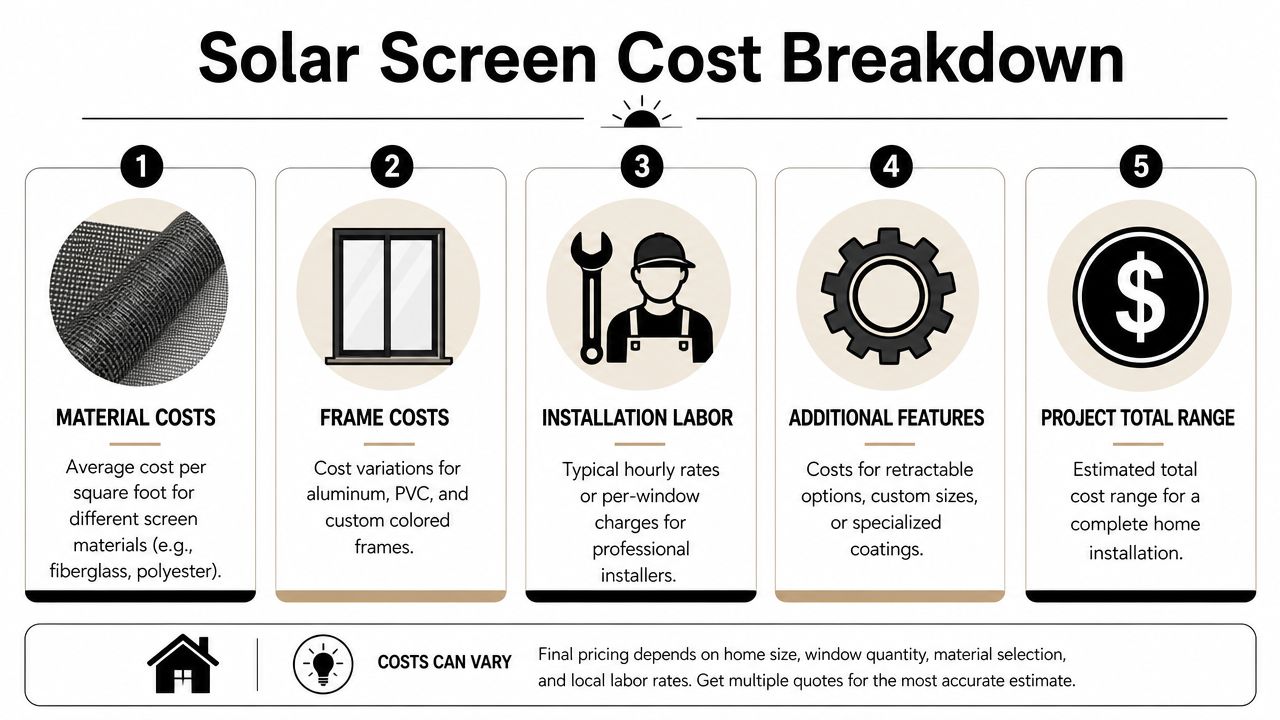
In Phoenix, pricing gets confusing fast because homeowners shop by window, while shops often build the quote by square footage, mesh type, frame stock, and install time. That is why two bids can look far apart even when both companies are measuring the same house.
A commonly cited market range from HomeGuide's solar screen cost breakdown puts exterior solar screens at about $50 to $150 per window, with higher totals for oversized openings and lower per-window pricing on larger batches. Their guide also notes square-foot pricing tends to rise with denser mesh, which matters on hard-hit west exposures in Arizona.
What a quote usually includes
A real solar screen quote is more than fabric stretched into a frame. In most Phoenix jobs, the price includes measuring, frame fabrication, corners and hardware, mesh, installation, and the time it takes to fit each screen so it sits square and stays put in wind.
Dust matters here too. Fine Arizona dust works into tracks, corners, and attachment points, so a screen that fits loosely on day one usually looks worse faster. A tighter, cleaner build often costs more upfront, but it tends to hold up better through monsoon gusts and repeated cleanings.
Why size changes the math
Per-window pricing is useful for quick comparison. It can also hide the actual cost.
A small bedroom window and a tall front-room picture window are not the same job, even if both count as one opening on a quote sheet. Large custom spans use more material, create more frame stress, and leave less room for sloppy measuring. That is where square-foot pricing helps homeowners compare bids fairly.
Density affects both price and livability
Higher-density mesh usually costs more because the material itself costs more and the application has to match the house. For many Phoenix homes, that trade-off is worth making on the hottest sides of the property, especially where glare and afternoon heat make rooms hard to use. On shaded or lower-exposure windows, paying for the darkest mesh everywhere is not always the smart buy.
If you are comparing options, this guide to common window screen material types helps explain why mesh choice changes both price and lifespan.
| Screen Density | Estimated Cost per Square Foot |
|---|---|
| 65% to 70% | $2.00 to $5.00 |
| 90% | $3.00 to $8.00 |
Phoenix-specific price factors national guides miss
Arizona sun is hard on cheaper materials. So is dust. A low bid can make sense on paper and still become the expensive option if the mesh fades early, loosens, or needs replacement sooner than expected.
Local utility savings can also change the value calculation. Homeowners comparing larger efficiency upgrades sometimes look at the Airtight Spray Foam Insulation cost guide alongside solar screens to decide where the first dollars should go. In some homes, the best result comes from combining targeted screens on the worst exposures with another building-envelope improvement, then checking current SRP programs for any rebate opportunities tied to overall energy reduction.
Exterior screens versus interior shades
Interior shades can help with glare and privacy, but exterior solar screens stop a good share of the sun before it hits the glass. In Phoenix, that difference matters most on windows that bake in the afternoon. For homeowners focused on heat reduction first and appearance second, exterior screens are often the better value.
Material and Labor What Are You Paying For
A solar screen quote in Phoenix is really a mix of three things: mesh quality, frame quality, and the labor needed to build and fit it correctly. Two bids can look close on paper and deliver very different results after a few summers of sun, dust, and monsoon weather.
Material choice drives more of the long-term cost than many homeowners expect. In our market, the screen has to handle intense UV, fine dust that works into corners and tracks, and frequent cleaning. A bargain mesh can save money up front, then lose tension, fade, or tear sooner than a better product. The same goes for thin frames and weak corners. If the frame twists or the corners loosen, the screen starts rattling and the fit gets sloppy.
If you want a clearer picture of how fiberglass, aluminum, and specialty meshes compare, this guide to window screen material types is a useful place to start.
What materials usually cost more, and why
Higher-priced screens usually reflect a better mesh and a better frame, not just a higher margin. In Phoenix, that often means darker solar mesh designed for exterior sun exposure, heavier frame stock, and hardware that holds up to repeated removal for washing. Dust matters here. Screens need cleaning, and cleaning puts wear on corners, spline, pull tabs, and clips.
Oversized windows also raise the material cost. Large spans need more rigid frames and more careful assembly to avoid bowing in the middle. Specialty shapes raise the price for the same reason. They take more fabrication time and leave less room for measurement error.
Homeowners comparing exterior upgrades often use the same common-sense approach they would use with an Airtight Spray Foam Insulation cost guide. Look at what you are getting, how well it fits the house, and how long it is likely to last in Arizona conditions.
What labor is actually covering
Labor is not just the final trip to pop a screen into a window.
A good installer measures each opening, checks for frame irregularities, builds the screen to fit that specific opening, tensions the mesh properly, installs the right hardware, and makes sure the finished screen sits tight without binding. On older Phoenix homes, window openings are not always perfectly consistent from one side to the other. That is where careful measuring and fabrication matter.
Second-story work, ladder setup, and large west-facing windows also raise labor costs. So does service after the install. If a company will come back to adjust a fit issue, replace damaged hardware, or help with a warranty problem, that support is part of what you are paying for.
Questions that separate a solid quote from a cheap one
Ask these before you sign:
- What mesh is being used: Get the actual product type, not just “solar screen.”
- What frame thickness and corner system are included: Stronger frames hold shape better on larger openings.
- Is each screen custom measured: That matters more on older homes and oversized windows.
- What hardware is included: Clips, pull tabs, and fasteners affect daily use and service life.
- What does labor include: Measurement, fabrication, installation, cleanup, and any adjustment visit should be clear.
- How do you handle dust-heavy maintenance: In Phoenix, screens will need cleaning, and the build should account for that reality.
The best quote is rarely the lowest one. It is the one that tells you exactly what is being installed and why it fits your home.
DIY vs Professional Installation A Phoenix Cost Comparison
A Phoenix homeowner with six west-facing windows usually asks the same question. Is this a weekend project, or is it worth paying a crew to knock it out before the next heat wave?
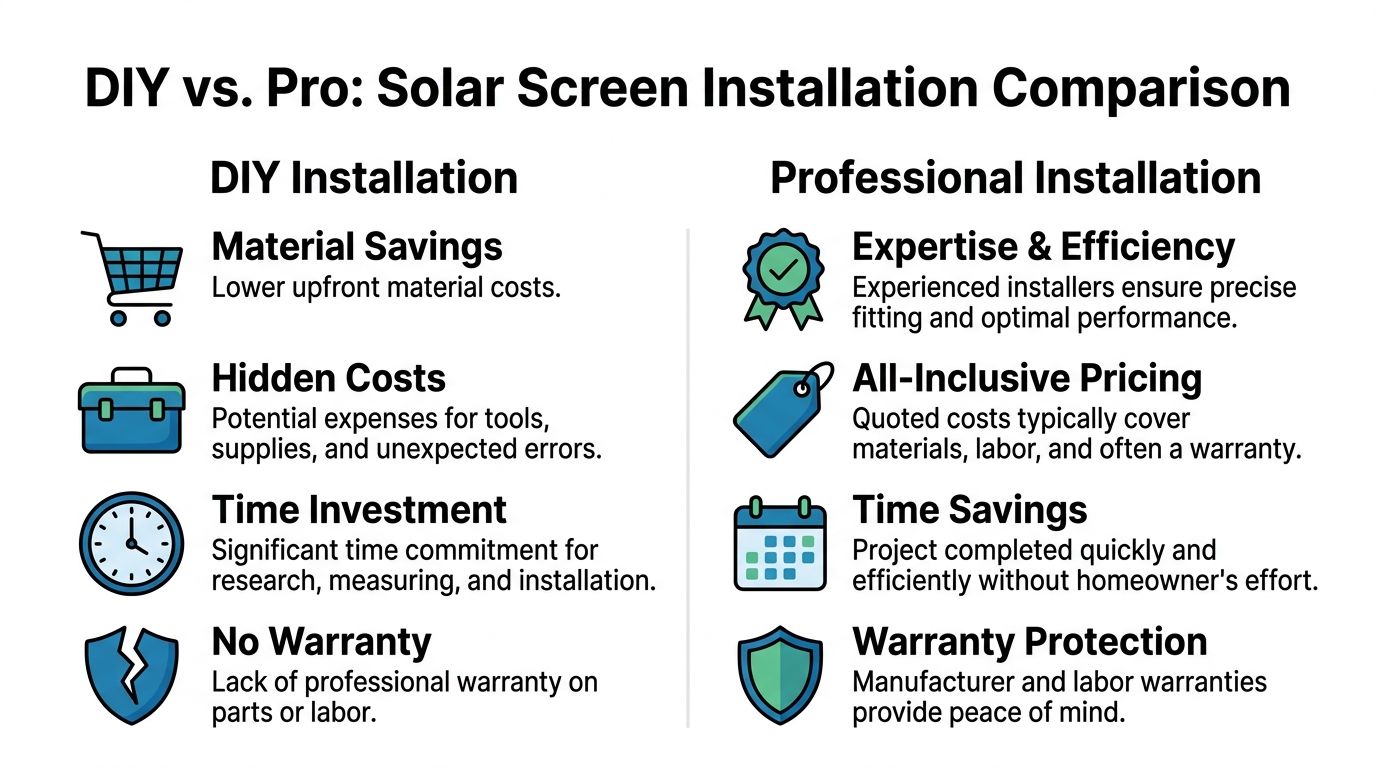
The honest answer depends on the windows, your tolerance for rework, and how exposed that side of the house is to afternoon sun, dust, and monsoon wind. DIY can save money on a small, simple job. On a full elevation, the gap often shrinks once you count tools, remakes, ladder time, and the cost of getting one or two screens wrong.
DIY works best on limited, low-risk projects
I usually tell homeowners to consider DIY if the job checks a few boxes. The windows are on the first floor. The openings are standard rectangles. You already own basic screen tools, and you are comfortable redoing a frame if the first one comes out twisted or loose.
That last part matters more in Phoenix than many online guides admit. Fine dust gets into tracks and corners. Cheap hardware shows wear faster. A screen that fits only "close enough" can start rattling, bowing, or sitting unevenly after a long summer.
DIY also makes sense if you want to test one room before committing to the whole house. That can be a smart way to compare visibility, privacy, and heat reduction on your own home instead of guessing from a sample.
Professional installation usually wins on scale, exposure, and fit
Professional installation tends to make more financial sense when the project includes large windows, second-story openings, or a full west or southwest side. Those are the windows that punish bad measurements and weak frame choices.
A good installer does more than clip in finished screens. The crew measures each opening, accounts for older frames that are slightly out of square, chooses attachment hardware that matches the window style, and builds the screen so it can handle regular removal for cleaning. In Phoenix, that service has real value because dust buildup is not occasional maintenance. It is part of ownership.
There is also a timing issue. Families trying to cool down several rooms before peak summer usually care about speed and predictability more than squeezing every last dollar out of the upfront cost. That is the same logic behind other pre-sale upgrades that improve comfort and presentation, like these home value improvements before selling.
| Decision Factor | DIY | Professional |
|---|---|---|
| Upfront cost | Lower cash outlay if you already have tools | Higher quote, but fewer surprise costs |
| Time | You measure, build, install, and troubleshoot | Crew handles the process |
| Fit accuracy | Mistakes are yours to remake | Installer usually handles fit issues |
| Phoenix durability | Easier to choose mesh or hardware that wears out faster | Better material guidance for sun and dust |
| Safety | Fine for accessible first-floor work | Better option for taller or harder-to-reach windows |
The costs homeowners miss in a DIY budget
The usual DIY comparison is kit price versus installer quote. That misses the expensive parts.
A bad measurement can mean rebuilding the entire screen. A low-grade frame can warp on a large opening. The wrong mesh choice can leave the room darker than expected or fail earlier under Arizona sun. If you are climbing ladders in June, your own time and safety belong in the math too.
I also tell homeowners to think about maintenance before they buy. Screens here need periodic washing because desert dust cuts visibility and can stress corners and fasteners over time. A professionally built screen is not maintenance-free, but it is often easier to remove, clean, and reinstall without loosening up after a season or two.
If your project is small, simple, and low to the ground, DIY is reasonable. If you are covering the hottest side of the house and want the job done once, paying for a pro is usually the steadier choice. Homeowners trying to cut cooling costs often reach the same conclusion in broader energy-upgrade planning, which is why this guide for Brisbane homeowners feels familiar even though the climate is different.
Maximizing Your ROI With Energy Savings and Rebates
Solar screens are easier to justify when you stop viewing them as a one-line expense and start viewing them as part of the house's heat-control strategy.
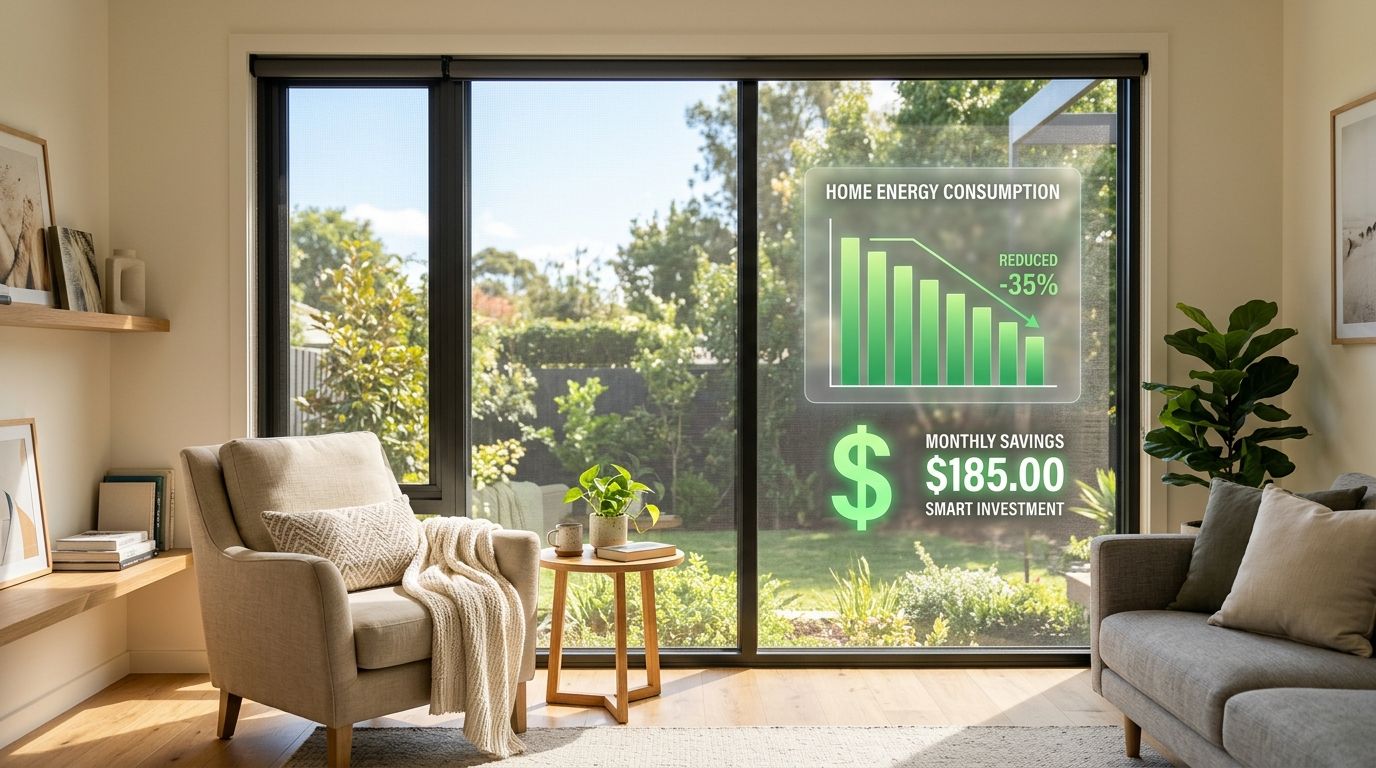
In Phoenix, comfort has value on its own. Rooms that run hot become rooms people avoid. The strongest solar screen projects usually target the windows that create glare, trap afternoon heat, and force the AC to work harder during the worst part of the day.
Why local rebates matter
Generic cost guides often miss the part Arizona homeowners care about most. Utility rebates can change the final project price. That's especially important if you're deciding between a basic screen and a higher-density product.
A local discussion in the Phoenix market notes that SRP rebate programs can reduce DIY kit costs by up to $1.50 per square foot and lower professional quotes by 10% to 15%. In that same discussion, one Phoenix homeowner reported paying around $4 per square foot after applying an SRP rebate to a DIY 90% kit, as shared in this Phoenix SRP rebate thread.
That doesn't mean every homeowner will get the same result. Rebate rules, caps, eligibility, and contractor participation can affect what comes off the bill.
How to approach the rebate process
A practical way to handle rebates is to verify them before you approve the job.
Check your utility territory
Start by confirming whether your home falls in an area with an active rebate option.Ask how the rebate is calculated
Some programs are tied to square footage rather than a flat per-window amount.Verify any contractor requirements
Some homeowners miss out because they assume every installer qualifies.Keep all product and invoice details
Rebate paperwork usually goes smoother when the materials and measurements are clear.
For homeowners thinking about resale as well as comfort, this broader look at ways to increase home value before selling is useful because buyers in Arizona notice heat-control upgrades quickly, even when they don't know the technical details behind them.
A short visual overview can help if you're still comparing the investment side of the decision.
Think in terms of combined savings
Solar screens work best when they support the rest of the house. That includes insulation, duct performance, window orientation, and daily habits like closing interior coverings during peak sun. Homeowners outside Arizona often ask the same question in a different climate, and this guide for Brisbane homeowners is a good reminder that reducing cooling demand usually comes from several coordinated choices, not one magic product.
The best ROI usually comes from putting the right screen on the right window, then stacking that improvement with good HVAC and insulation decisions.
That approach is what keeps the project grounded. You're not buying a miracle. You're making the house easier to cool.
Your Solar Screen Project Checklist And Cost Calculator
Homeowners get better quotes when they do a little homework first. You don't need a contractor's software or a complicated spreadsheet. You need a clear list, good measurements, and realistic expectations about which windows matter most.
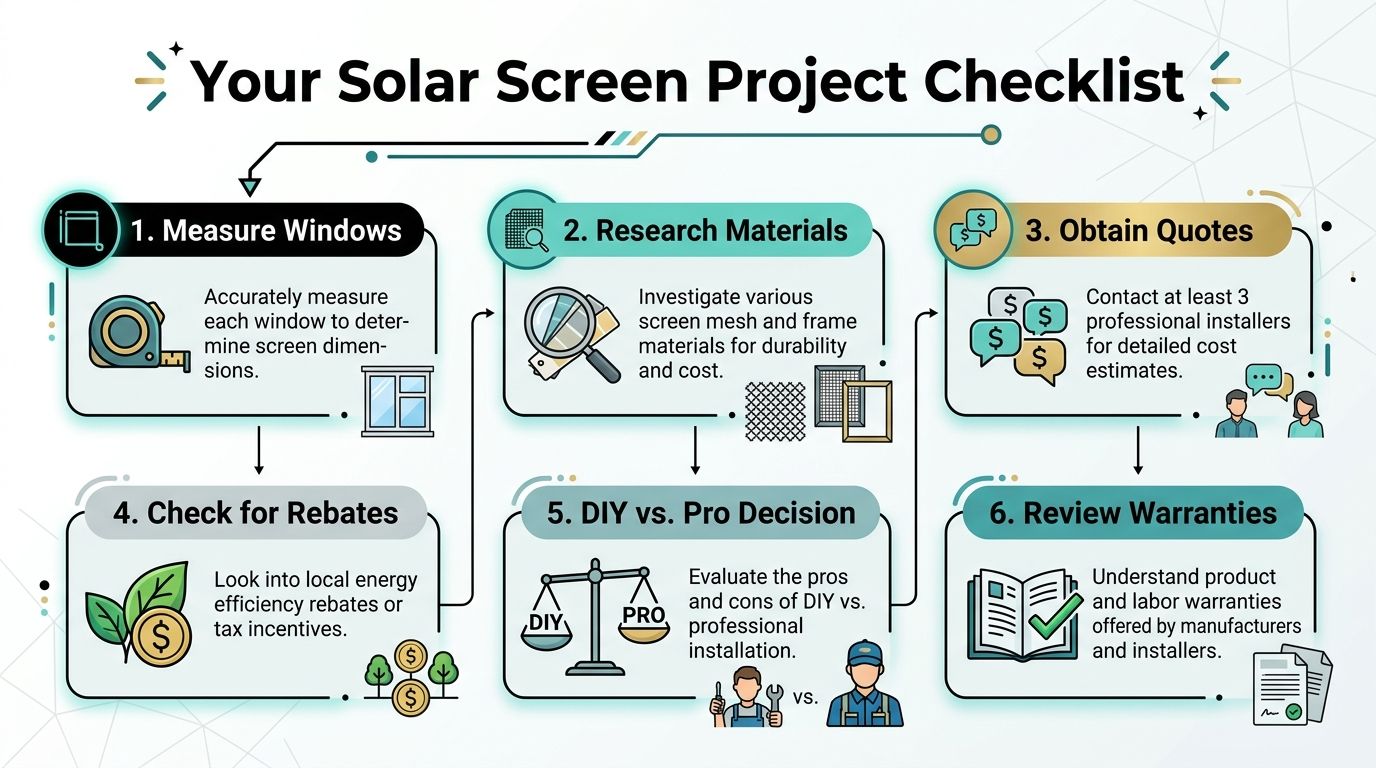
A simple planning checklist
Use this sequence before you ask for bids.
Count the openings you want screened
Separate standard windows from oversized windows, patio-facing glass, and any awkward custom shapes.Measure each opening carefully
Write down width and height for every window. Label which side of the house it sits on so the estimate reflects sun exposure, not just size.Mark the problem windows first
West-facing rooms, bright living spaces, and bedrooms that overheat in the afternoon should usually get priority.Choose your installation path
Decide whether you want to price DIY kits, professional installation, or both.
A basic cost worksheet
The goal isn't to predict the invoice down to the dollar. It's to create a practical budget range.
- For standard installed projects: Use the known professional range and multiply by your window count.
- For large custom openings: Expect them to sit outside the standard low-end range.
- For bigger whole-home jobs: Ask whether volume pricing applies.
- For higher-density material: Assume the stronger heat-blocking option will cost more per square foot than lighter-density mesh.
What to ask when comparing quotes
Not every proposal is easy to compare side by side. Use questions that expose differences quickly.
| What to Check | Why It Matters |
|---|---|
| Screen density | Different densities affect price and shade level |
| Material type | Phoenix heat punishes weak mesh |
| Custom sizing | Large or unusual windows price differently |
| Labor scope | Some quotes include more fabrication and fit work than others |
| Rebate readiness | Proper paperwork can affect final out-of-pocket cost |
Bring photos when you request estimates. A phone snapshot of each elevation often saves time and helps catch layout issues before anyone fabricates the screens.
If you do that much, you'll walk into the buying process with far more control. You won't just be asking, "How much are solar screens?" You'll be asking the better question, which is, "What exactly am I paying for on this side of my house?"
Beyond Installation Long-Term Value in Arizona
A lot of Phoenix homeowners judge a solar screen project by the install price, then get surprised by the upkeep a year or two later. Arizona is hard on screens. Intense UV, monsoon dust, and long cooling seasons all affect how the mesh looks, how well it blocks heat, and how often it needs attention.
Dust is usually the first reality check. Fine desert dust sticks to the screen surface, especially on west-facing windows and homes near active roads or new construction. Once that buildup gets heavy, the screens start looking chalky from the curb and airflow can suffer. Cleaning helps, but it needs to be part of the ownership cost, not an afterthought.
Material choice matters even more here than it does in milder climates.
Lower-grade mesh can save money upfront, but Phoenix sun tends to expose weak material fast. Fading, brittleness, loose corners, and sagging usually show up earlier on screens that were built to hit a low price. Better fabric and a tighter fit cost more at the start, but they usually hold up better through repeated summers, dust storms, and removal for window cleaning or exterior painting.
There is also a practical resale and comfort angle. Well-fitted solar screens make the harshest exposures more livable, especially on west and southwest glass that turns rooms hot by midafternoon. Buyers may not assign a line-item value to screens, but they notice cooler rooms, less glare, and a house that has been upgraded for Arizona instead of outfitted with the cheapest option available.
Long-term value comes from three decisions. Put screens on the windows that take the worst sun. Choose material that can handle Phoenix conditions. Keep up with cleaning and occasional repairs before small issues turn into replacement.
If you'd like a straightforward opinion on your windows, Sparkle Tech Window Washing & window screens can help you evaluate fit, material options, and whether solar screens make sense for the hottest sides of your home. As a family-run Phoenix valley company serving Arizona, Sparkle Tech gives homeowners clear guidance without the runaround, so you can make a decision based on comfort, durability, and real-world value.