

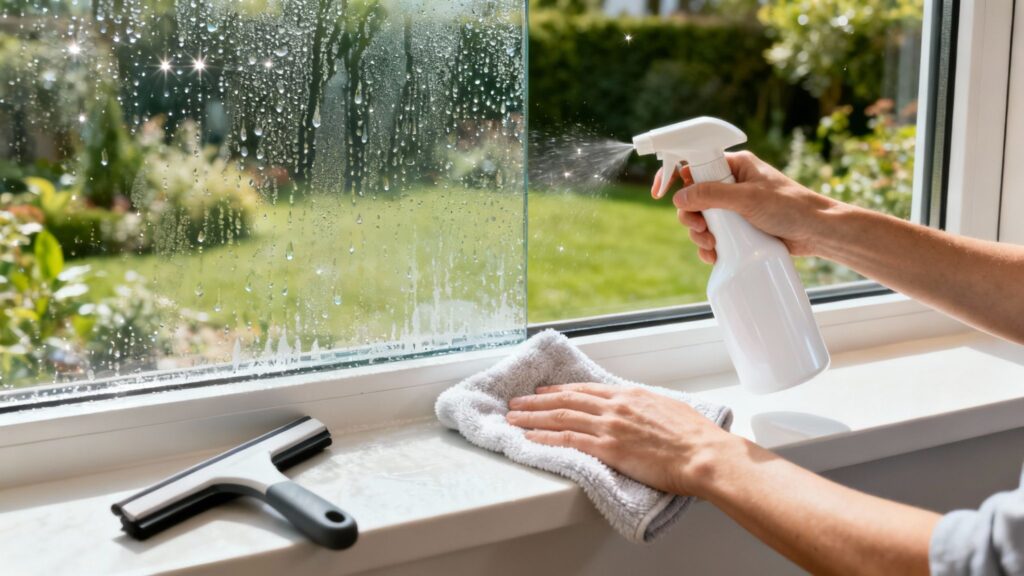
Before you can get those windows crystal clear, you have to tackle what’s actually causing the problem: the chalky mineral deposits left behind by hard water. The go-to solution for most homeowners is a simple 50/50 mix of distilled white vinegar and water. The natural acid in the vinegar is perfect for dissolving the calcium and magnesium buildup without being harsh on the glass itself.
Why Water Spots Won't Just Wipe Away
It’s frustrating, isn't it? You grab your regular glass cleaner, give the window a good wipe, and… nothing. The spots are still there. That’s because you’re not dealing with simple dirt.
Those stubborn marks are the ghosts of water droplets past. When hard water from a sprinkler, a hose, or even rain evaporates, it leaves behind its mineral baggage—mostly calcium and magnesium. These minerals don't just sit on the glass; they bond to it, almost like a microscopic layer of cement.
Over time, the sun bakes these deposits right onto the window. This hardens them and strengthens their grip, which is why older spots are so much tougher to get rid of than fresh ones.
The Science Behind the Stain
Here’s a good way to think about it: a new water spot is like a bit of wet mud on your boot. Easy to clean. But an old, baked-on water spot is more like dried concrete.
The minerals have had enough time to start a chemical reaction with the silica in the glass itself. This is called etching. At that point, you're not just cleaning a stain off the surface; you're trying to undo a chemical bond.
Understanding this helps you figure out the best way to clean your windows. Your spots will generally fall into one of two camps:
- Stage One Spots: These are newer mineral deposits sitting on top of the glass. They look like faint, cloudy smudges and usually come off with an acidic cleaner, like that vinegar solution.
- Stage Two Spots (Etching): These are the stubborn, older stains that have started to corrode the glass. They often have a whitish, glazed-over look and might need something a little more abrasive to polish them away.
This isn't a rare problem. With 85% of U.S. homes having hard water, permanent window damage is something I see all the time. If you let mineral deposits sit for just a few months, they can become next to impossible to remove with basic household cleaners. The pros at Window Genie have some great insights on how to prevent this from happening in the first place.
Choosing the Right Cleaning Method for Your Windows
When it comes to water spots, one size definitely does not fit all. The real secret to getting your windows crystal clear is to match your cleaning strategy to the severity of the stain. You always want to start with the mildest approach first—it's the best way to protect your glass from accidental damage.
For those light, fresh spots left behind by the sprinkler yesterday, a simple homemade solution is usually all it takes. I almost always start with a 50/50 mix of distilled white vinegar and water. The vinegar’s gentle acidity is fantastic at breaking down those fresh mineral deposits without being too harsh on the glass.
This little guide can help you figure out where to start.
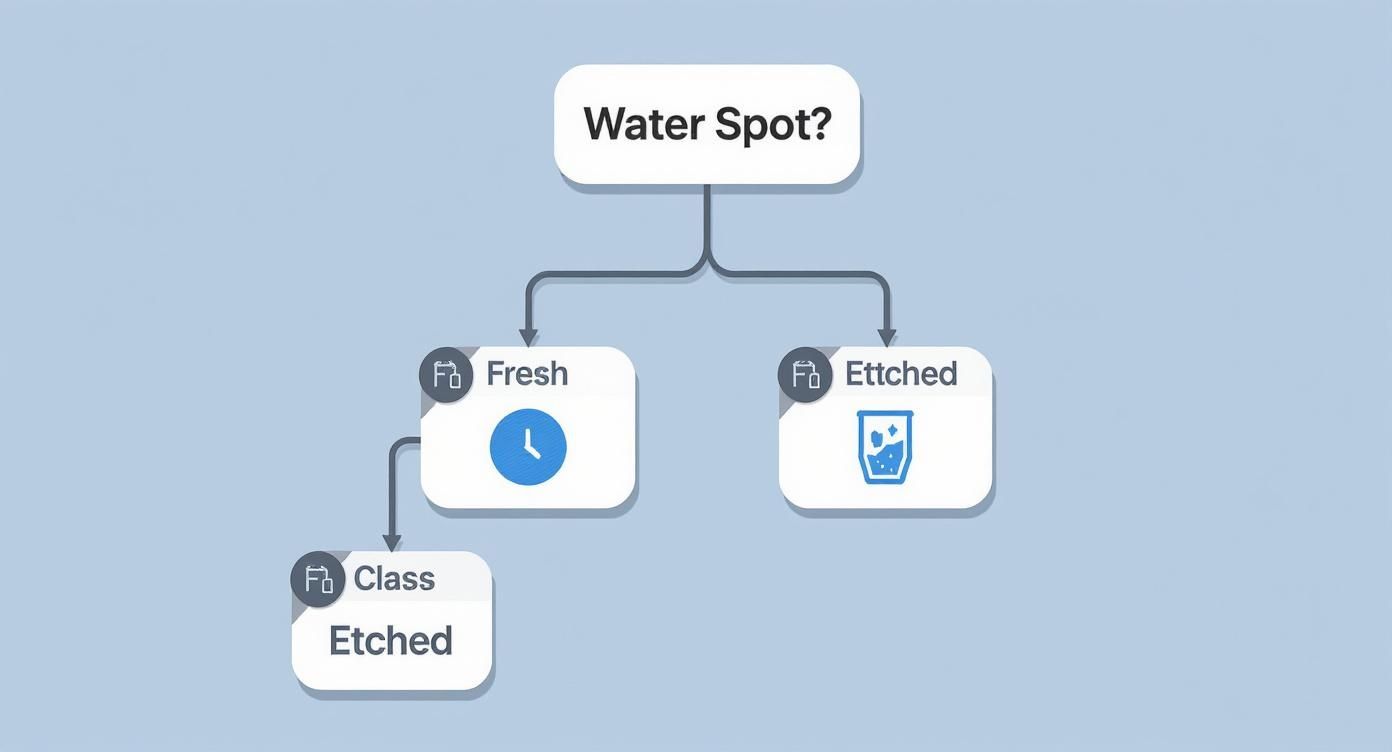
Use it to get a quick read on whether you’re dealing with simple surface spots or something more stubborn that has etched into the glass.
When to Use Commercial Cleaners
So, what happens if that vinegar mix doesn't cut it? If you’ve given it a good try and the spots are still there, it's time to bring in a dedicated commercial water spot remover. These products are engineered to dissolve tougher, older mineral buildup that has had time to bond to the glass.
They typically contain slightly stronger acids or very fine abrasives, giving them the extra muscle needed for stubborn stains. Just be sure to read and follow the manufacturer's directions to the letter. And if you're curious about what to look for (and what to avoid), check out our guide on the dos and don'ts of window cleaning chemicals to avoid.
Pro Tip: Always, always test a new cleaner on a small, hidden corner of the window first. This simple spot test takes seconds and can save you from accidentally hazing or damaging the entire pane.
To make the choice easier, here’s a quick breakdown of which method to use based on how tough your stains are.
Water Spot Removal Methods by Severity
| Severity | Recommended Method | Best For | Potential Risk |
|---|---|---|---|
| Light | Vinegar & Water Solution | Fresh spots from sprinklers or rain | Low risk, but may not work on older stains. |
| Moderate | Commercial Water Spot Remover | Stubborn, built-up mineral deposits | Moderate risk; can cause haze or fine scratches if used improperly. Always spot test. |
| Severe | Professional Service | Deeply etched spots that feel rough to the touch | High risk for DIY; involves hazardous chemicals that can permanently damage glass. |
As you can see, knowing when to call for backup is just as important as knowing how to tackle the job yourself.
Understanding Professional-Grade Solutions
For those deeply etched stains—the ones that have been there for years and feel rough—you're dealing with a whole different beast. The chemistry needed to fix this level of damage is serious business.
These aren't just stains on the glass; they are in the glass. Removing them requires potent, professional-grade compounds. For instance, some industrial formulas contain chemicals like hydrofluoric acid, a substance so dangerous it requires specialized training and safety gear. It's a powerful reminder that deep stain removal is a precise chemical process, not just simple cleaning.
When you're facing that level of damage, the safest and most effective move is to call in a professional.
The Complete Process for Achieving Spotless Glass
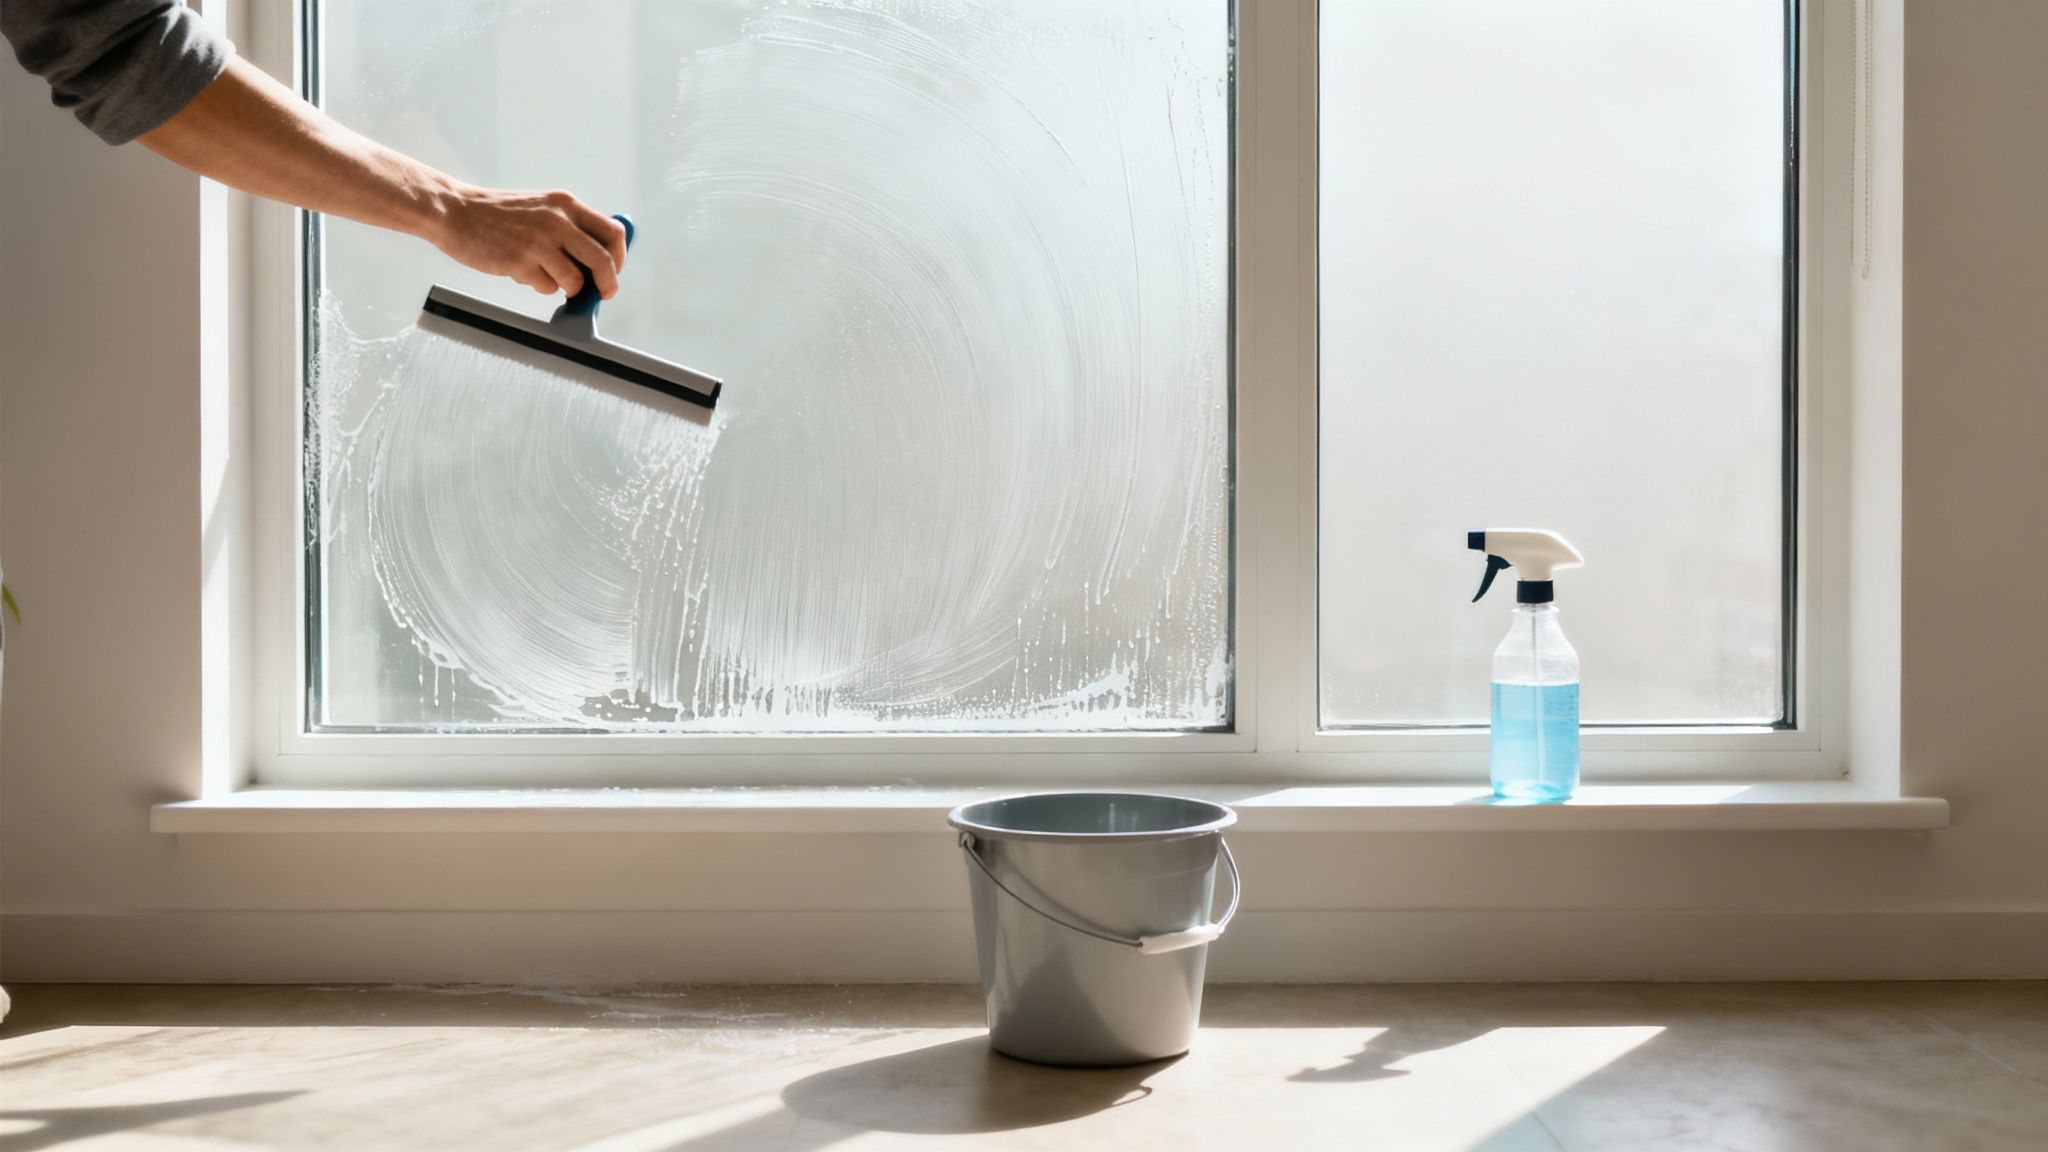
You've picked your cleaner—now comes the part that really makes the difference. How you apply that solution is just as critical as what's in the bottle, especially when you want to get rid of water spots without accidentally damaging the glass.
Before you even touch your spot remover, give the window a quick pre-clean with some basic soap and water. This simple step gets rid of all the surface-level stuff like dust and pollen. It clears the way so your cleaner can go to work directly on those stubborn mineral deposits.
Applying Your Chosen Solution
The right way to apply your cleaner really depends on what you're working with. If you went with a vinegar solution, don't be shy—spray it generously across the entire affected area. For store-bought pastes or specialty cleaners, it's often better to apply a good amount directly onto a damp microfiber cloth or a non-abrasive sponge.
Now, work that solution into the glass using small, circular motions. Think of it like waxing a car. This consistent rubbing helps break down the minerals that have bonded to your window. Don't be afraid to use a little elbow grease and apply firm, steady pressure, particularly on those really tough spots.
Key Takeaway: If you're using an acidic solution like vinegar or lemon juice, the secret weapon is time. Let the solution sit on the glass for a solid 10-15 minutes. This dwell time is crucial; it lets the acid do the heavy lifting by chemically dissolving the calcium and magnesium, which means a lot less scrubbing for you.
Rinsing and Drying for a Perfect Finish
Once you've given the solution time to work its magic, you need to rinse it away completely. Grab a clean cloth, dampen it with distilled water, and wipe away every last bit of the cleaner and the dissolved mineral residue. Using distilled water here is a pro move—it ensures you don't immediately create new mineral spots while you're rinsing.
Finally, it's time to dry. The goal here is a perfectly clear, streak-free surface.
- Grab a Quality Squeegee: Start at the top corner and pull the squeegee down in one smooth, continuous stroke. Make sure you overlap each pass by about an inch to prevent leaving those annoying vertical lines.
- Wipe Your Blade: This is a step people always forget. After every single pass, wipe the rubber blade of your squeegee with a clean, dry microfiber cloth. This stops you from dragging dirty water right back over the clean glass.
- Detail the Edges: Use another dry microfiber cloth to quickly wipe away any leftover water from the corners and along the edges of the pane.
Getting that flawless finish takes a bit of practice. If you really want to master the technique, our guide on how to achieve streak-free windows is packed with more expert tips.
Tackling Tough, Etched-In Stains
Every so often, you'll run into water spots that seem to mock your best efforts with vinegar or store-bought cleaners. These aren't just surface stains; they're deeply etched into the glass, often after being baked in by the sun for months or even years. When chemical cleaners just won't cut it, it’s time to switch from dissolving the minerals to physically removing them.
This is where gentle abrasion comes into the picture. We're talking about tools like #0000 steel wool, a detailing clay bar, or even fine bronze wool. While these might sound scary to use on glass, they're designed to be softer than the window itself and can shear off mineral deposits without leaving scratches—if you do it right.
The absolute golden rule here is lubrication. Never use these tools on dry glass. You need a slick, slippery surface, so be generous with your glass cleaner or a soapy water solution to let the tool glide smoothly.
Based on professional testing, this kind of mechanical cleaning can successfully remove 65–75% of moderate water spots. Just be mindful of your surroundings; steel wool, for example, can easily scratch nearby paint or window frames if you're not careful. For a deeper look at the pros and cons, you can discover more insights from expert testing that break it all down.
Crucial Safety Tip: Before you go to town on the entire window, always test your method on a small, out-of-the-way spot first. Use light pressure, check the area from multiple angles for any fine scratches, and only proceed if the glass looks perfect.
The Last Resort Before Calling a Pro
What if even the steel wool doesn't make a dent? There’s one final ace up your sleeve before you need to bring in a professional: cerium oxide. This is a super-fine powder that's literally used to polish glass, making it the ultimate weapon against severe water etching and even minor scratches.
You mix the cerium oxide powder with a bit of water to form a paste-like slurry. Then, using a felt polishing pad on a low-speed drill, you carefully buff the stained areas. This process polishes away an incredibly thin, microscopic layer of the glass surface, taking the embedded minerals along with it.
It's a powerful and effective technique, but it's also intensive. Think of it as your last-ditch effort before picking up the phone to call a professional window service.
How to Prevent Future Water Spots on Your Windows

After all the work you've put into getting your glass sparkling, the last thing you want is a fresh batch of water spots. Honestly, the best defense is a good offense. A few simple, proactive adjustments can make all the difference in keeping them away for good.
Start by tackling the most obvious culprits. If your sprinklers are constantly soaking your windows, take a few minutes to redirect the heads. It’s an easy fix that keeps hard water from ever hitting the glass in the first place. For indoor glass, like shower doors, just keep a squeegee in the shower. A quick wipe-down after you’re done prevents those mineral deposits from ever getting a chance to form.
Creating a Protective Barrier
For some serious long-term protection, you should really look into applying a hydrophobic glass sealant or a rain-repellent coating. These products form an invisible shield on the glass surface that works wonders.
Instead of clinging to the window, water beads up and just rolls right off, taking all those pesky minerals with it. This stuff is a total game-changer for keeping windows cleaner for longer, and it dramatically cuts down on how often you'll need to deal with water spots. For more great ideas on upkeep, check out these 5 Maintenance Tips For Aluminium Windows And Doors In The Uae Climate.
Taking preventative steps now is so much easier than battling etched-in stains later. A well-maintained window doesn't just look better; it protects your investment by preventing permanent damage to the glass.
Combining these strategies with your regular cleaning routine will guarantee a clear view all year round. Using pure, deionized water—like the kind from a water-fed pole window cleaning system—is another pro tip, as it dries to a perfect, spot-free finish every single time.
A Few Lingering Questions About Water Spots
Even after you've got the process down, a couple of common questions always seem to come up. Let's clear the air on these so you can tackle your windows with total confidence.
What About Tinted Windows? Can I Use These Methods?
This is a critical one, and the answer is a hard no. Never, ever use anything abrasive—like steel wool, scouring pads, or gritty cleaners—on windows with an aftermarket tint. That film is delicate, and you'll end up with scratches, peeling, or discoloration in a heartbeat. The damage is permanent.
For tinted glass, your best bet is to stick with the basics: a simple mix of gentle soap and water or a cleaner that the tint manufacturer specifically says is safe to use. When in doubt, always check their guidelines first.
How Often Do I Really Need to Clean My Windows to Keep Spots Away?
Look, prevention is always easier than a deep-scrubbing restoration project. If you live somewhere with hard water, wiping down your windows every time they get wet would be the dream, but who has time for that?
Realistically, a good, thorough cleaning every 4 to 6 weeks is a solid plan. This stops those sneaky mineral deposits from getting a permanent grip on the glass and causing real, etched-in damage.
Here's the thing to remember: the longer water spots bake onto your glass, especially in the sun, the tougher they are to get off. Consistent cleaning is truly the best defense for keeping your windows looking brand new.
If you're staring down some seriously stubborn spots or just can't fit a deep clean into your schedule, sometimes calling in a pro is the best move. The team at Sparkle Tech Window Washing can make a world of difference. You can get a free quote and learn more about their services over at https://sparkletechwindowwashing.com.