

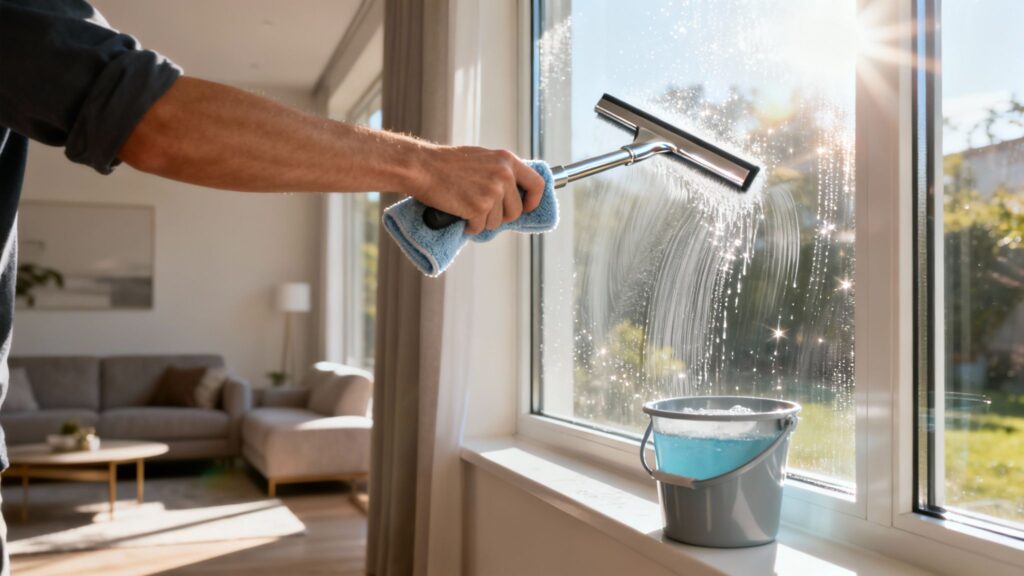
Getting a truly clean finish on your interior windows doesn't require a cabinet full of chemical sprays. It really just comes down to a simple DIY solution and the right tools—namely, a few good microfiber cloths and a quality squeegee. This combo is surprisingly effective at cutting through that unique indoor film of dust, fingerprints, and cooking oils that most commercial products just seem to smear around. With the right technique, you can absolutely get that professional, streak-free shine on your own.
Why a Streak-Free Shine on Indoor Windows Is So Hard

It’s a familiar frustration. You spend your Saturday afternoon washing windows, and the second the sun hits them, you see a mess of hazy streaks. You'd think learning how to clean the inside of windows would be straightforward, but the results are often just disappointing. The problem isn't your effort; it’s the specific type of grime that builds up inside a home.
Unlike your exterior glass, which gets blasted by pollen, dirt, and rain, your interior windows face a whole different set of enemies. This stubborn, often invisible film is a combination of several things that typical glass cleaners just can't break down completely.
The Unique Culprits of Indoor Grime
The gunk on your indoor windows is a lot more complex than it looks. It’s a sticky cocktail of airborne particles that latches onto the glass, making it tough to wipe away without leaving something behind. The main sources are pretty universal:
- Airborne Dust: Your HVAC system is constantly kicking up dust, pet dander, and other tiny particles that eventually settle on every surface, glass included.
- Kitchen Grease: Frying bacon or searing a steak releases aerosolized grease into the air. In an open-concept home, that greasy vapor can travel and coat windows in a hazy film.
- Human Touch: Fingerprints and handprints from kids, adults, and even pets leave behind natural body oils that create smudges.
- Household Products: Think about it—hairspray, air fresheners, and even scented candles can all leave a subtle residue on your windows over time.
This combination creates a bonded layer that many ammonia-based cleaners from the store just push around, which is what causes those dreaded streaks. The very properties of your glass can also play a role in how this grime sticks. It's interesting to learn about the difference between hydrophilic and hydrophobic glass to see why some windows seem to get dirtier faster than others: https://sparkletechwindowwashing.com/the-difference-between-hydrophilic-and-hydrophobic-glass/
The key takeaway is that indoor window grime is oily and particulate-based. A simple detergent or vinegar solution is far better at breaking down this specific type of film than many harsh chemical sprays.
This guide is here to take the mystery out of the process, giving you the exact techniques and simple solutions you need for that perfectly clear finish. For those curious about the bigger picture, you can find great resources that explore the professional window cleaning industry and its various facets.
Getting Your Window Cleaning Toolkit Ready
The real secret to a perfect, streak-free shine isn’t about scrubbing harder—it’s all about having the right gear. It's time to ditch the roll of paper towels and that generic blue spray. Those old standbys often cause more headaches than they solve, leaving behind a trail of lint and a sticky, streaky film.
Putting together a small, dedicated kit will completely change your window cleaning game. Think of this as the equipment that separates a frustrating, amateur-looking job from a professional gleam. The right tools simply work better, trapping dirt and whisking away moisture with surprising efficiency.
And before you even touch the glass, take a look at your drapes and blinds. Finding out how often to wash your curtains can prevent you from immediately re-dirtying your sparkling clean windows with a cloud of dust.
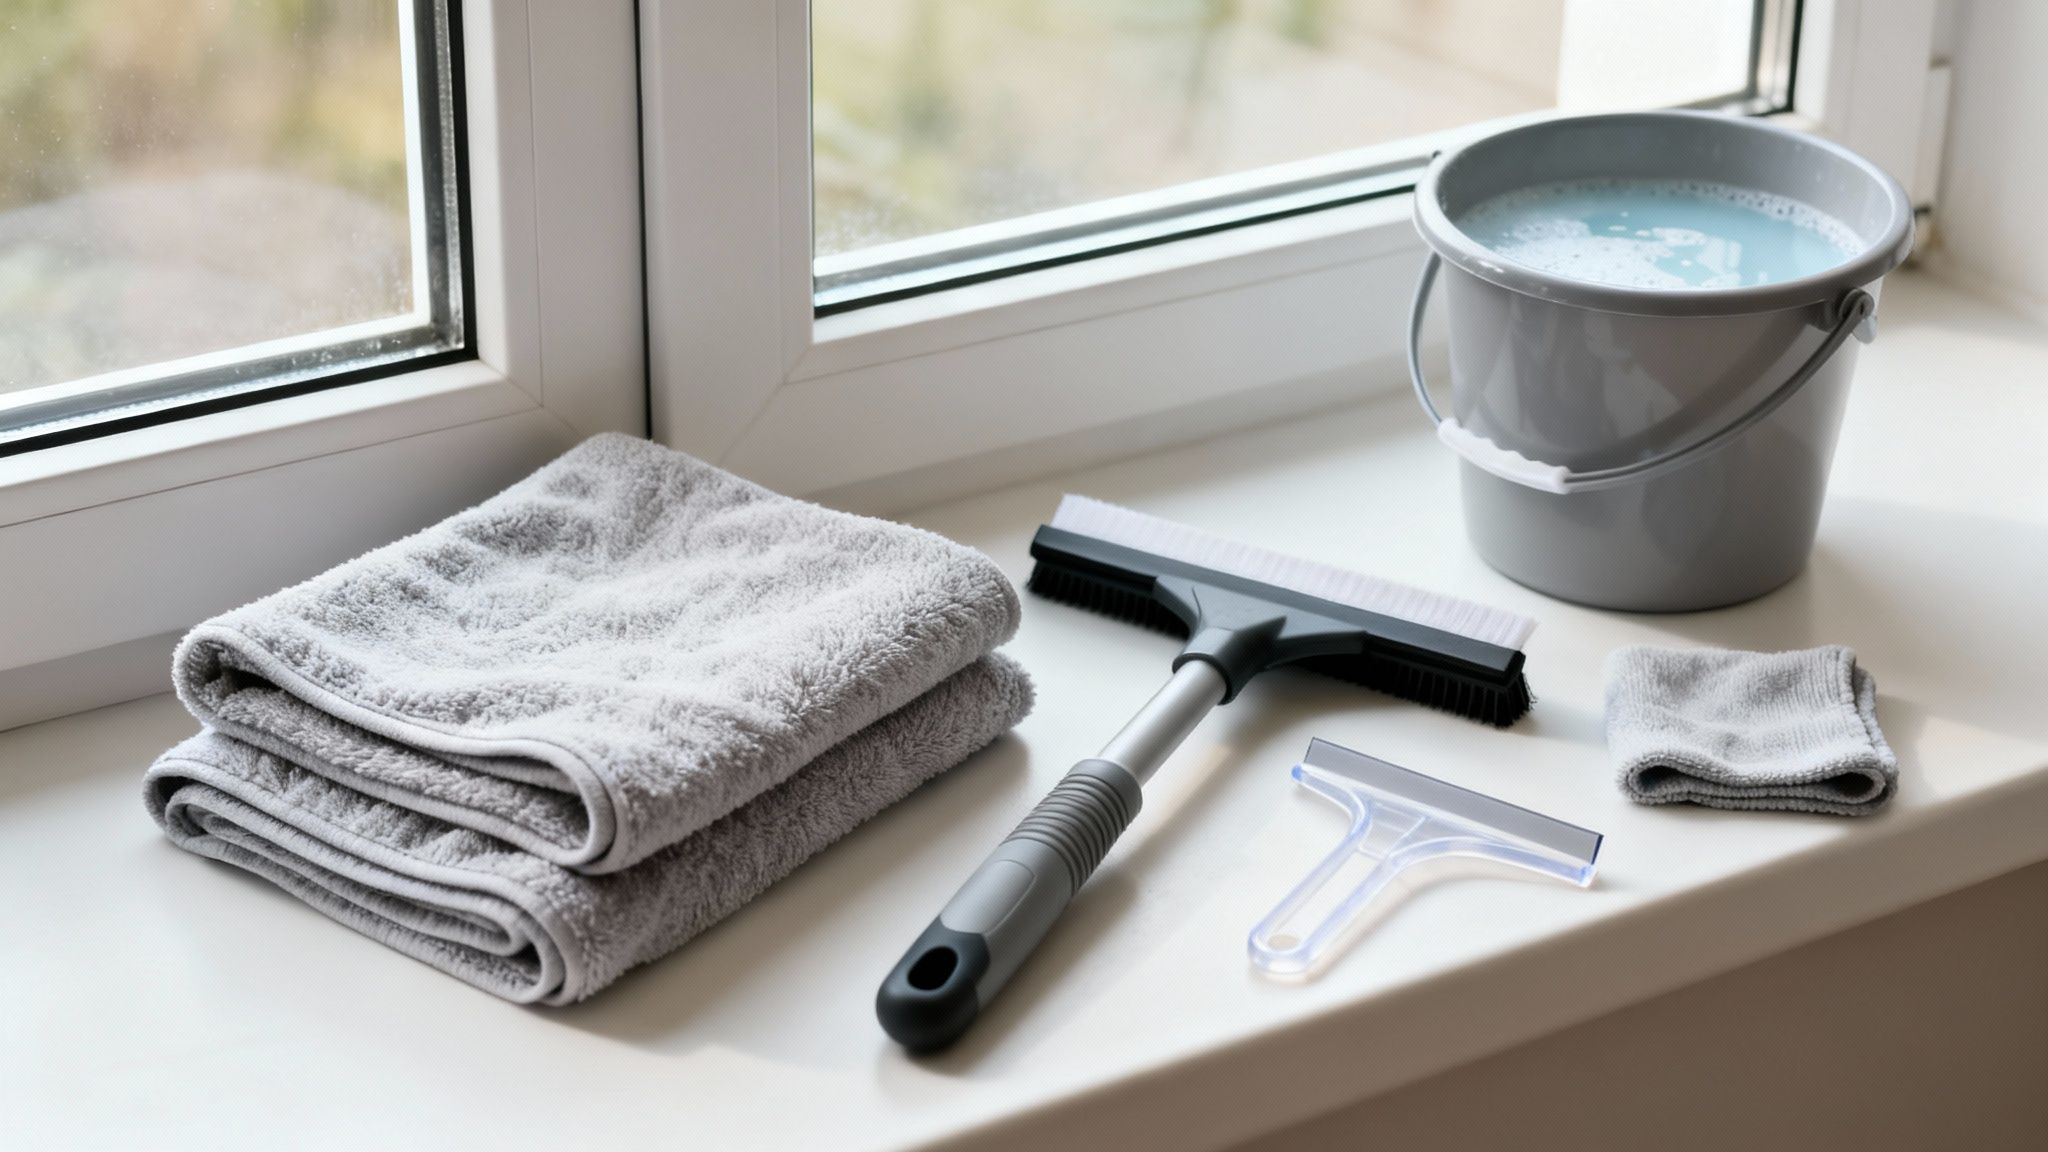
The Tools You Absolutely Need for a Flawless Finish
To get started, you don't need a truck full of equipment. The most critical items are a high-quality squeegee and a few clean microfiber cloths. These are the true MVPs of window cleaning.
To help you build your kit, here's a look at the tools professionals rely on versus the common household items that just don't measure up.
Table: Essential Tools for Cleaning Interior Windows
| Tool Category | Professional Recommendation | Common Alternative & Why It's Less Effective |
|---|---|---|
| Cleaning Cloths | Microfiber Cloths: Super absorbent and lint-free, they trap dirt and absorb water without smearing. A must-have for prepping and detailing. | Paper Towels/Old T-Shirts: These materials break down when wet, leaving behind lint and fibers that stick to the glass and create a streaky mess. They also tend to just push dirt around. |
| Water Removal | High-Quality Squeegee (10-12 inch): A sharp, flexible rubber blade provides a clean, even wipe, removing all the dirty water in one smooth pass. | Wadded-Up Paper Towels/Newspaper: This is the number one cause of streaks. It's impossible to apply even pressure and remove water uniformly, resulting in a hazy, smeared finish. |
| Water & Solution | Rectangular Bucket: The wide shape is perfect for dipping your entire squeegee or applicator, ensuring even saturation. Simple and effective. | Spray Bottle/Round Bucket: A spray bottle often doesn't apply enough solution for a deep clean. A round bucket is awkward and often too small for a standard squeegee. |
| Detailing | Separate, Dry Microfiber Detailing Cloths: Essential for wiping the squeegee blade between strokes and catching any drips along the edges or on the sill. | The Same Wet Rag: Using the same cloth you used for washing will just reapply dirty water to the edges of the pane, undoing all your hard work and leaving water spots. |
Ultimately, investing in the right tools from the start saves you time and frustration, delivering a much better result with less effort.
Why These Specific Tools Matter
Let’s break down why these items are so crucial.
-
Microfiber Cloths: These aren't just fancy towels. They're essential. Studies have shown that microfiber can reduce residue by up to 99% compared to other methods, which is a game-changer for tackling the greasy film that builds up from fingerprints and cooking vapors.
-
A High-Quality Squeegee: This is your primary weapon against streaks. Look for one with a sharp, pliable rubber blade. For most home windows, a 10- or 12-inch model gives you the perfect mix of wide coverage and easy control.
-
A Rectangular Bucket: It might seem trivial, but a simple rectangular bucket from the hardware store is far better than a round one. Its shape is perfectly suited for dipping wider tools like squeegees and applicators.
One of the biggest mistakes I see is people using a squeegee with a worn-out or nicked blade. Even the tiniest imperfection in the rubber will leave a tell-tale streak with every single pull, instantly ruining your hard work. Always check the blade before you start.
A few other items can really help with the details. A small scraper (with a fresh blade!) is invaluable for carefully removing stubborn gunk like dried paint flecks or old sticker adhesive. Lastly, always keep separate, dry cloths handy just for wiping your squeegee blade after each pass and for cleaning up any drips in the corners or on the windowsill.
For a deeper dive, check out our complete guide on the best window cleaning tools to see all the options.
Choosing Your Cleaning Solution
What you use to clean your windows is just as important as how you do it. The wrong cleaner can leave a hazy, sticky film that’s an absolute magnet for dust. The second the sun hits it, you’ll see every streak. Honestly, a simple cleaner you mix yourself is often far more effective than anything you can buy in a spray bottle.
Many store-bought cleaners are packed with soaps and detergents. If you don't rinse them off perfectly—which is tough to do—they leave a residue. This is exactly why so many pros stick with a basic DIY mix; it cuts through the grime and evaporates cleanly, leaving nothing behind.
The Classic DIY Vinegar Solution
For as long as I can remember, the go-to homemade window cleaner has been a simple mix of white vinegar and water, and for good reason. Vinegar is a mild acid, which makes it fantastic at dissolving the kind of greasy film that builds up on indoor windows, all without being harsh.
Putting it together couldn't be simpler.
- Start with Distilled Water: Always use distilled water if you can. Tap water contains minerals that are notorious for leaving spots and streaks as the water evaporates.
- Get the Ratio Right: In a bucket or a spray bottle, mix one part white vinegar with ten parts distilled water.
- Power it Up (Optional): If you're dealing with extra-grimy windows, like in a kitchen near the stove, add just one tiny drop of plain dish soap. It acts as a surfactant, helping to break down stubborn grease much more effectively.
This isn't just an old wive's tale; it actually works better. A 2023 consumer test found that a 1:10 vinegar-to-water solution sliced through greasy film 40% faster than many leading commercial sprays.
Pro Tip: I can't stress this enough: never use more than a single drop of soap. Too many suds are the number one enemy of a streak-free finish. They create a film that’s nearly impossible to squeegee off completely, and you’ll find yourself having to wash the window all over again.
Navigating Commercial Cleaners
If you'd rather grab a pre-made product for convenience, what you avoid is far more important than what you choose. The biggest thing to steer clear of for indoor cleaning is ammonia. Yes, it's a powerful cleaner, but it releases harsh fumes that you really don't want to be breathing in an enclosed room.
Even more importantly, ammonia-based cleaners can cause real damage over time. They're known to ruin tinted window films, degrade the rubber seals around the glass, and can even mess with the finish on your wooden or vinyl window frames.
When you're at the store, just look for products that are clearly labeled "ammonia-free." These are much safer for your home's air quality and for the windows themselves. It’s always a good idea to understand which window cleaning chemicals to avoid, as some can cause more problems than they solve.
In the end, it doesn’t matter if you mix your own solution or buy it. The goal is the same: find a cleaner that cuts through the gunk without leaving any residue behind. For almost any situation you'll encounter indoors, that simple vinegar and water mix is not only the cheapest option but also the most reliable path to that perfect, streak-free shine.
Mastering the Professional Squeegee Method
Alright, you've got your tools and your cleaning solution mixed. Now it’s time to learn the technique the pros use to get that flawless, invisible-glass look. The truth is, knowing how to clean interior windows with a squeegee isn’t about speed—it’s about having a smart, consistent workflow. This is the single best way to sidestep the streaks and smudges that drive most people crazy.
Getting Your Workspace Ready
Before you even think about spraying the glass, a little prep work goes a long way. This first phase is all about protecting your home from drips and making sure you’re actually cleaning the window, not just smearing dust into mud.
First things first, lay an old towel or a drop cloth along the base of the window. This simple step will catch any rogue drips and save your floors, carpets, and window sills from water spots. Trust me, you’ll be glad you took 30 seconds to do this.
Next, take a dry microfiber cloth and do a quick pre-clean. You want to wipe down the window frame, the sill, and the glass itself to get rid of any loose dust, cobwebs, or pet hair. If you skip this, the second water hits that dusty pane, you've got a muddy, streaky mess on your hands.
The infographic below shows just how simple and effective the DIY cleaning solution for this process can be.
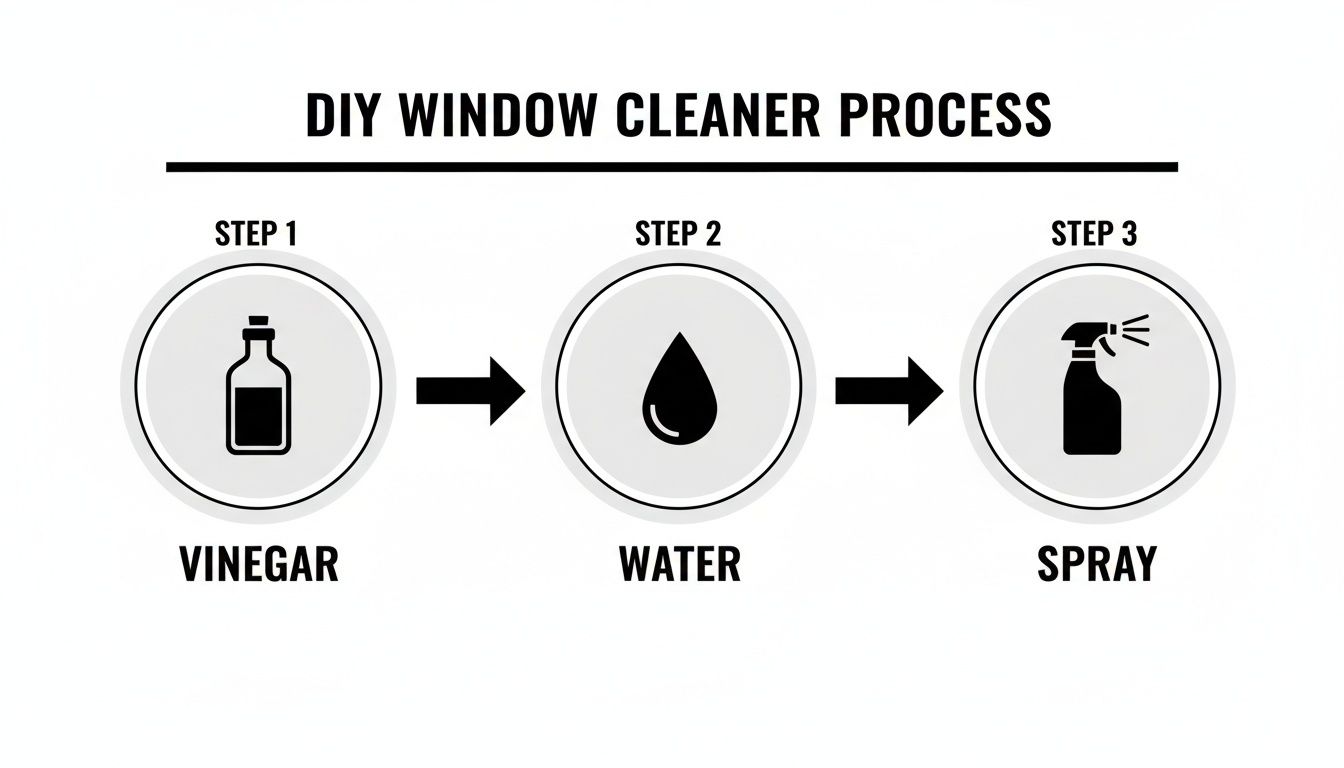
As you can see, you don't need fancy chemicals. Basic household staples are often the most effective.
Applying the Solution and Nailing Your Technique
Now for the main event. Dip your applicator or microfiber cloth into your bucket of solution, then wring it out so it's damp but not dripping everywhere. Scrub the entire glass surface from corner to corner, giving a little extra attention to the edges where grime tends to build up. The goal here is to get a nice, even layer of moisture on the window to loosen everything up.
With the window wet, it’s squeegee time. Here’s how to get that perfect, professional glide:
- Create a "Dry Zone": First, take a separate, dry detailing cloth and wipe a thin, one-inch strip down one side of the window, from top to bottom. This gives your squeegee a clean, dry place to start its journey without skipping or grabbing.
- Get the Angle and Pressure Right: Place your squeegee blade at the top of the window, right in that dry zone you just created. Tilt it at a slight angle—about 30 degrees is perfect—so that just the corner of the blade leads the way. Apply gentle, consistent pressure; you just need enough for the rubber to make solid contact with the glass.
- Make Your First Pull: In one fluid motion, pull the squeegee straight down from the top of the window to the bottom.
- Wipe the Blade (Every. Single. Time.): This is the step people always forget, and it's non-negotiable. After every single pass, wipe the rubber blade clean with a dry microfiber cloth. If you don't, you're just dragging dirty water right back over the clean glass.
- Overlap Your Strokes: For the next pass, overlap your previous stroke by about an inch. This is key to preventing those little tell-tale vertical lines of dirty water. Keep this up until you've covered the entire pane.
Once your last pull is done, grab a fresh, dry detailing cloth to wipe up any leftover moisture from the corners, along the bottom edge of the glass, and on the sill.
The secret to a streak-free finish isn't strength; it's consistency. A steady hand, a clean blade, and that crucial one-inch overlap are what separate a professional-looking job from a streaky mess.
This manual method is still the gold standard for interior windows. Interestingly, recent lab tests show that simple vinegar-based solutions are incredibly effective, removing 92% of hard water stains compared to just 65% for lemon juice. When you pair a great solution with the right tools, the results are hard to beat. Another pro tip? Using a dark, streak-free cloth for the final detailing can cut down on visible lint and marks by up to 40% compared to standard white cloths. You can explore more fascinating data on window cleaning industry statistics to see how the pros really approach their craft.
Sorting Out Common Window Cleaning Headaches
You can follow every instruction to the letter and still end up with frustrating results. The number one complaint I hear? Streaks. Those hazy, annoying lines that only seem to show up when the sun hits the glass just right. The good news is, they're almost always preventable once you know the cause.
The main culprit is almost always evaporation. When your cleaning solution dries on the glass before you get a chance to wipe or squeegee it off, it leaves behind a streaky residue. This is exactly why pros like us never clean windows in direct, hot sunlight—the glass is so warm it basically bakes the cleaner on instantly.
Another easy mistake is working with dirty gear. If your bucket of water looks murky or your cloths are already damp and grimy, you're essentially just smearing dirt around. It sounds obvious, but always start a job with fresh water and a clean set of cloths.
Getting Rid of Streaks and Stubborn Spots
Beyond the usual streaks, you'll sometimes run into specific spots that just don't want to cooperate. Think of the ghost of an old sticker, tiny paint splatters from a long-forgotten project, or those chalky hard water stains. These need a little more finesse than your all-purpose spray.
Here’s how to tackle the most common issues I see in the field:
- Gummy Sticker Residue: For that sticky goo left behind by old decals or price tags, grab some rubbing alcohol or a citrus-based cleaner. Dab it on a cloth, work it into the spot in small circles, and let it sit for a minute to break down the adhesive. Then, carefully use a fresh razor blade at a flat angle to scrape away what's left.
- Paint Splatters: If you’ve got tiny flecks of latex paint on the glass, you can often just pop them off with a sharp, new razor blade. Slide it gently under the speck, and it should lift right off. For bigger spots, a little isopropyl alcohol can help soften the paint first, making it easier to remove.
- Hard Water Stains: These cloudy mineral deposits are the bane of bathroom windows and glass shower doors. Your basic vinegar solution is perfect for this. The trick is to give it time to work—let it soak on the spots for at least five minutes before you start scrubbing and squeegeeing.
Honestly, the best tool you have for troubleshooting is patience. Rushing, especially when you're dealing with a tough spot or trying to beat the sun, is the surest way to get a disappointing, streaky finish.
There's a reason the squeegee is a professional's best friend. In the U.S., where the window cleaners market is projected to hit $2.9 billion in 2024, an overwhelming 70% of people prefer using a squeegee on their interior glass. It's not just for looks; this method can also cut your water usage by up to 50% compared to just spraying and wiping.
Your Top Window Cleaning Questions Answered
Even the most straightforward guide can leave you with a few questions. When it comes to getting that perfectly clear, streak-free shine on your indoor windows, the little details really matter. Let's tackle some of the most common questions we get from homeowners.
Think of this as the expert advice you'd get from a pro who's seen it all.
How Often Should I Clean My Indoor Windows?
For the average home, a good deep clean of your interior windows two to four times a year is a great target. This schedule is usually enough to keep dust, smudges, and that subtle film from building up and dulling your view.
But let's be real—life happens, and some windows get dirtier faster than others. You might want to bump up your cleaning schedule to every month or two if you have:
- Pets who love to leave their nose art on the glass.
- Little kids with sticky, curious hands.
- A smoker in the house.
- A home situated right next to a busy road with lots of traffic dust.
And don't forget the kitchen windows! They’re in a class of their own. Cooking grease can create a hazy film that builds up quickly, so they often need a monthly wipe-down. My rule of thumb? If you look through the glass and notice it's hazy, it's time to clean it.
What Is the Best Time of Day to Clean Windows?
This is one of the most important tricks of the trade: always clean windows on a cloudy day or at a time when they aren't in direct sunlight. Trust me, it makes all the difference.
When hot, direct sun beats down on the glass, it heats it up and makes your cleaning solution evaporate in seconds. This leaves behind a streaky, spotty mess before you even have a chance to wipe it away.
By working in the shade or on an overcast day, you give yourself the time you need to squeegee off the solution properly and detail the edges. You're not fighting the sun, so you get a much better result.
Is Using Newspaper to Dry Windows a Good Idea?
I know this is a classic tip passed down from our grandparents, but it's one you should probably skip. Back in the day, newspaper ink was different, but modern ink can easily smear and transfer onto your hands, sills, and especially white vinyl window frames. You can end up making more of a mess than you started with.
Your best bet is a good-quality microfiber cloth. They're super absorbent, completely lint-free, and won't leave any inky smudges behind. Stick with modern tools for a reliably clean finish.
Is a Squeegee Really Necessary for Indoor Windows?
Technically, no, but if you want that flawless, professional-grade finish, then yes—a squeegee is absolutely essential. Wiping with paper towels or a cloth tends to just smear the dirty water around and can leave behind tiny fibers and lint.
A squeegee, when used correctly, pulls the solution and all the grime off the glass in one clean sweep. It’s faster, more efficient, and the only way to get that truly invisible, streak-free look every single time.
If you're ready to see your Arizona home in a new light but don't have the time to do it yourself, let the professionals at Sparkle Tech Window Washing handle the job. Get a free quote today and enjoy a flawless, streak-free view!