



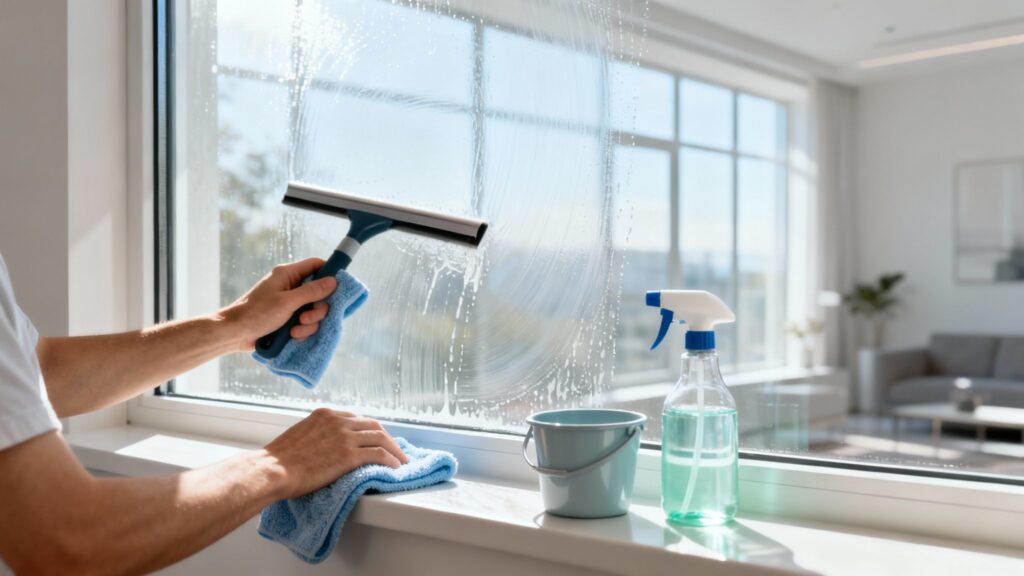
Getting the inside of your windows truly clean is one of those tasks that makes a huge difference. You want to work from the top to the bottom, and a crucial, often overlooked tip is to avoid cleaning in direct sunlight. That heat causes your cleaning solution to dry way too fast, which is the number one cause of frustrating streaks.
Your Path to Crystal-Clear Interior Windows
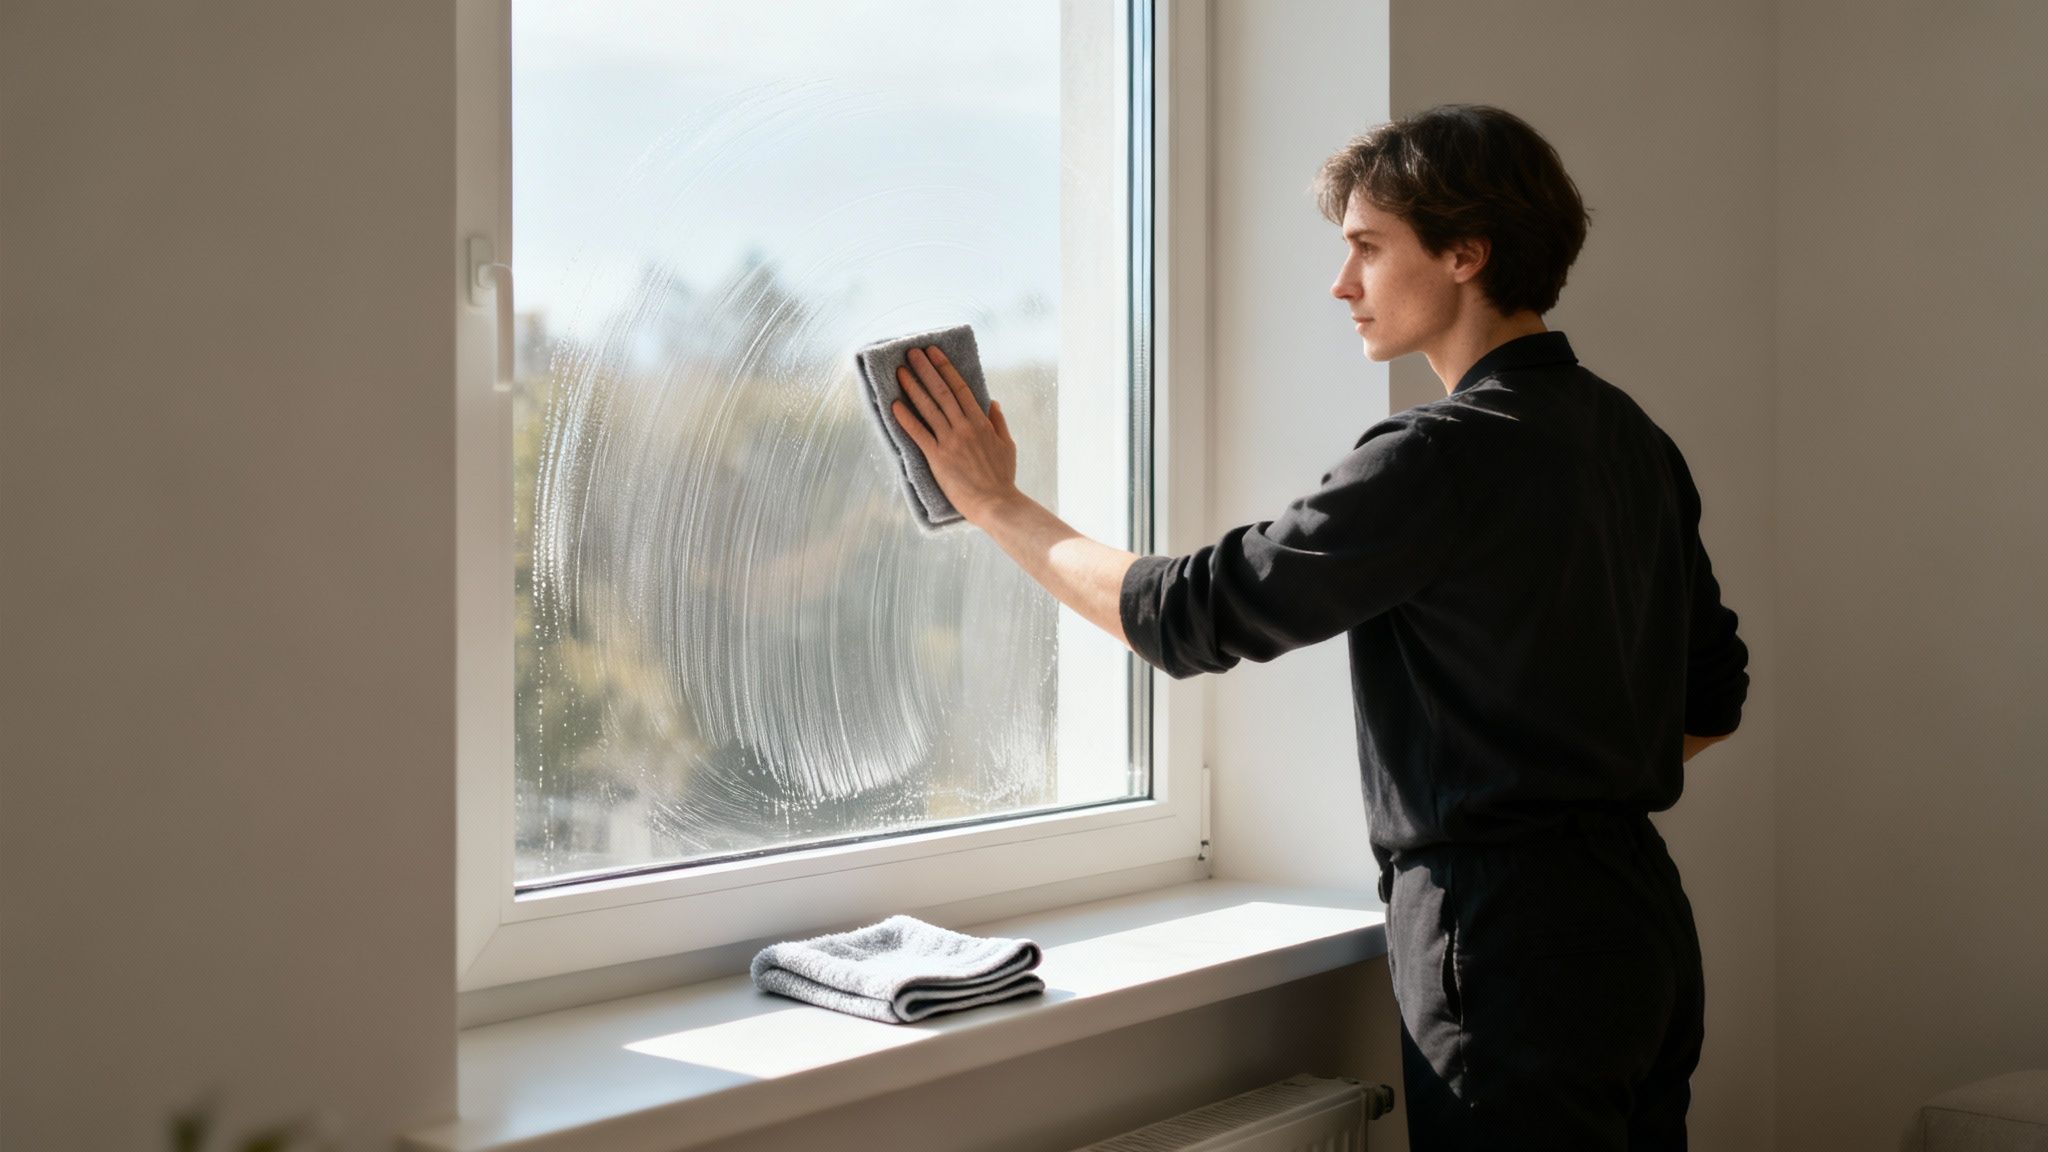
There’s nothing worse than finishing a cleaning job only to see a mess of streaks and haze when the light hits just right. But getting that professional, invisible-glass look is totally achievable. This guide will skip the old myths—sorry, newspaper fans—and get straight to what actually works for the specific kind of grime that builds up inside your home.
Understanding Interior Grime
The dirt on your indoor glass is a completely different beast than what’s on the outside. While your exterior windows deal with pollen, rain, and dirt, the interior ones collect a unique film.
This buildup is usually a mix of:
- Kitchen Grease: Tiny airborne particles from cooking love to settle on glass, leaving a stubborn, hazy layer.
- Pet Smudges: If you have pets, you're familiar with the nose art and drool spots on lower panes.
- Dust and Dander: Regular household dust and dander are always floating around, and glass is like a magnet for them.
- Fingerprints: Oily residue from hands, especially in homes with kids, leaves smudges everywhere.
Knowing what you’re up against helps you pick the right tools. A quick spray of water isn’t going to do much against kitchen grease, but the right cleaning solution will cut right through it.
Pro Tip: I can't stress this enough: the biggest mistake I see is people cleaning windows on a hot, sunny day. The sun beats down on the glass, causing your cleaning solution to evaporate in seconds. This leaves behind all the soap and minerals, creating the very streaks you're trying to avoid. Always pick an overcast day for the best results.
The Two Best Cleaning Methods
Let's dive into the two most effective ways to clean the inside of your windows. Each one has its own strengths, depending on the window size and how much time you have.
The classic squeegee technique is the gold standard for a reason—it’s what the pros use. It’s perfect for large panes of glass and, with a little practice, gives you that flawless, edge-to-edge shine every time.
Then there's the simple microfiber cloth method, which is fantastic for smaller windows or just quick touch-ups. A two-cloth system—one for washing and one for polishing—is an incredibly straightforward way to get rid of smudges without any special equipment.
With these basics in mind, you’re ready to tackle this project and bring some serious sparkle back into your home.
Gathering the Right Window Cleaning Tools
If you want to know how to clean the inside of your windows and get that truly streak-free shine, it all starts with your equipment. The right tools aren't just a nice-to-have; they're the secret ingredient that separates a frustrating, smudgy mess from a professional, crystal-clear result. So, let's toss that flimsy roll of paper towels and generic spray bottle aside and build a proper toolkit that makes the job easier and far more effective.
Honestly, having the right gear turns a dreaded chore into a surprisingly satisfying project. When you have everything you need laid out and ready to go, the whole process just flows.
Core Essentials for a Flawless Clean
Your first and most important investment is a high-quality squeegee. I can't stress this enough—this one tool is the biggest game-changer. Look for one with a sharp, pliable rubber blade. A good squeegee creates a perfect seal against the glass, pulling all the water and dissolved dirt away in one clean motion. That’s something a cloth or paper towel simply can’t do. For most indoor windows, a 10 or 12-inch squeegee is the sweet spot—big enough to be efficient but small enough to handle easily.
Next up, you'll need at least two top-notch microfiber cloths. Why two? One is your "wet" cloth for washing and scrubbing, and the other is your "dry" cloth for wiping the squeegee blade between passes and catching any stray drips. Microfiber is non-negotiable here. Its tiny fibers are incredible at trapping dirt and absorbing water without leaving behind that annoying lint paper towels are infamous for. For a deeper dive, you can check out our guide on the best window cleaning tools.
To round out your essential kit, grab these items:
- Two Buckets: One for your cleaning solution and one with clean rinse water. This two-bucket system is a classic pro-tip that stops you from dipping a dirty washer back into your clean solution—a common mistake that just puts grime right back on the glass.
- Old Towels: Lay these down on your window sills and the floor below. This simple prep step will save your wood, paint, and carpet from inevitable drips and spills.
- Small Scraper: A small plastic scraper, or even an old credit card, works wonders for safely removing stubborn gunk like sticker residue, paint flecks, or bug spots without scratching the glass.
Choosing Your Cleaning Solution
What you put in your bucket is just as important as the tools you use. You’ve got a couple of great options here: a professional-grade concentrate or a simple, effective DIY mix.
A professional cleaning concentrate is a fantastic choice if you want guaranteed, powerful results. These formulas are expertly designed to slice through grease and grime without leaving a film. Plus, a little goes a long way, so a single bottle will last you through many cleaning sessions.
On the other hand, a DIY eco-friendly solution is incredibly effective and costs next to nothing to make. My personal go-to recipe is as simple as it gets:
- One gallon of warm water
- One to two teaspoons of mild dish soap
- A splash (about a cup) of white vinegar
The dish soap is a surfactant, meaning it lifts grease and dirt off the surface. The vinegar helps cut through any hard water spots or mineral deposits, leaving behind nothing but a streak-free shine. This simple mix is tough on grime but gentle on your home and the environment.
A quick reference can help you decide what you truly need versus what's nice to have.
Essential vs Optional Window Cleaning Tools
This quick comparison helps you decide which tools are must-haves for a basic clean versus what you might need for more challenging jobs.
| Tool | Essential For Basic Clean | Recommended For Pro Results | Primary Use |
|---|---|---|---|
| Squeegee | ✔️ | ✔️ | Pulling water and dirt off glass for a streak-free finish. |
| Microfiber Cloths (x2) | ✔️ | ✔️ | One for washing, one for drying details and the squeegee blade. |
| Bucket (x2) | ✔️ | ✔️ | Separating clean solution from rinse water to avoid re-soiling. |
| Dish Soap & Vinegar | ✔️ | An effective, inexpensive DIY cleaning solution. | |
| Professional Concentrate | ✔️ | A powerful, film-free solution for tackling heavy grime. | |
| Scraper Blade | ✔️ | Safely removing stubborn debris like paint or sticker residue. | |
| Old Towels | ✔️ | ✔️ | Protecting sills and floors from drips and spills. |
Ultimately, starting with the essentials will get you great results. As you get more comfortable, you can always add the "pro-level" tools to make the job even faster and more flawless.
With the cleaning services market expected to hit USD 151.18 billion in 2025, the demand for effective techniques and products is clear. Professionals know that a top-down squeegee method can reduce streaks by 90%—a powerful testament to using proper tools and technique. You can learn more about trends from these window cleaning statistics.
Nailing Your Streak-Free Cleaning Technique
Alright, you’ve got your tools lined up and your cleaning solution mixed. Now for the fun part—actually getting those windows to sparkle. This is where the magic happens, and believe me, your technique matters just as much as what’s in your spray bottle.
We’re going to walk through the two best ways to get that invisible-glass look: the pro-level squeegee method and the super-versatile microfiber cloth method. Both work incredibly well. Your choice really just comes down to the size of your windows and what you feel most comfortable with.
The Professional Squeegee Method
Don't let the squeegee intimidate you; it's not just for storefronts. It is hands-down the best tool for getting a flawless finish on big panes of glass. It works by creating a perfect seal that pulls away every last drop of water—and all the grime with it—in one clean swipe. Once you get the hang of it, it's incredibly satisfying.
The goal here is simple: get the cleaning solution on, and get it off before it has a chance to dry. This is the classic rookie mistake that leads to streaks before you've even really started. Just work methodically. Slow and steady is the name of the game.
Applying Your Cleaning Solution
Before that squeegee even kisses the glass, you need to wet the surface properly. Grab your strip washer or your "wet" microfiber cloth, dip it into your cleaning solution, and give it a good wring. You want it damp, not sopping wet.
Scrub the entire window pane from top to bottom, paying special attention to the corners where gunk loves to hide. You're aiming to loosen up everything from dusty buildup to greasy fingerprints. The glass should be uniformly wet, but not so drenched that you have a river of solution running down onto your sills.
Perfecting the Squeegee Motion
This is the moment of truth. Getting the right angle and movement is everything.
- Find Your Angle: Hold the squeegee so the blade meets the glass at about a 30-degree angle. This lets the edge of the blade slice cleanly through the water instead of just pushing it around.
- Start at the Top: Place the squeegee at the very top of the window. Tilt it just a bit so that only the first inch or so of the blade is touching the dry glass. This little trick creates a dry starting strip for your next stroke.
- Use Overlapping Strokes: Pull the squeegee straight down in one smooth, confident motion. For the next pass, overlap your last stroke by about an inch. This overlap is absolutely critical for preventing those annoying vertical lines between passes.
- Wipe the Blade. Every. Single. Time. After each downward pass, use a dry microfiber cloth to wipe the rubber blade clean. I can't stress this enough. If you skip this, you're just dragging the dirt you just removed right back onto the clean glass, creating a streaky mess.
Expert Insight: I always tell people to think of it like mowing a lawn. You wouldn’t leave random strips of tall grass, right? That one-inch overlap is your secret weapon for making sure the entire surface is perfectly uniform and streak-free.
This whole sequence—from applying the solution to the final swipe of the squeegee—is the heart and soul of professional window cleaning.
This simple diagram breaks down the process visually: mix your solution, wash the glass, and dry it for a perfect finish.
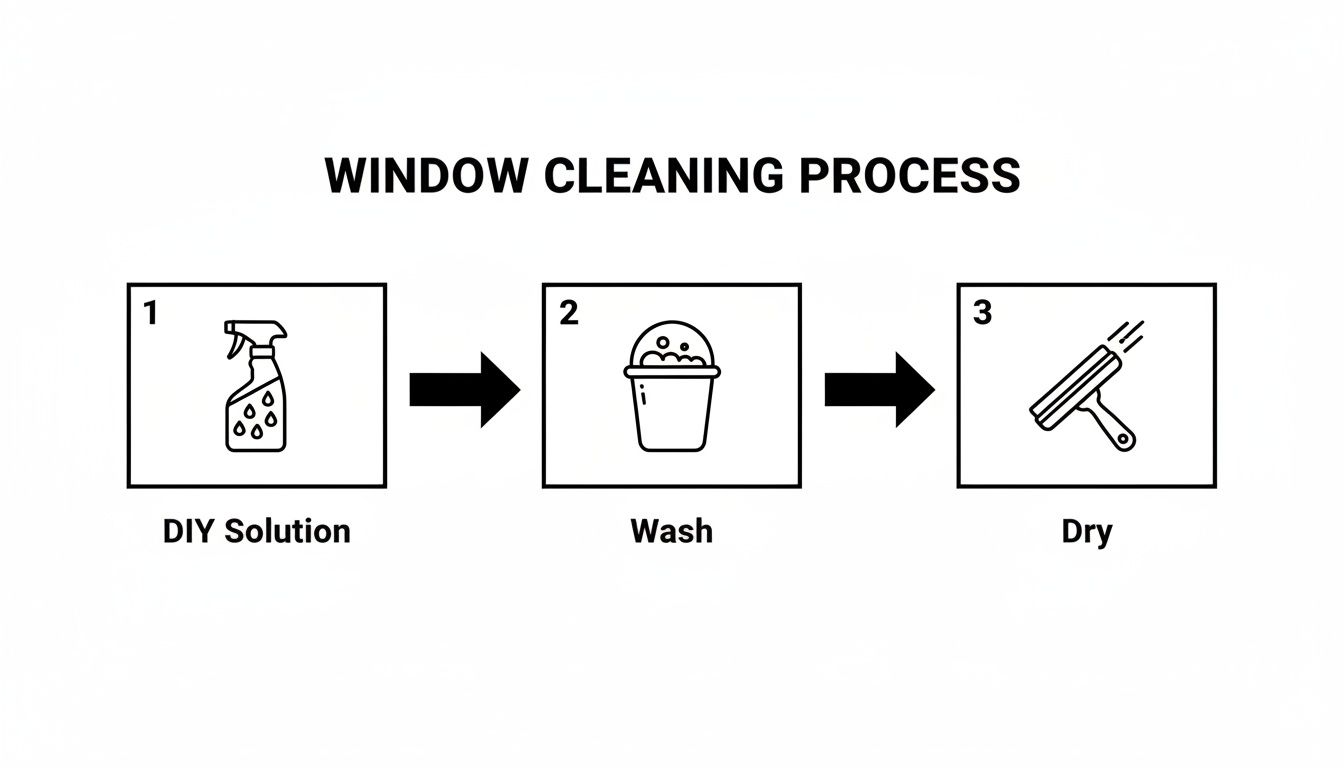
It’s a great reminder that the secret isn’t one big thing, but a series of small, correct steps performed in the right order.
The Two-Cloth Microfiber Method
No squeegee? No problem. Or maybe you're just cleaning smaller panes, like on French doors. This is where the microfiber cloth method shines. It’s simple, requires almost no gear, and is perfect for quick jobs. The key is using a two-cloth system so you're actually removing dirt, not just pushing it around.
First, take your damp microfiber cloth (the one dipped in your solution and wrung out) and wipe down the window from top to bottom. I like to use an "S" pattern to make sure I cover every inch and lift the grime away. Avoid scrubbing in frantic circles; that's a surefire way to leave hazy residue.
Immediately after, before the surface can air-dry, grab your second, completely dry microfiber cloth and buff the glass. Again, work from top to bottom. This polishes the window and zaps any leftover moisture, which is the real cause of streaks. If you're curious about other ways to get a perfect dry finish, check out our guide on 3 proven ways to dry windows without leaving streaks.
Game-Changing Tips for Both Methods
No matter which technique you go with, a few universal pointers will seriously level up your window cleaning game.
- Clean on a Cloudy Day: This is the golden rule. Direct sun heats up the glass and makes your cleaning solution evaporate in seconds. That rapid drying is the number one cause of streaks. Working in the shade or on an overcast day gives you the time you need to do the job right.
- Tackle the Tracks First: Before you even think about touching the glass, vacuum or wipe out the window tracks and sills. If you clean the glass first, you’re bound to kick dust and dead bugs from the tracks right onto your pristine window. Get the dirtiest part done first.
- Use Distilled Water in Your DIY Mix: If your home has hard water, the minerals in your tap water (like calcium) will leave behind chalky spots when they dry. Switching to distilled water is a cheap and easy hack that guarantees a spot-free shine every time.
Don't Forget the Sills, Tracks, and Screens
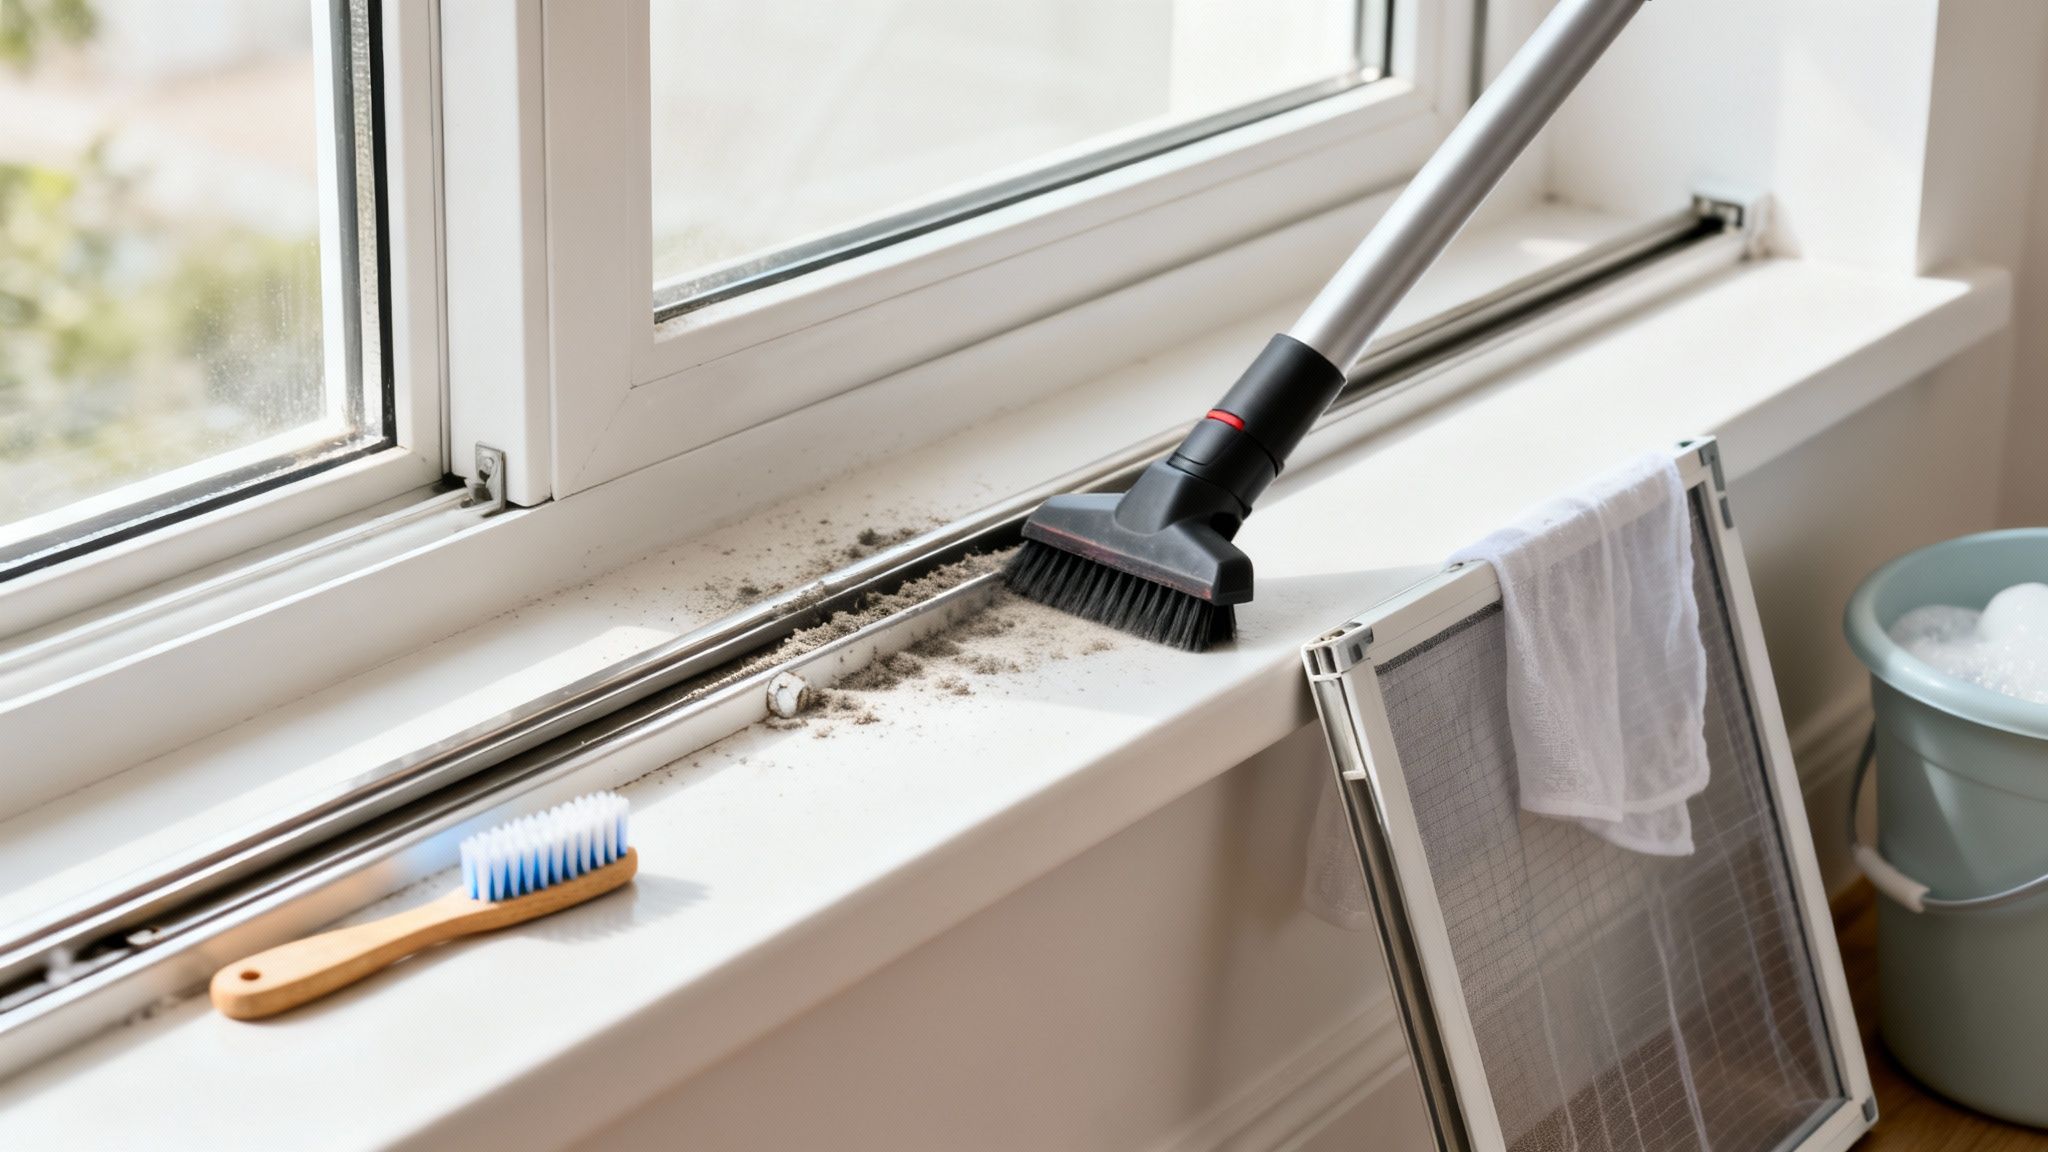
Perfectly clear glass is only half the battle. If you ignore the frame, tracks, and screen, the whole job just looks unfinished. This is where the real detail work comes in, turning a decent window cleaning into a professional-level one.
Here’s a non-negotiable pro tip: always tackle the sills, tracks, and screens first. It might seem backward, but this prevents you from splattering dirt and gunk all over your freshly cleaned glass. Trust me, you don't want to do the same work twice.
Clearing Out Window Sills and Tracks
Let's be honest—window tracks are magnets for a nasty mix of dust, dead bugs, pet hair, and who-knows-what-else. It’s easily the grimiest part of the job, but getting it out of the way first makes everything else feel so much more satisfying.
Your vacuum cleaner is the best tool to start with. Grab the crevice tool attachment and get in there, sucking up all that loose debris from the tracks and sills. This gets the bulk of the mess out of the way without just smearing it around.
With the loose stuff gone, it’s time to deal with the caked-on grime. For this, nothing beats an old toothbrush. Its small head and stiff bristles are perfectly designed to get into all those tight corners and grooves.
Here's a simple but incredibly effective method I've used for years:
- Sprinkle on Baking Soda: Lightly dust the tracks with a bit of baking soda. Don't be shy in the dirtiest corners.
- Add Some Vinegar: Drizzle or spray a little white vinegar over the baking soda. You'll get a satisfying fizzing reaction that does a lot of the heavy lifting for you, breaking down that stubborn gunk.
- Give It a Good Scrub: Let that mixture bubble away for a few minutes, then get in there with your toothbrush and scrub every nook and cranny.
- Wipe It All Out: Use a damp microfiber cloth or a few paper towels to wipe out all the loosened grime. The amount of dirt that comes out is always shocking.
If you’re dealing with years of buildup, a steam cleaner with a narrow nozzle can be a real lifesaver, blasting away grime with very little elbow grease.
Tackling Dirty Window Screens
Looking through clean glass and a dusty screen is a classic rookie mistake. If your screens are removable—and most modern ones are—popping them out for a proper wash is a total game-changer. Just look for the small tabs or springs you can push to release them from the frame.
Once the screen is out, take it outside to a driveway or patio. You can lean it against a wall or lay it flat on a clean tarp to work.
The key here is to be gentle, as the mesh can be delicate. I just mix a simple solution of warm water and a few drops of mild dish soap in a bucket. Dip a soft-bristled brush into the soapy water and give both sides of the screen a light scrub.
Rinse it off with a garden hose on a low-pressure setting. This is crucial: let the screen air dry completely before putting it back in the window. Trapped moisture is a recipe for mold and mildew.
Removing Stubborn Spots From the Glass
Even with the best technique, you’ll sometimes run into stubborn spots that just won't budge. Instead of scrubbing harder and risking a scratch, it's better to target the specific type of gunk you're dealing with.
A Quick Tip for a Perfect Finish: While the robotic window cleaner market is growing, nothing beats human expertise for detailed interior work. Here's a pro secret backed by industry observation: dry the very edges of the window pane first with a separate microfiber cloth. This simple step can prevent up to 85% of common water marks. Learning tricks like this means joining a USD 257.27 billion future where clear windows genuinely improve home life—better natural light has even been linked to significant mood boosts. You can learn more about these trends and the cleaning industry's bright future.
Here’s how to handle the most common offenders:
- Sticky Residue: For that annoying leftover adhesive from tape or stickers, put a little rubbing alcohol or Goo Gone on a cloth. Gently rub the spot until the residue dissolves and wipes away cleanly.
- Paint Flecks: Got some tiny specks of dried latex paint? You can often lift them right off with a fresh, sharp razor blade. Just be sure to lubricate the glass with your cleaning solution first and hold the blade at a 45-degree angle, using light, steady pressure.
- Hard Water Spots: If you live in an area with mineral-rich water, you've seen these cloudy white spots. A simple paste of baking soda and water, or a 50/50 solution of white vinegar and water, works wonders. Apply it, let it sit for a few minutes, and then gently scrub with a non-abrasive pad.
Deciding Between DIY and Professional Window Cleaning
There's a real sense of accomplishment that comes from stepping back to admire a perfectly clean, streak-free window you did yourself. But let's be honest—some jobs are just bigger, trickier, or more dangerous than they're worth.
Knowing when to roll up your sleeves versus when to call in an expert really comes down to a practical assessment of your time, your safety, and the unique challenges your windows present. For most standard, ground-floor windows, a DIY clean is a great way to spend an afternoon.
But some situations just scream "call a pro."
When to Call a Professional Window Cleaner
Take a good look at your home's layout and the state of your glass. A few key things should make you think twice about tackling the job yourself.
Here are the most common scenarios where I always recommend bringing in a professional:
- Hard-to-Reach Windows: This is the big one. Any windows on a second story or higher, or those awkwardly placed over a stairwell, present a serious safety risk. Pros come equipped with the right ladders, harnesses, and safety training to manage heights without putting themselves—or your property—in danger.
- Specialty Glass: Do you have tinted, coated, or old, historic glass? Using the wrong cleaning solution or even a slightly abrasive tool can cause permanent and expensive damage. A professional service knows precisely which products are safe for every type of window.
- Severe Hard Water Stains: If you've already tried vinegar on those stubborn, chalky mineral deposits and they haven't budged, it's time for bigger guns. Professionals use specialized acidic compounds and polishing tools to dissolve those stains and restore the glass without scratching it.
- Time and Efficiency: Let's face it, if you have a large home with dozens of windows, the project can easily chew up your entire weekend. A professional crew can knock out the same job in just a few hours, giving you a flawless finish while you reclaim your free time.
Did you know the global window cleaning market is projected to hit USD 257.27 billion by 2032? It’s a huge industry for a reason. Professionally cleaned windows can boost natural light by up to 40%, and with North America holding 37.75% of the market, it's clear that homeowners see the value in a job done right.
The Value of a Professional Service
Hiring an expert is about more than just convenience; it’s an investment in quality and your own peace of mind. A reputable company like Sparkle Tech Window Washing will be fully insured, which protects you from any liability. They also use commercial-grade equipment and solutions that deliver a deeper, longer-lasting clean than anything you can buy at the store.
When you're thinking about your options, guides on finding professional home services can be incredibly helpful for learning what to look for in a top-notch provider.
Ultimately, the choice is yours. For a few easy-to-reach windows, a DIY approach is fantastic. But for any job that feels unsafe, overwhelming, or requires special expertise, calling a pro is the smartest—and safest—move you can make. If you're still on the fence, our guide on knowing when to call a professional window washing company offers even more detail to help you decide.
Got Questions? Let's Talk Window Cleaning
Even with the right game plan, questions always come up. Honestly, getting the little details right is what makes the difference between an okay job and a crystal-clear finish. I'm going to run through some of the most common things people ask me, offering up some practical advice to help you get that flawless look every single time.
Think of this as the final piece of the puzzle. Once you've got these common sticking points sorted, you'll have the confidence to tackle any window cleaning challenge that comes your way.
How Often Should I Clean My Interior Windows?
For the average home, giving your interior windows a good cleaning every two to three months is a solid rule of thumb. That's usually enough to keep dust and grime from building up into a real headache.
But let's be realistic—your home isn't "average." You might find yourself needing to clean them more often, maybe even monthly, if you're dealing with a few common culprits:
- Pets: You know the culprits—adorable nose prints and slobber marks that seem to appear out of nowhere.
- Kids: Little fingerprints and all sorts of mystery smudges are just part of the deal.
- A busy kitchen: Airborne grease from all that delicious cooking can settle on nearby glass, creating a sticky, hazy film over time.
- A dusty environment: If you live near a construction site or a busy road, more frequent cleaning is a must for better indoor air quality.
What’s the Best Homemade Window Cleaner?
You can absolutely skip the store-bought stuff. The best and most reliable cleaner is probably sitting in your pantry right now: a simple mix of equal parts white vinegar and distilled water.
The vinegar is a powerhouse, using its natural acidity to slice right through greasy films and mineral deposits. But the real pro tip here is using distilled water. It’s completely free of the minerals found in regular tap water—the very same minerals that are notorious for leaving behind those chalky, streaky spots.
Want a little extra cleaning muscle? Add a single drop of mild dish soap to your spray bottle. It's just enough to help break down any stubborn grime. And if the smell of vinegar isn't your favorite, a few drops of lemon or lavender essential oil will make the whole process much more pleasant.
My Two Cents: The magic of a DIY solution is in its simplicity. You really don't need a cocktail of harsh chemicals for a perfect shine. This vinegar and water mix is cheap, eco-friendly, and frankly, it just works.
Why Do My Windows Still Look Streaky After I Clean Them?
This is, without a doubt, the most common frustration I hear about. But don't worry, the cause is usually one of three simple things, and they're all easy to fix once you know what to look for.
First, the number one mistake is cleaning in direct sunlight. The heat from the sun makes your cleaning solution evaporate in a flash, leaving behind a residue of soap and minerals before you even have a chance to wipe it all away. Do yourself a favor and wait for an overcast day, or at least work on windows that are fully in the shade.
Second on the list is using dirty tools. It sounds obvious, but it happens all the time. A dirty squeegee blade or a microfiber cloth that’s already full of lint will just smear the old grime around. Always, always start with a perfectly clean squeegee and a fresh set of cloths.
Finally, going overboard with the soap is a classic mistake. More is definitely not better here. That tiny drop is all you need to lift grease; any more than that becomes difficult to rinse off completely and is a guaranteed recipe for streaks.
Can I Just Use Paper Towels?
Please don't. I know they’re right there and seem convenient, but using paper towels will just sabotage all your hard work.
Paper towels are designed to be absorbent, but they shred and fall apart the moment they get wet. This leaves behind a nearly invisible layer of lint fibers all over the glass. You might not see it when the window is wet, but as soon as it dries, you'll be left with a fuzzy, hazy finish.
A high-quality microfiber cloth is a much, much better choice. Here’s why it’s a non-negotiable for me:
- They're lint-free: No stray fibers left behind.
- They're super absorbent: They grab onto dirt and moisture and don't let go.
- They're reusable: A good set of cloths can be washed and reused for years, which is better for your wallet and the planet.
Seriously, investing in a few good microfiber cloths is one of the smartest things you can do to get that truly professional, streak-free look.
When a job feels too big, the windows are too high, or the stains just won't budge, don't hesitate to call in the experts. Sparkle Tech Window Washing offers professional, insured services across Arizona to guarantee a perfect shine every time. You can learn more and get a free estimate on our website.