


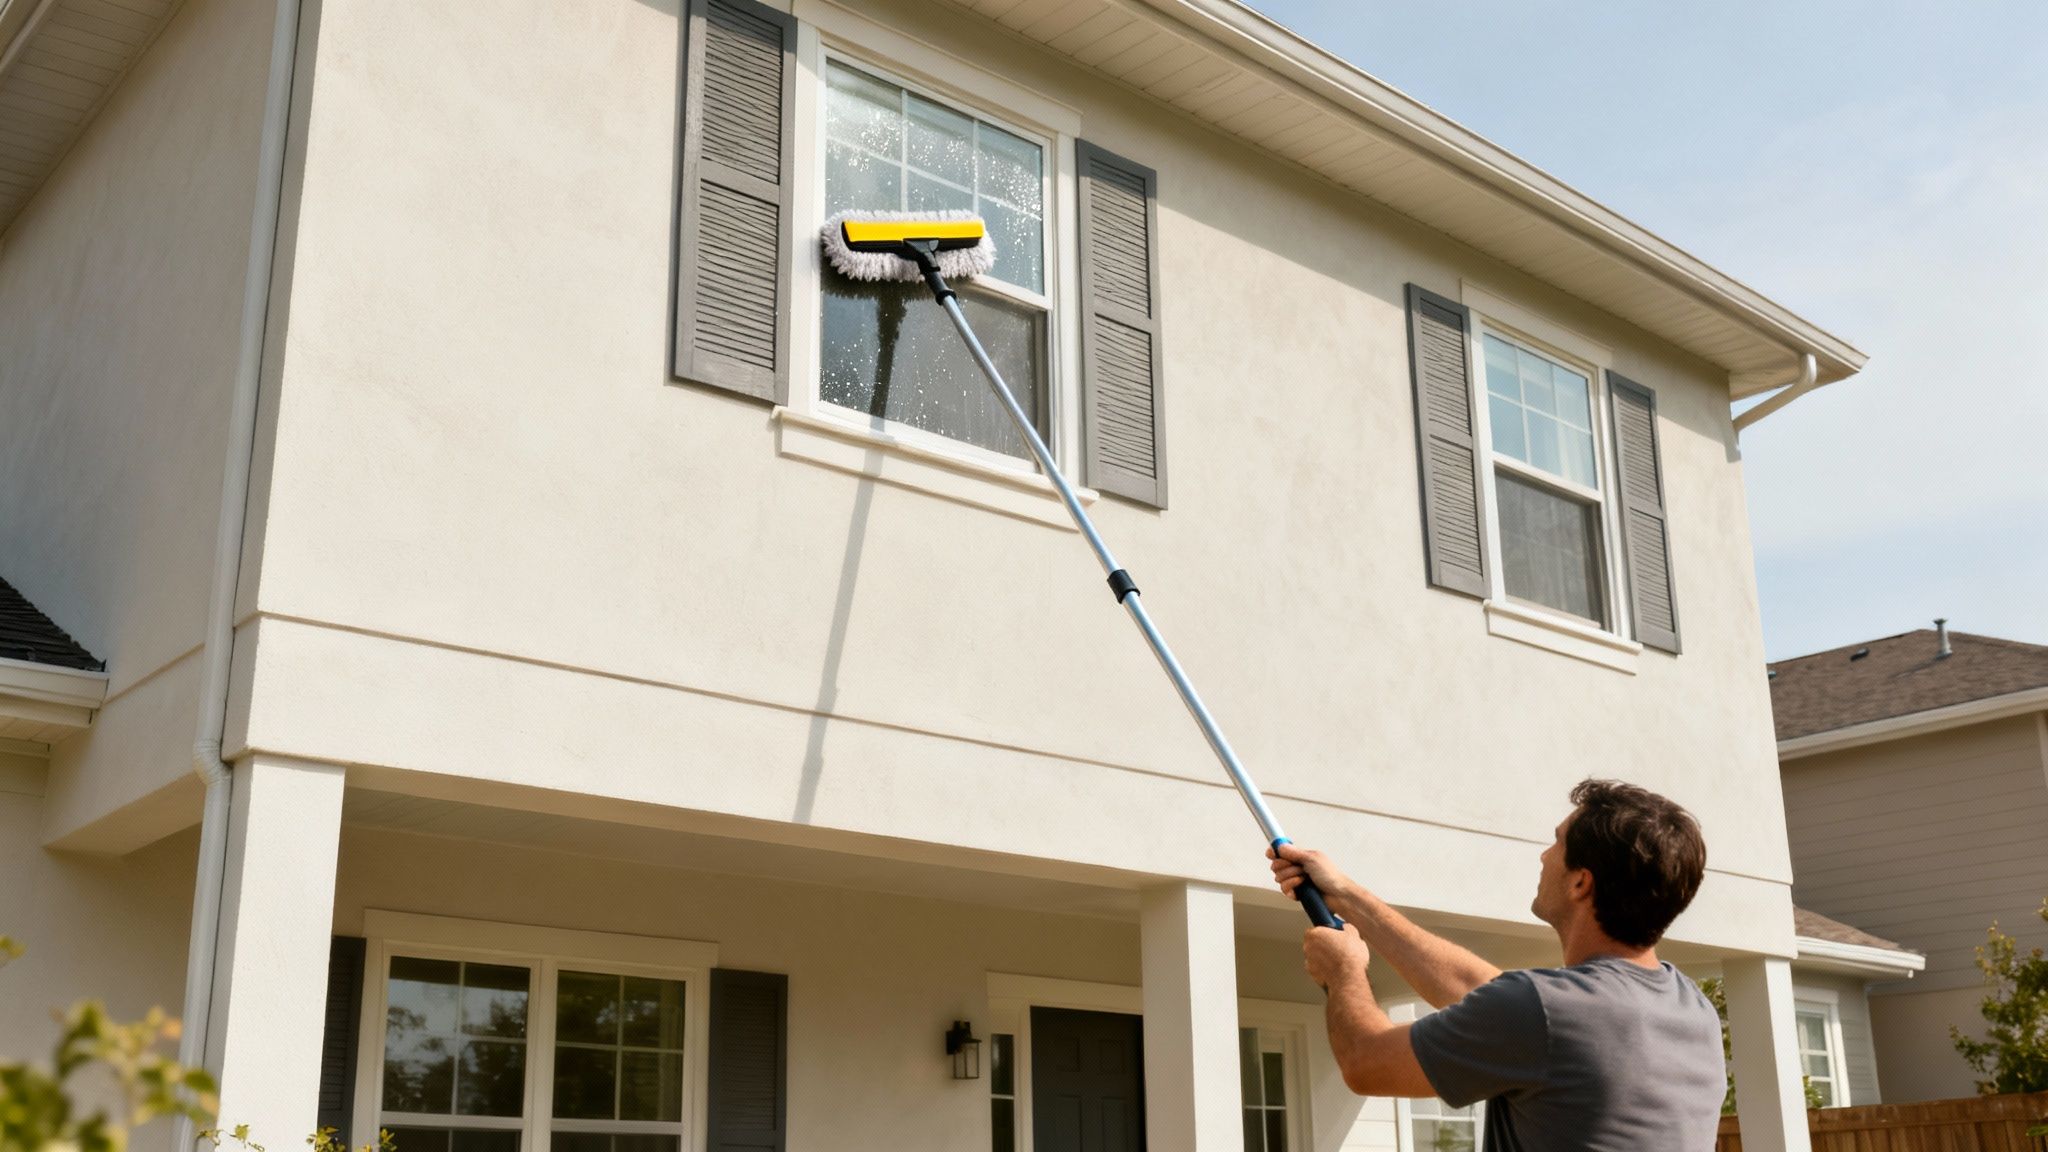
When it comes to cleaning second-story windows, the golden rule is simple: keep your feet firmly on the ground. I can't stress this enough. The safest and most effective way to get those high-up windows sparkling is by using a good telescoping pole with the right attachments. This setup lets you do the entire job without ever setting foot on a ladder.
Your Guide to Sparkling High Windows From the Ground
Just the thought of cleaning high windows can conjure images of wobbly ladders and nerve-wracking heights. The good news? Modern tools have made that whole scenario obsolete. This guide is all about practical, safe methods that deliver a professional, streak-free shine from the safety of your lawn.
Forget the anxiety. We're going to focus on using the right equipment to bring the work down to you, not the other way around. Let's start with the essential gear that makes this all possible.
Why Ground-Based Cleaning Is Just Better
Opting to stay on the ground isn't just a safety precaution—it's about getting a better, more consistent result. When you aren't worried about your balance, you can put all your focus into proper technique. It's a game-changer.
This shift leads to some pretty obvious benefits:
- Massively Improved Safety: Taking ladders out of the equation eliminates the single biggest risk.
- Faster Work: You can move from window to window so much quicker when you're not constantly climbing up and down to reposition a ladder.
- A Truly Streak-Free Finish: A stable stance is key for the smooth, even strokes you need to avoid streaks.
Professionals have known this for years. Using telescoping poles is the top recommendation for homeowners because they can easily let you reach windows up to 20 feet or more from a solid footing.
Key Takeaway: The secret to cleaning second-story windows isn't about getting comfortable on a ladder—it's about making the ladder totally unnecessary. The right tools turn a daunting task into a simple weekend project.
To give you a clearer picture, here's a quick rundown of the most common methods for tackling high windows from the ground.
Quick Comparison of High Window Cleaning Methods
| Method | Best For | Safety Level | Equipment Cost |
|---|---|---|---|
| Telescoping Pole & Squeegee | Most homes with standard double-hung or casement windows. Excellent for a streak-free finish. | Very High | $50 – $150 |
| Water-Fed Pole System | Larger homes, lots of windows, or for a "professional" deep clean. Uses purified water. | Highest | $300 – $800+ |
| Magnetic Window Cleaner | Windows that only open partially or are difficult to access from the outside. Best on single-pane glass. | High | $30 – $70 |
Each of these approaches has its place, but for most DIYers, a quality telescoping pole with a squeegee and scrubber attachment is the perfect starting point. It offers the best balance of cost, effectiveness, and ease of use.
For a deeper dive into all kinds of window cleaning techniques and services, this comprehensive window cleaning guide is a fantastic resource.
Assembling Your Ground-Based Cleaning Kit
Having the right gear to clean your second-story windows from the ground isn't just about making the job easier—it's about doing it safely and getting a result you’re actually happy with. The right kit is what turns a dreaded, wobbly chore into a straightforward task that leaves you with a flawless, streak-free shine.
Let’s start with the most important piece of equipment: your telescoping pole. Seriously, don't cheap out here. You want a sturdy pole, typically made from aluminum or fiberglass, that feels solid and doesn't bend like a fishing rod when you extend it all the way. A flimsy pole is not only frustrating to use but can be a real safety hazard.
When you're shopping for one, pay close attention to the locking mechanisms. In my experience, flip-lever locks are far more reliable and easier to adjust on the fly than the old twist-lock style, especially when your hands are wet and soapy. A good lock means the pole isn't going to unexpectedly collapse while you're in the middle of a perfect squeegee pull.
Choosing Your Cleaning Heads
With a solid pole in hand, it's time to think about the attachments that do the dirty work. For a professional-level clean, you'll need two key tools: a scrubber and a squeegee. You can often find these as a single combination tool, but I sometimes find that separate heads give you a bit more control.
- The Scrubber: Go for a microfiber scrubber head. Its dense fibers are fantastic at holding onto soapy water and really digging in to lift dirt and grime without any risk of scratching the glass.
- The Squeegee: This is where the magic happens. A high-quality, flexible rubber blade is non-negotiable for that perfect, streak-free finish. Cheap, stiff plastic blades just skip and chatter across the glass, leaving a mess of lines behind. Make sure you get a squeegee with a replaceable blade; they wear out, and being able to swap in a fresh one is a game-changer.
Many pros and homeowners love the all-in-one combination tools that have a scrubber on one side and a squeegee on the other. They’re undeniably efficient, letting you scrub and then squeegee dry with just a quick flip of the pole.
The Best Cleaning Solutions
You really don't need to shell out for expensive, harsh chemicals. In fact, most of the time, a simple homemade solution works even better. A lot of store-bought cleaners leave behind a filmy residue that ends up attracting more dust later on.
My Go-To Window Cleaning Mix: In a bucket, mix about one gallon of warm water with two teaspoons of a good dish soap (like Dawn) and a half-cup of plain white vinegar. The soap is fantastic for cutting through grease and grime, and the vinegar helps dissolve mineral spots from hard water, giving you that extra sparkle.
If you prefer to buy a pre-made concentrate, just be sure it's specifically for window washing and is biodegradable. Try to avoid anything with ammonia or alcohol. Those ingredients can evaporate too quickly in the sun, which is a primary cause of streaking, and can even damage tinted windows or certain vinyl frames over time.
To round out your kit, you'll need a good bucket. A wide, 5-gallon bucket is ideal because it’s big enough to dunk your entire scrubber head without making a mess. And don't forget a few clean, lint-free microfiber cloths. Keep one tucked in your belt loop to wipe your squeegee blade after every single pass—it’s a simple pro habit that makes a world of difference in preventing drips and streaks.
Mastering the Telescoping Pole Technique
Once you have your ground-based cleaning kit ready to go, it’s time to put it to work. Honestly, this is where a little technique makes all the difference between a frustrating afternoon and a surprisingly satisfying project. A few simple steps, done in the right order, are all it takes to clean those second-story windows safely and get a result you can be proud of.
Before you even think about dipping a scrubber in the bucket, take a minute to prep your workspace. Get any patio furniture, potted plants, or other obstacles out of the way from the area directly below the windows. This isn't just about protecting your stuff from soapy drips; it gives you a clear, safe path to move around as you work.
Go ahead and get your cleaning solution mixed in your bucket. Having everything prepared and within arm's reach means you can get into a good rhythm without stopping to hunt for something you forgot.
Applying the Cleaning Solution
The first real step is getting the glass wet and scrubbing away all that built-up grime. Attach your microfiber scrubber head to the pole, give it a good dunk in the soapy water, and let the excess drip off for a second before you lift it up.
You'll want to start scrubbing the window from the bottom and work your way up. I know, it sounds a bit backward. But starting low and using upward strokes stops dirty water from running down over the clean glass, which is a classic rookie mistake that causes streaks before you even grab the squeegee. Make sure to overlap your strokes slightly to cover every square inch, and give a little extra attention to the corners where dirt loves to collect.
This process flow infographic shows the essential tools for cleaning second story windows with a telescoping pole.
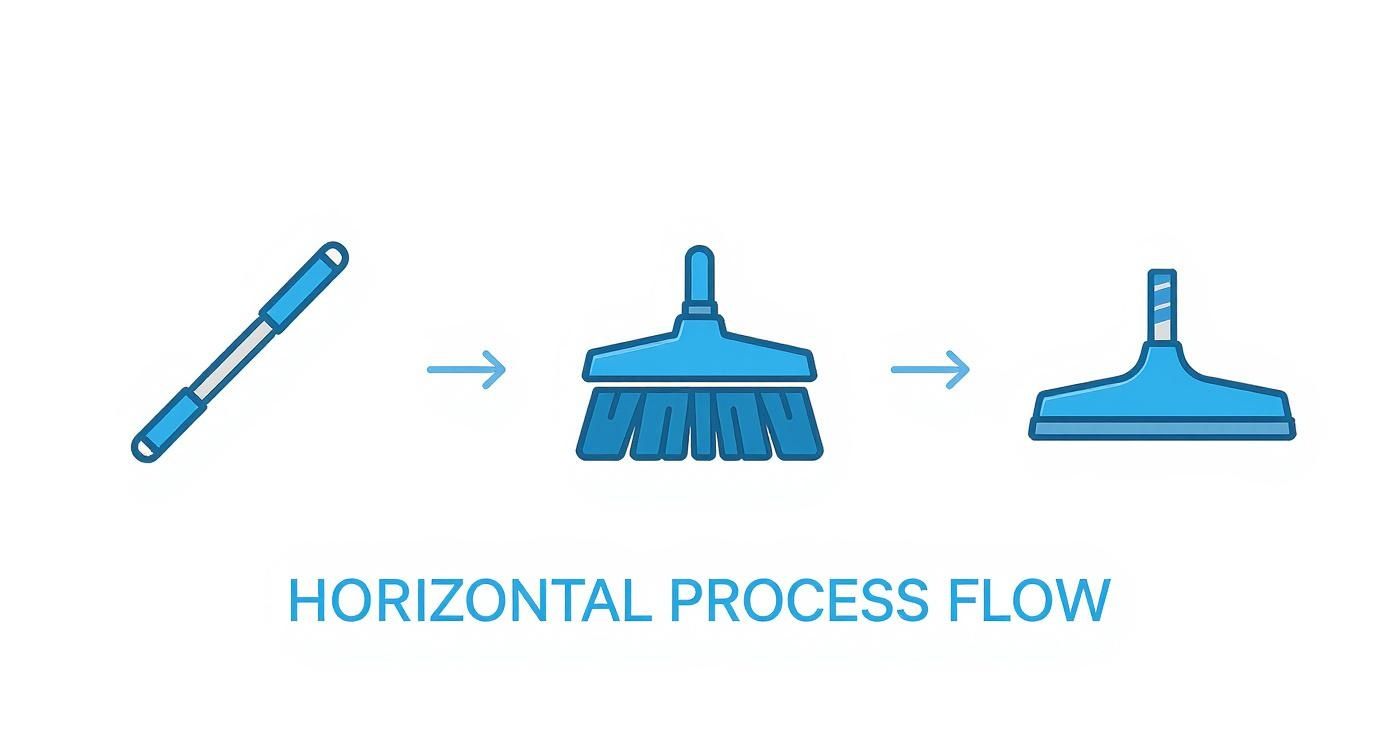
As you can see, it really comes down to three core components—the pole, the scrubber, and the squeegee—working together to get you that professional finish from the safety of the ground.
Executing the Perfect Squeegee Pull
This is the moment of truth. A good squeegee pull is what separates the pros from the amateurs and is the absolute key to a flawless, streak-free shine. The most effective technique by far is what we call the 'S-method' or the serpent pattern.
Instead of just pulling the squeegee straight down in separate columns (which almost always leaves vertical lines), you’re going to move it across the window in one continuous 'S' motion.
Here’s how it’s done:
- Start at the Top: Place your squeegee in a top corner, angling it so only about an inch of the blade touches the glass. Pull it straight across the top edge of the window to create a dry starting strip.
- Begin the 'S' Motion: Now, press the full blade flat against the glass in that dry zone. Keep it at a steady 30-degree angle and pull it down the window in a flowing, back-and-forth pattern. Think of a snake slithering down the pane.
- Overlap Your Passes: As you move back and forth, make sure each pass overlaps the last one by about an inch. This is crucial for preventing those pesky lines.
- Wipe the Blade. Every. Single. Time. After each complete pull, get into the habit of wiping the rubber blade clean with a microfiber cloth. This prevents you from smearing dirty water right back onto the clean glass. It’s a small step that makes a huge difference.
Pro Tip: Don't press too hard. A common mistake is thinking more pressure equals a cleaner window, but it actually causes the blade to skip and leave streaks. Let the weight of the tool and the sharpness of the blade do the work. A light, consistent touch is all you need.
For some homeowners, a more advanced approach involves a water-fed pole window cleaning system. These systems use purified water that rinses the windows clean and allows them to dry spot-free without any squeegeeing at all. Still, mastering the manual squeegee is a foundational skill that will serve you well.
As a rule of thumb, exterior windows need a good cleaning twice a year to stay looking sharp. If you live near a busy road, have a lot of trees, or there’s construction nearby, you might find that bumping it up to three times a year is necessary to keep them sparkling. Just take your time with these steps, and you'll quickly develop a rhythm that turns this chore into a simple and rewarding task.
Tackling High Windows From the Inside
Sometimes, the best way to clean a high-up window is from the inside out, no ladder or pole required. You might be surprised to find your home is already equipped for this.
If you have modern double-hung or casement windows, chances are they’re designed to tilt or pivot inward. This genius feature brings the exterior glass right to you, letting you clean it from the safety and comfort of your room.
Look for tilt latches, usually found on the top edges of the lower sash. Once you release them, you can gently pull the window towards you. From there, it's as easy as cleaning any other interior surface. Grab a spray bottle and a microfiber cloth, and you’re good to go.
For a streak-free finish, check out the techniques in our guide on how to clean inside windows. Once the glass is sparkling, just pivot the sash back into its frame until it clicks securely in place.
What About Magnetic Window Cleaners?
If your windows slide but don't tilt, a magnetic window cleaner can be a real game-changer. This clever tool is made of two parts with powerful magnets: one for the inside of the glass, the other for the outside. When you move the inside piece, the outside one mirrors your every move, scrubbing and squeegeeing as it goes.
They're a great solution, but you need to know what you're getting into:
- Glass Thickness is Key: These cleaners are sold based on your window's thickness—single, double, or even triple-pane. A magnet that’s too weak will keep falling off, but one that's too strong can be a nightmare to move and could even put stress on the glass. Measure first, buy once.
- There's a Learning Curve: Getting the hang of it takes a few tries. That little safety string for the exterior piece isn't just for show; it's essential for catching it if it detaches. Always use it!
- Best for Light Touch-Ups: They’re perfect for keeping windows looking good but might not have the muscle for years of built-up grime that needs serious elbow grease.
A magnetic cleaner is a fantastic tool for fixed panes in a sunroom or second-story windows that don't open. Just remember it’s not a one-size-fits-all solution for every cleaning job.
A Word of Warning on Pressure Washers
We get asked this all the time: "Can I just use my pressure washer?" Technically, yes. But should you? That’s a much more complicated question. It’s one of those jobs where things can go wrong, fast.
Using too much pressure can blow out your window seals, force water into your wall cavities (hello, mold!), or even shatter the glass. It's a high-risk move that requires a lot of experience.
Before you even think about starting, here’s a quick gut-check to make sure you’re set up for success, not a costly repair.
Your Pre-Cleaning Safety Checklist
| Safety Check | Why It's Important | Verification |
|---|---|---|
| Inspect Window Seals | Pressure can destroy old, cracked, or weak seals. | Look for any signs of cracking, peeling, or gaps around the glass. |
| Select the Right Nozzle | The wrong nozzle delivers a laser-beam of water. | Use only a white (40°) or green (25°) nozzle. Never red or yellow. |
| Check Your PSI Setting | High pressure is for concrete, not delicate glass. | Set the machine to its lowest possible pressure setting. |
| Maintain Safe Distance | Getting too close concentrates the force. | Stand at least 6 to 8 feet back from the window at all times. |
| Secure Surrounding Area | Ensure no pets, people, or breakables are nearby. | Do a quick walk-around of your work area before you start. |
If you decide to proceed, remember the goal is to gently rinse away loose dirt, not to blast the window clean. Think of it as a super-powered garden hose for a light rinse, not a deep-cleaning tool for glass.
Adding the Finishing Touches for a Pro Look
You've done the hard part—the glass is sparkling. But before you pack up, take a look at the frame, sill, and tracks. These areas are magnets for dust, pollen, and cobwebs. Leaving them dirty is like putting a dusty old frame on a brand-new painting; it just ruins the effect.
This is where you take your window cleaning from good to great. A quick wipe-down of the window frame with a damp microfiber cloth is usually all it takes for vinyl or painted wood. It’s a simple step, but it makes a world of difference.
Detailing the Sills and Tracks
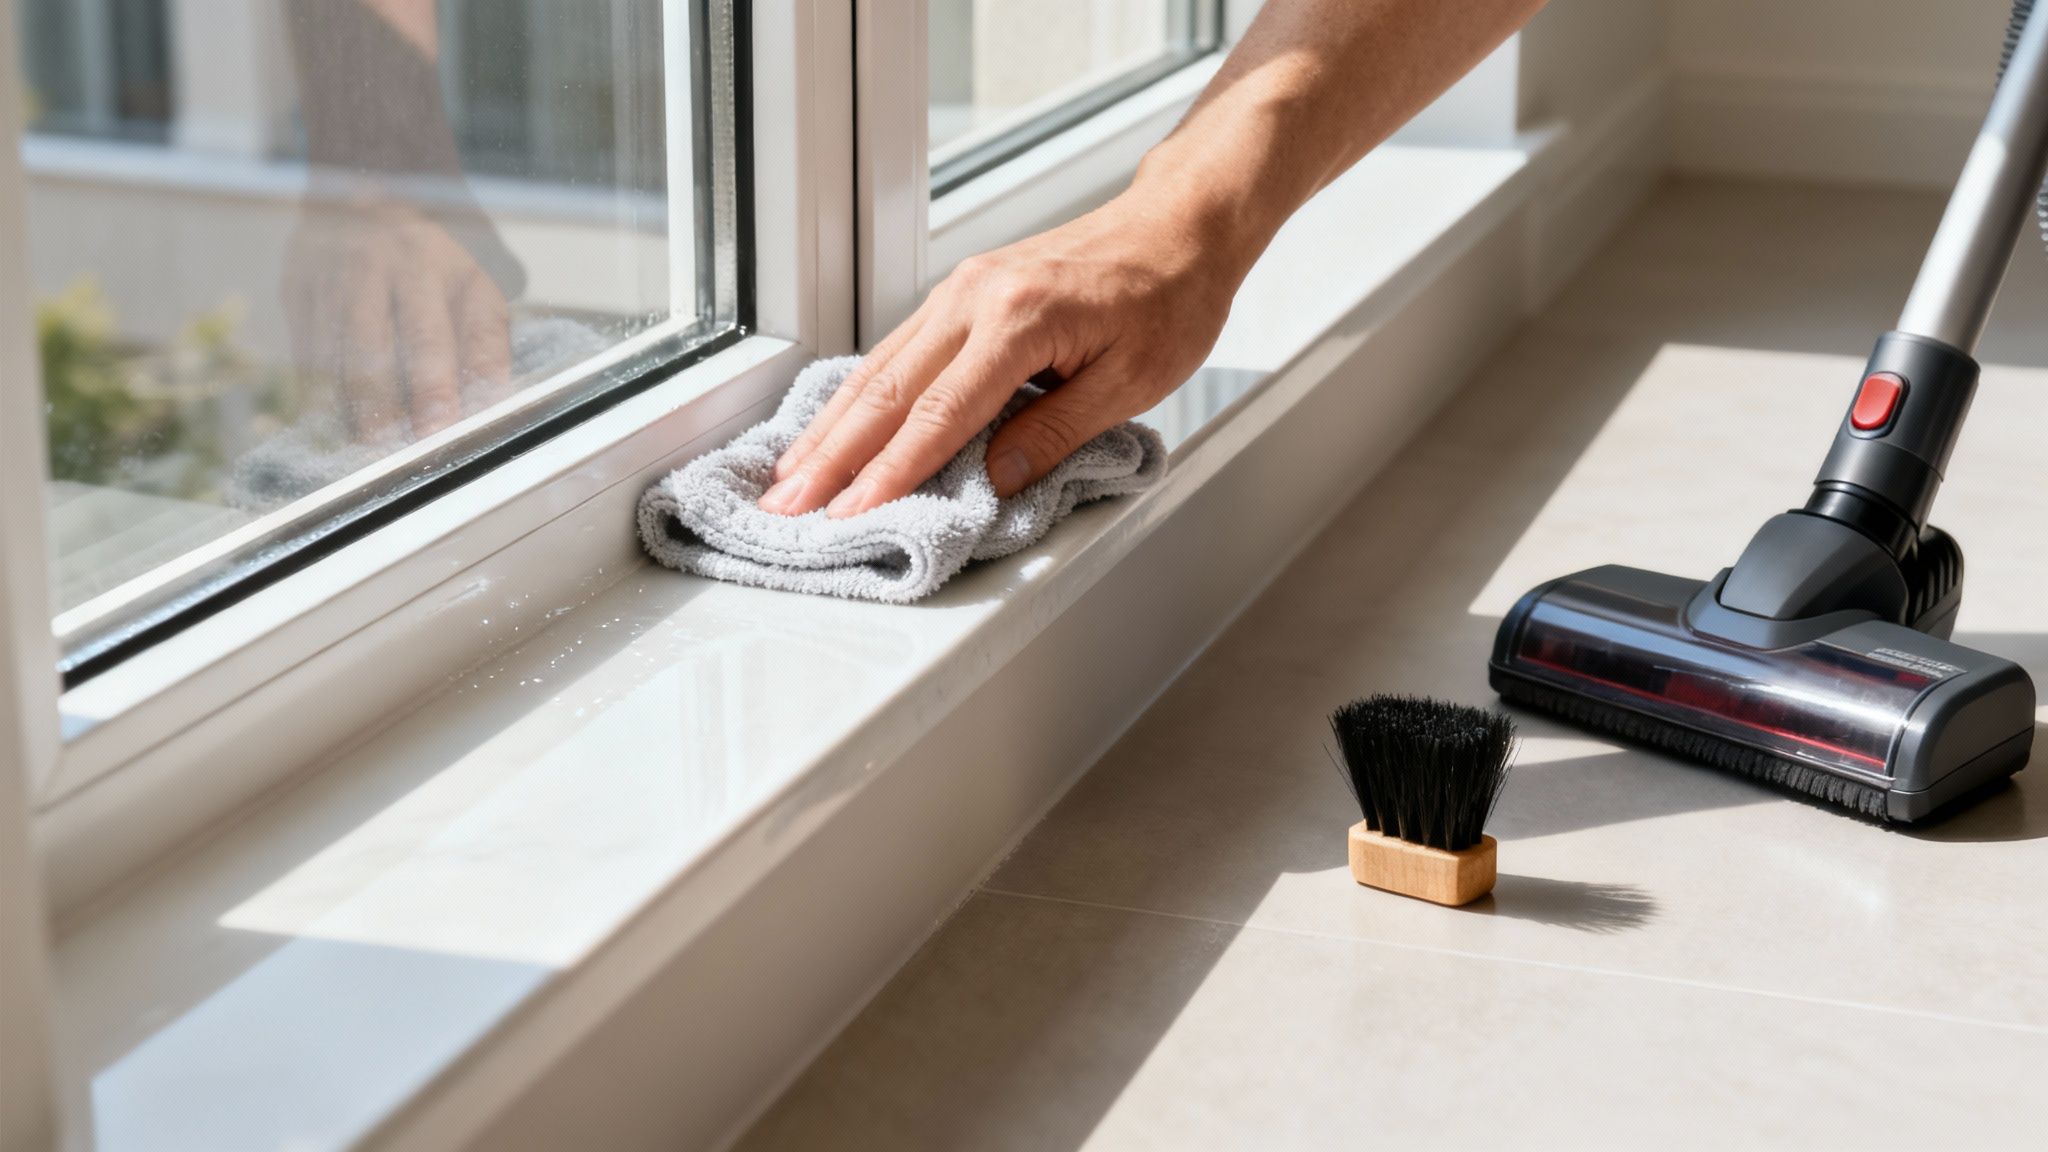
Window sills and tracks are where all the gunk loves to hide. I always start by grabbing a stiff-bristled brush to break up and sweep out all the dried dirt and dead bugs. It’s amazing what can get trapped in there.
Next, a handheld vacuum with a crevice tool is your best friend. It gets into those tight corners and sucks up all the debris you just loosened. Once the loose stuff is gone, a final wipe with a cloth dampened with your cleaning solution will get them looking brand new. This extra five minutes per window is what gives you that truly professional finish.
Key Insight: Don't just focus on the glass. A clean frame and track are essential for a polished finish. Neglecting these details is the most common mistake that separates a DIY job from a professional one.
Troubleshooting Common Problems
Even when you think you're done, you might step back and spot a few lingering imperfections. Don't sweat it—most are easy fixes. Knowing how to deal with these common issues is what separates the novices from the pros.
-
Lingering Streaks: See a streak you missed? Just grab a clean, dry microfiber cloth and gently buff the area in a circular motion. Usually, it's just a bit of leftover moisture that didn't quite evaporate.
-
Stubborn Hard Water Spots: If you're dealing with those milky white spots that your regular solution couldn’t budge, a 50/50 mix of white vinegar and water is the answer. Apply it directly to the spots, let it sit for a minute to work its magic, and then buff it away.
-
Dried Paint Flecks: It's common to find tiny specks of old paint, especially after a house has been repainted. A plastic razor blade is perfect for this. Never use a metal blade, as you’ll almost certainly scratch the glass. Hold the plastic blade at a 45-degree angle and gently push the paint speck off.
Paying attention to these last few details ensures every part of your window, from the pane to the frame, looks pristine and cared for. It’s the difference between a job done and a job done right.
Knowing When to Call in the Pros
There's a special kind of satisfaction that comes from tackling a home project yourself. But I've learned over the years that real wisdom is knowing when a job is just too big—or too risky—to handle alone. When it comes to cleaning second-story windows, calling in a professional isn't giving up; it's making a smart call for your safety and your home.
Let's be honest, some situations just scream "expert." If you're looking up at windows on a third story or higher, that's a whole different ballgame. The same goes for those hard-to-reach panes perched over a steep, slippery roofline. The risk in these scenarios skyrockets, and that's precisely where professional training and equipment make all the difference.
Situations That Demand a Professional Touch
Some window cleaning challenges are simply beyond what typical DIY tools and techniques can solve. It's probably time to pick up the phone if you're facing any of these issues:
- Extreme Heights: We're talking about anything that feels well beyond the safe and stable reach of your telescoping pole.
- Stubborn Hard Water Stains: If you've tried the classic vinegar solution and those cloudy mineral deposits aren't budging, you need a pro. They have access to specialized compounds and polishing tools that can restore the glass without damaging it.
- Post-Construction Cleanup: Dealing with gunk like paint overspray, stubborn silicone, or construction adhesive is a delicate operation. Professionals know exactly how to remove it without leaving a permanent scratch on your new windows.
- Physical Limitations: Your safety is non-negotiable. If you have any doubts about your balance, strength, or comfort level on a ladder, hiring a service is always the right decision.
Professional window cleaners bring a whole lot more than just a taller ladder. They come equipped with an entire system built for safety and efficiency. This is an industry where the right gear is everything.
Think BOSUN chairs for high-rise work, secure safety anchors, and advanced water-fed poles that use deionized water. This purified water system is their secret to that perfectly clear, spot-free finish that's nearly impossible to get with a garden hose.
Hiring a professional isn't just about saving time; it's about getting access to specialized equipment and expertise. This ensures a flawless result and, most importantly, keeps everyone safe. You can learn more about how window cleaning services mitigate the fall risk for homeowners.
Once you've decided to bring in an expert for those high-up windows, the next step is finding the right one. Knowing how to find a reliable professional for home services is key. The same rules apply whether you're hiring a roofer or a window washer: always check for insurance, read recent reviews, and get a clear, detailed quote upfront.
Have More Questions? We've Got Answers
Over the years, I've heard just about every question you can imagine when it comes to tackling those hard-to-reach second-story windows. Here are a couple of the most common ones that come up.
When Is the Best Time of Day to Wash Windows?
This is a great question, and the answer might surprise you. You'll get the best results on a cool, overcast day. If it has to be a sunny day, wait until the windows you're working on are completely in the shade.
Direct, hot sun is your worst enemy. It bakes the cleaning solution onto the glass almost instantly, leaving behind a streaky, filmy mess before you even have a chance to wipe or squeegee it off.
Is It Okay to Use a Pressure Washer?
I get this one a lot. While it seems like a quick fix, I strongly advise against it. A pressure washer is just too powerful for windows.
That intense blast of water can easily blow out the seals around the glass, leading to foggy, failed windows down the road. In a worst-case scenario, it can even crack the pane or force water behind your siding, creating a perfect recipe for mold and rot. Stick with a telescoping pole—it's far safer for your home.
Still feeling a bit uneasy about climbing a ladder or just want that perfect, professional finish? The team at Sparkle Tech Window Washing is always here to help. We have all the right gear and know-how to make your windows shine, no matter how high up they are.
Get Your Free Estimate Today and let us handle the hard work for you.