


Ever wonder what those stubborn, chalky spots on your windows are? The ones that just laugh at your regular glass cleaner? That’s the calling card of hard water, and it’s a real headache for homeowners, especially here in Phoenix where our water is packed with minerals.
This isn't your average dirt or grime. These stains are mineral deposits, mostly calcium and magnesium, left behind when water from sprinklers or hoses evaporates.
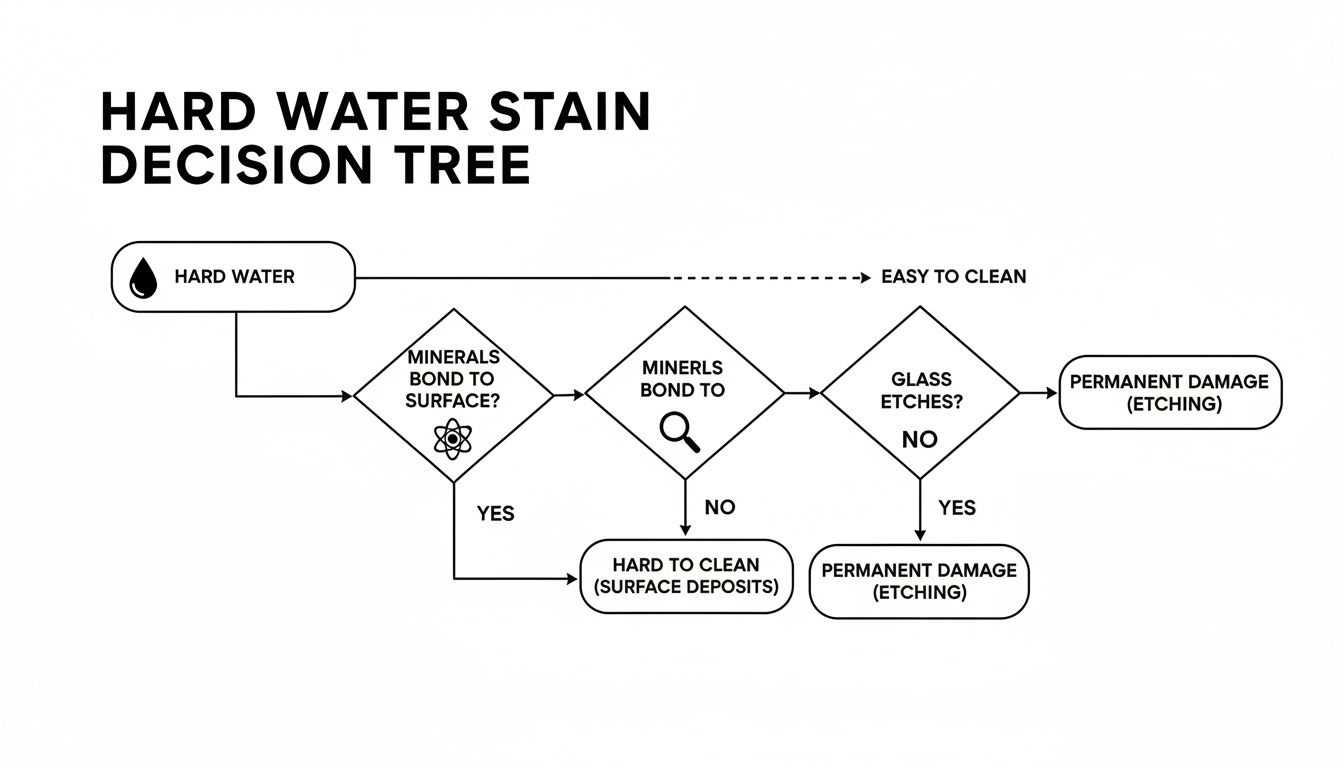
What's Really Happening to Your Glass?
Think of it this way: when that water droplet dries on your window, everything but the minerals disappears. What's left behind is a tiny, concentrated pile of rock-hard residue.
Now, you might think glass is perfectly smooth, but on a microscopic level, it's full of tiny pores. Those minerals don't just sit on top; they work their way into these pores. Over time, a chemical reaction starts. The alkaline minerals begin to bond with the silica in the glass, essentially becoming one with it.
From Annoying Spots to Permanent Damage
At first, a fresh hard water spot is a relatively simple cleanup. But the real trouble starts with repeated exposure. Layer upon layer of mineral deposits build up, and the chemical bonding gets stronger. This is when a simple cleaning job turns into a full-blown restoration project.
The problem progresses through distinct stages, and knowing which one you're dealing with is key.
- Light Stains: You've got fresh, light spots that are mostly sitting on the surface. These are the easiest to tackle.
- Moderate Buildup: The deposits are more noticeable, thicker, and have started to truly bond with the glass.
- Severe Etching: This is the worst-case scenario. The minerals have actually corroded the glass, creating microscopic pits and permanent cloudiness. The damage is now in the glass, not just on it.
Once you've reached the etching stage, you can scrub until your arms give out, and all you'll do is scratch the surface without removing the haze.
It's crucial to understand you're not just wiping away a stain. You're fighting a chemical process that is actively trying to degrade your windows. That's why your removal method has to be the right tool for the job.
The type of glass you have also makes a difference in how badly these stains can take hold. To get a better handle on why some windows seem to attract stains more than others, it's worth learning about the difference between hydrophilic and hydrophobic glass. It sheds a lot of light on the science behind the spotting.
How to Assess Your Hard Water Stain Damage
Before you grab a single cleaning bottle or tool, the most important thing you can do is figure out exactly what you're up against. There's a world of difference between fresh mineral spots and deeply etched glass. Using a gentle cleaner on severe stains is a frustrating waste of an afternoon, but jumping to an aggressive approach on light spots can leave you with permanent scratches. A quick, honest assessment is key.
Start by just looking. The best time to do this is on a bright, overcast day when you don't have to fight glare from the sun. Get up close and then step back. Are the spots faint and only visible when you’re inches away, or is there a cloudy, milky haze you can see from across the lawn? That first look gives you your first clue.
The longer these mineral deposits sit, the more they bond with and eventually eat into the glass. This is where a simple surface stain becomes permanent damage.
As this shows, what starts as a simple cleaning job can escalate quickly. That’s why catching it early makes all the difference.
The Fingernail Test for Etching
For a more hands-on feel of the situation, I always recommend the good old "fingernail test." It’s surprisingly accurate. Just clean a small section of the window with some standard glass cleaner and let it dry. Now, run your fingernail across a few of the stained spots.
- If your nail glides smoothly over the spot, you're in luck. This means you have light, surface-level mineral deposits. These are the easiest to tackle with household solutions.
- If you feel a slight roughness or grittiness, the buildup is more moderate. The minerals have started to bond more stubbornly to the glass.
- If you can clearly feel a raised, crusty edge or even a small divot, the glass is probably etched. At this stage, the minerals have started to corrode the glass itself, and basic cleaners won't cut it.
This simple touch test is often the most reliable way to tell if you're dealing with something on the glass versus damage that is now part of the glass.
Hard Water Stain Severity Guide
To help you get a clear picture, here's a quick guide to what you should be looking and feeling for at each stage. Pinpointing where your windows fall on this spectrum will help you choose the right game plan.
| Stain Severity | Visual Characteristics | Feel to the Touch | Recommended Action |
|---|---|---|---|
| Stage 1: Light Spotting | Faint, see-through white spots. Often just looks like dried water droplets and is hard to spot from a distance. | Smooth. Your finger or a cloth glides right over it without catching. | Start with DIY solutions like vinegar and water. |
| Stage 2: Moderate Buildup | More opaque, chalky, or milky white. The spots may have started to merge into larger patches or a haze. | Slightly rough or gritty. You can feel the texture of the mineral deposits. | Move on to specialized hard water removers or a very fine steel wool. |
| Stage 3: Severe Etching | A cloudy, semi-opaque film that won’t wipe away. The glass looks foggy or permanently dirty, even right after cleaning. | Can feel crusty and bumpy. In extreme cases, the glass surface may even feel pitted or uneven. | This almost always requires professional-grade compounds, polishing, or a full pro service. |
Time is your enemy here. Hard water stains aren't just an eyesore; they are actively damaging your glass. Some industry data shows that after two years, professional restoration success rates can drop to 60% for stubborn stains. While a simple vinegar solution might work on 70% of fresh spots, it fails on over 90% of older, entrenched ones. Worse, I've seen countless homeowners cause permanent scratches by getting too aggressive—improper use of abrasive pads leads to scratched glass in an estimated 25% of DIY attempts. You can learn more about preventing permanent damage on GlassDoctor.com.
By correctly identifying your stain's severity first, you can choose a method with the right amount of muscle—strong enough to work but gentle enough to protect your glass from more harm. This simple diagnostic step is the foundation for a successful cleaning.
Practical DIY Methods for Lighter Stains
If you've taken a close look at your windows and just see some light, fresh spotting, you're in a good spot. For these early-stage hard water stains, you can usually skip the harsh chemicals and find everything you need right in your kitchen pantry. These DIY methods are easy on the wallet, better for the environment, and honestly, they work surprisingly well when you catch the buildup early.
The trick to making these natural cleaners work is understanding what's happening. You’re not just scrubbing away; you're using a little bit of chemistry to dissolve the mineral deposits—mostly calcium and magnesium—that have latched onto the glass.
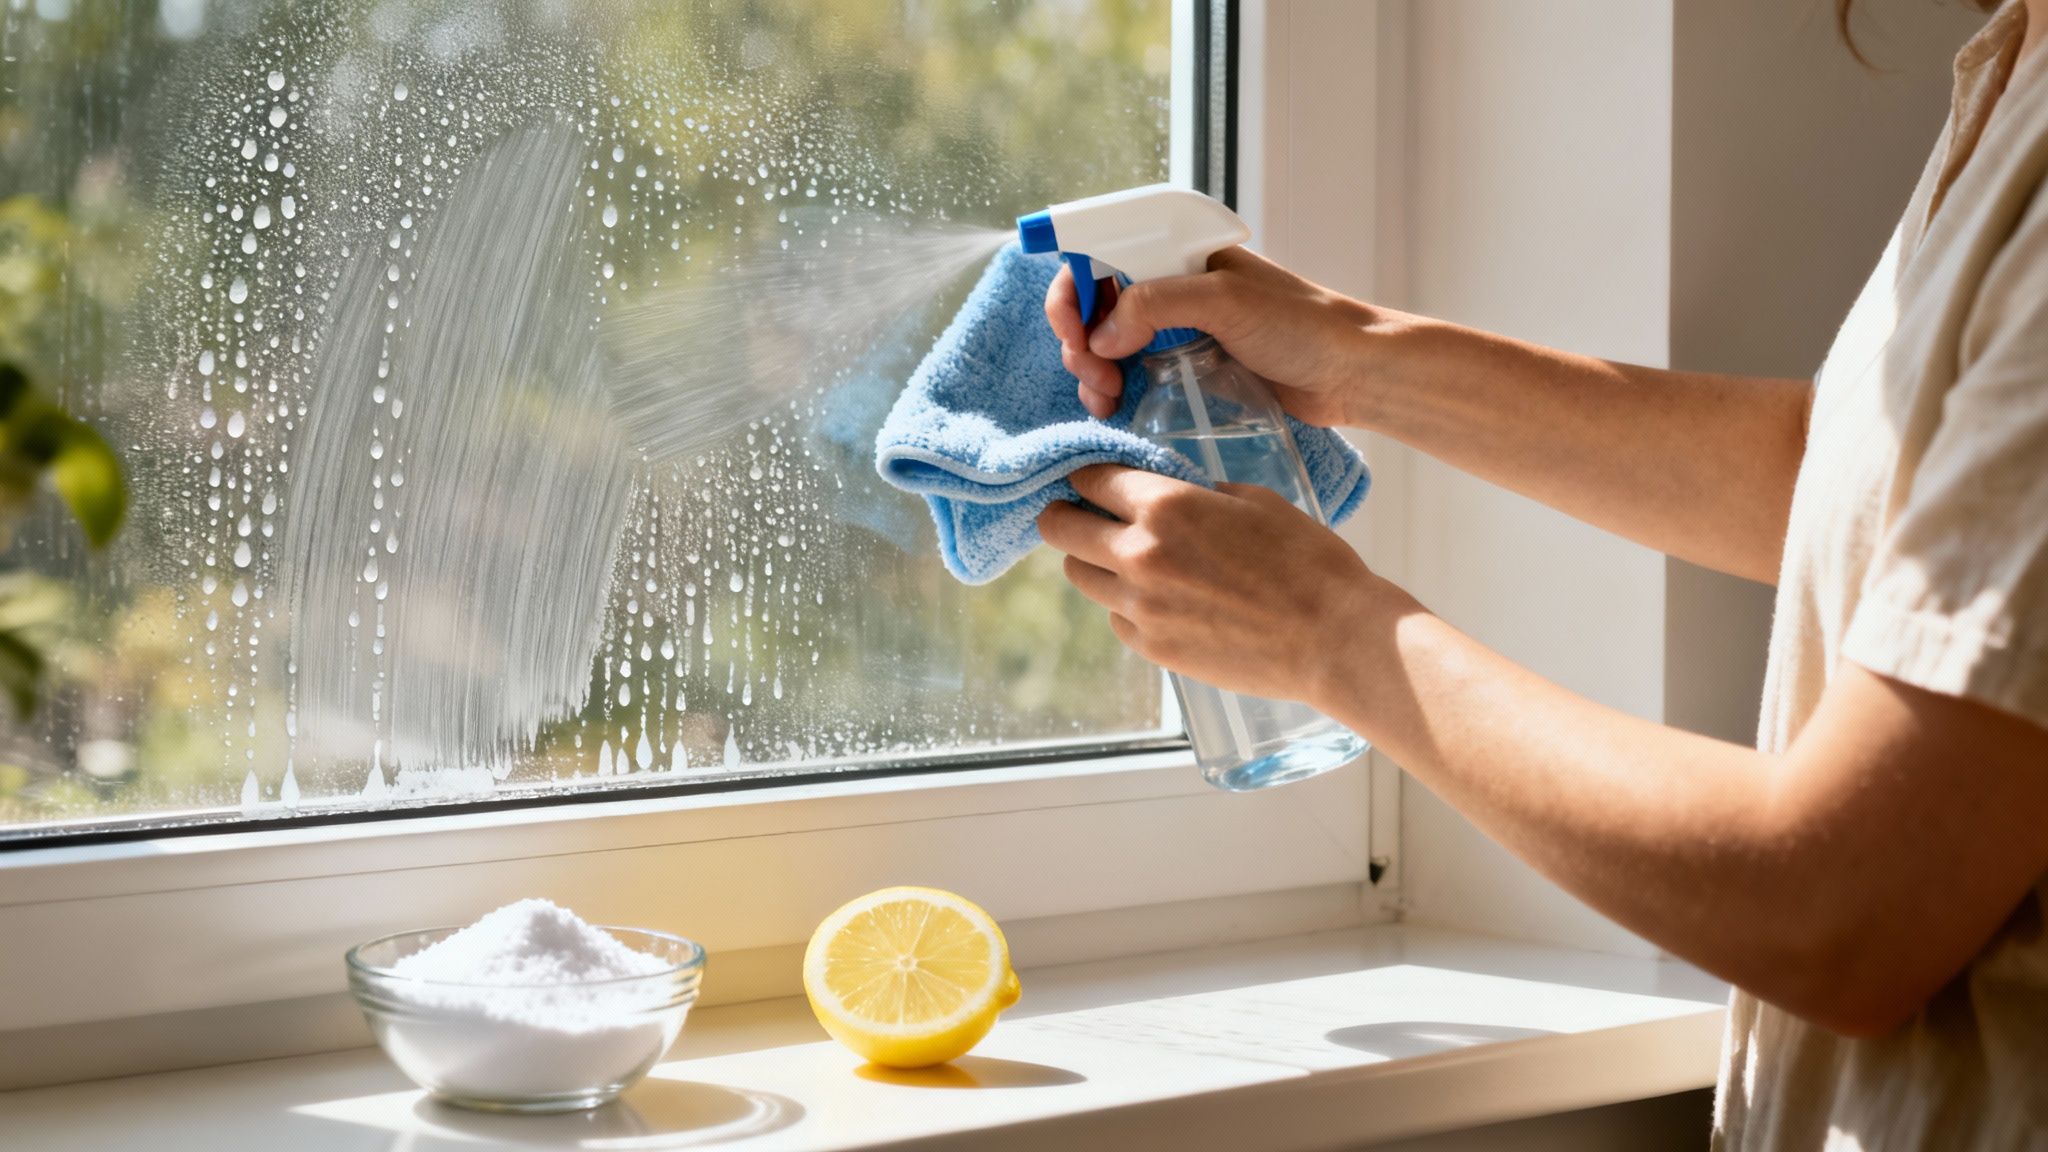
Let's walk through two of my go-to approaches for tackling those annoying spots, starting with the gentlest option first.
The Vinegar and Distilled Water Solution
This is the classic method for a reason. White vinegar contains acetic acid, which is brilliant at breaking down the alkaline mineral deposits that cause those chalky stains on windows. It chemically dissolves the calcium and magnesium, loosening their grip so you can just wipe them away.
Why Use Distilled Water?
Using regular tap water to clean can be self-defeating, especially if your water is very hard to begin with. You might scrub off the old mineral spots only to leave new, fainter ones in their place. Distilled water is completely mineral-free, which guarantees you're getting a truly clean, streak-free rinse.
Here’s what you’ll need and how to get it done right:
- Gather Your Supplies:
- A clean spray bottle
- Distilled white vinegar
- Distilled water
- A couple of high-quality microfiber cloths
- A squeegee (optional, but I always recommend it for a perfect finish)
- Gloves to keep the vinegar off your hands
Putting It to Work
First, mix up your cleaning solution. Go with equal parts distilled white vinegar and distilled water in your spray bottle. A 50/50 ratio hits the sweet spot between cleaning power and being safe for the glass.
Now, spray the solution liberally onto the stained areas. Don't be shy here; you want to completely saturate the mineral deposits. Let the solution sit and do its thing for at least 10-15 minutes. This dwell time is the most important part—it gives the acid time to actually break down the minerals. If it's a hot, sunny day, you might need to re-spray the window to keep it from drying out.
After it has soaked for a bit, take a clean microfiber cloth and gently scrub the area using a circular motion. You should feel the gritty texture of the deposits start to break down. For a flawless, streak-free result, rinse the glass with plain distilled water and dry it completely with a fresh microfiber cloth or, even better, a squeegee.
A Pro Tip From the Field: Try to avoid cleaning your windows in direct, hot sunlight. The heat makes any cleaning solution evaporate way too fast, which kills its effectiveness and practically guarantees you'll be left with streaks. An overcast day is always your best bet.
Creating a Gentle Abrasive Paste
Sometimes, vinegar alone just doesn't have enough oomph to lift slightly tougher spots. If you've tried the spray and can still see a faint outline of the stain, it’s time to add a gentle abrasive to the mix. A simple paste made from baking soda and lemon juice gives you just enough scrubbing power to lift those minerals without scratching the glass.
Here, the baking soda acts as a mild abrasive, while the citric acid in the lemon juice gives the mineral deposits a one-two chemical punch.
Safety First
Even though these are just common kitchen ingredients, it's still smart to wear gloves. Lemon juice is acidic, and baking soda can really dry out your skin.
Tools for the Job:
- A small bowl
- Baking soda
- Fresh lemon juice (or bottled concentrate works in a pinch)
- A soft sponge or microfiber applicator pad
- Clean microfiber cloths for rinsing and drying
Mixing and Applying the Paste
In your bowl, mix baking soda with just enough lemon juice to create a thick paste—you're aiming for a consistency like toothpaste.
Using your sponge or pad, apply this paste directly onto the hard water stains. Gently rub the paste into the spots with a circular motion, applying light but consistent pressure. There's no need for aggressive scrubbing; let the paste and the chemical reaction do the heavy lifting.
Let the paste sit on the glass for about 5-10 minutes. You might see some light fizzing, which is a good sign—it means the acid and baking soda are reacting with the minerals.
Finally, rinse the window thoroughly with clean, distilled water to get all the paste residue off. Any leftover baking soda will dry into a chalky film, so a good rinse is essential. Then, dry it completely with a clean microfiber. This method gives you that extra bit of friction needed for spots that have started to bond a little too well to the glass.
Kicking It Up a Notch: Tackling Tougher Mineral Buildup
When your vinegar spray and baking soda paste just aren't cutting it, you've officially graduated from light spotting to more stubborn mineral buildup. This is where the minerals have started to bond more aggressively with the glass. But don't panic—it doesn't mean your windows are ruined. It just means we need to bring out the bigger guns.
These next-level methods are for the confident DIYer. We're shifting from simply dissolving minerals to actively polishing them away, which requires a bit more finesse to avoid causing new damage.
Calling in the Pros: Commercial Hard Water Removers
The cleaning aisle is packed with products specifically designed to break down the calcium and magnesium that cause those chalky, stubborn stains. These aren't your everyday all-purpose cleaners; they typically use a smart blend of mild acids and sometimes even micro-abrasives to do the heavy lifting without damaging the glass itself.
The key is choosing the right product. Stick with cleaners that are explicitly labeled as safe for glass. Stay far away from anything overly harsh, like toilet bowl cleaners or industrial-strength acids—that’s a recipe for disaster.
- Pick the Right Formula: I always recommend cream or gel-based removers. They cling to the window much better than thin sprays, giving the active ingredients more time to work their magic on the stains.
- Use the Right Tools: A non-abrasive applicator is non-negotiable. Grab a microfiber applicator or a special foam pad. Never, ever use a kitchen sponge with a scouring side. You will absolutely scratch your glass.
First, give the window a quick wash to get rid of any loose dirt. Squeeze a small amount of the remover onto your pad, not directly on the window. It’s always best to work in small, manageable sections, maybe two square feet at a time.
Now, using firm, circular motions, work the product into the stained area. You’ll actually feel the gritty texture of the mineral deposits smoothing out as the remover dissolves and polishes them away. It takes some elbow grease, but you shouldn't feel like you're sanding the window down.
After a minute or two, wipe all the residue off with a clean, damp microfiber cloth. Give it a final rinse with distilled water and dry the spot completely to see how you did. For really tough patches, you might need to go for a second round.
A Pro Tip From The Field: Always, and I mean always, test a new cleaner on a small, out-of-the-way corner first. This little test can save you a world of heartache by ensuring the product doesn’t cause any weird hazing or scratching before you tackle the whole pane.
When to Bring Out the Steel Wool (Carefully!)
For mineral buildup that has been there so long it’s started to etch into the glass, a chemical cleaner might not be enough on its own. This is when we can introduce a very specific tool: #0000 steel wool. Let me be crystal clear: only grade #0000 (often called "quadruple-aught") is safe to use on glass. Any other, coarser grade will leave you with a web of fine scratches.
This technique works by gently shearing the raised mineral deposits off the surface, effectively polishing the glass smooth again. When done right, it’s incredibly effective.
Technique is Everything
The secret to using steel wool without causing damage comes down to two things: lubrication and pressure. You should never use steel wool on a dry window.
- Start by getting the glass nice and slick with a cleaning solution. A simple 50/50 mix of white vinegar and water, or even just soapy water, does the trick.
- Take a small pad of your #0000 steel wool. Using very light pressure, gently rub the stained area in a circular motion. You’re just guiding the tool—let the steel wool do the work.
- Keep the surface wet the entire time. If you notice it starting to dry, spritz it with more solution.
- Rinse the window thoroughly with clean water to wash away all the tiny steel fibers and loosened mineral gunk. Dry it with a good squeegee or a clean microfiber for a perfect, streak-free view.
This method is a lifesaver for windows that have that rough, sandpaper-like feel from years of sprinkler overspray. It brings the surface back to its original smoothness, making it look fantastic and ready for a final cleaning. If you're curious about how the pros get that perfectly pure, mineral-free rinse every single time, it's worth learning about the technology behind a pure water-fed pole window cleaning system.
When to Call in the Pros for Your Windows
There's a special kind of pride that comes from a successful DIY project, and I get it. But when you’re dealing with stubborn hard water stains on windows, sometimes the smartest move is knowing when to call for backup. It’s not about giving up; it’s about protecting your windows and getting the job done right.
If you’ve tried everything—the vinegar, the special cleaners, the elbow grease—and that hazy, etched-in damage is still staring back at you, you’ve hit the point where a simple cleaning job just won’t cut it. The mineral buildup has likely gone beyond a surface issue and started to damage the glass itself.
For those incredibly tough hard water stains that just laugh at your DIY attempts, it’s worth understanding why some jobs are better left to the experts. You can learn more about professional window care for tough stains to see how pros tackle what homeowners can't.
The Professional Difference: Tools and Techniques
When a professional window cleaner shows up, they’re not carrying the same gear you can grab at the local hardware store. For serious hard water damage, they bring in the heavy-duty equipment designed specifically for glass restoration.
- Orbital Polishers: Forget hand-scrubbing. These tools use special pads and ultra-fine polishing compounds to gently buff away the etched mineral layer without scratching the glass. It’s a level of precision you just can't achieve by hand.
- Pro-Grade Compounds: Experts use powerful, pH-balanced solutions that are formulated to dissolve years of mineral deposits safely. They break down the problem without putting your window frames or the glass itself at risk.
- Pure Water-Fed Pole Systems: This is a real game-changer. These systems filter out all the minerals from tap water, leaving behind pure H2O that dries completely spotless. It's the secret to a perfect finish, especially on high-up windows.
Professional-grade tools aren't just about more power; they're about precision. They allow an expert to remove deeply bonded minerals in a controlled way, minimizing the risk of scratching or causing more damage.
Companies like Sparkle Tech Window Washing, for example, are registered, bonded, and fully insured. They use sophisticated pure water-fed pole systems that remove 99% of spotting by getting rid of tap water minerals entirely. This advanced method, now used by over 35% of U.S. professionals since 2020, guarantees a streak-free shine on windows up to 60 feet high. Plus, it eliminates the need for ladders, cutting fall risks by a whopping 70% based on HSE guidelines. You can read more about this advanced cleaning technology on IPCWorldwide.com.
Don’t Overlook Safety and Liability
Honestly, the decision to hire a pro often boils down to safety. Trying to clean second-story windows or reaching those awkward spots above the garden can be dangerous. Perching on a ladder while trying to scrub hard enough to remove a stain is just asking for an accident.
A professional, insured company takes that risk completely off your shoulders. When you hire a service that is fully insured and bonded, you're protected from any liability if an accident happens on your property. That peace of mind alone is worth a lot.
For a more detailed breakdown, our guide on knowing when to call a professional window washing company can help you figure out what to look for in a quality service.
Keeping Your Windows Spot-Free for the Long Haul
You've put in the work to get your windows back to that crystal-clear shine. The last thing you want is a repeat performance from those chalky hard water stains. The good news? Keeping them away is a whole lot easier than scrubbing them off. A few smart habits can protect your glass and save you from future headaches.
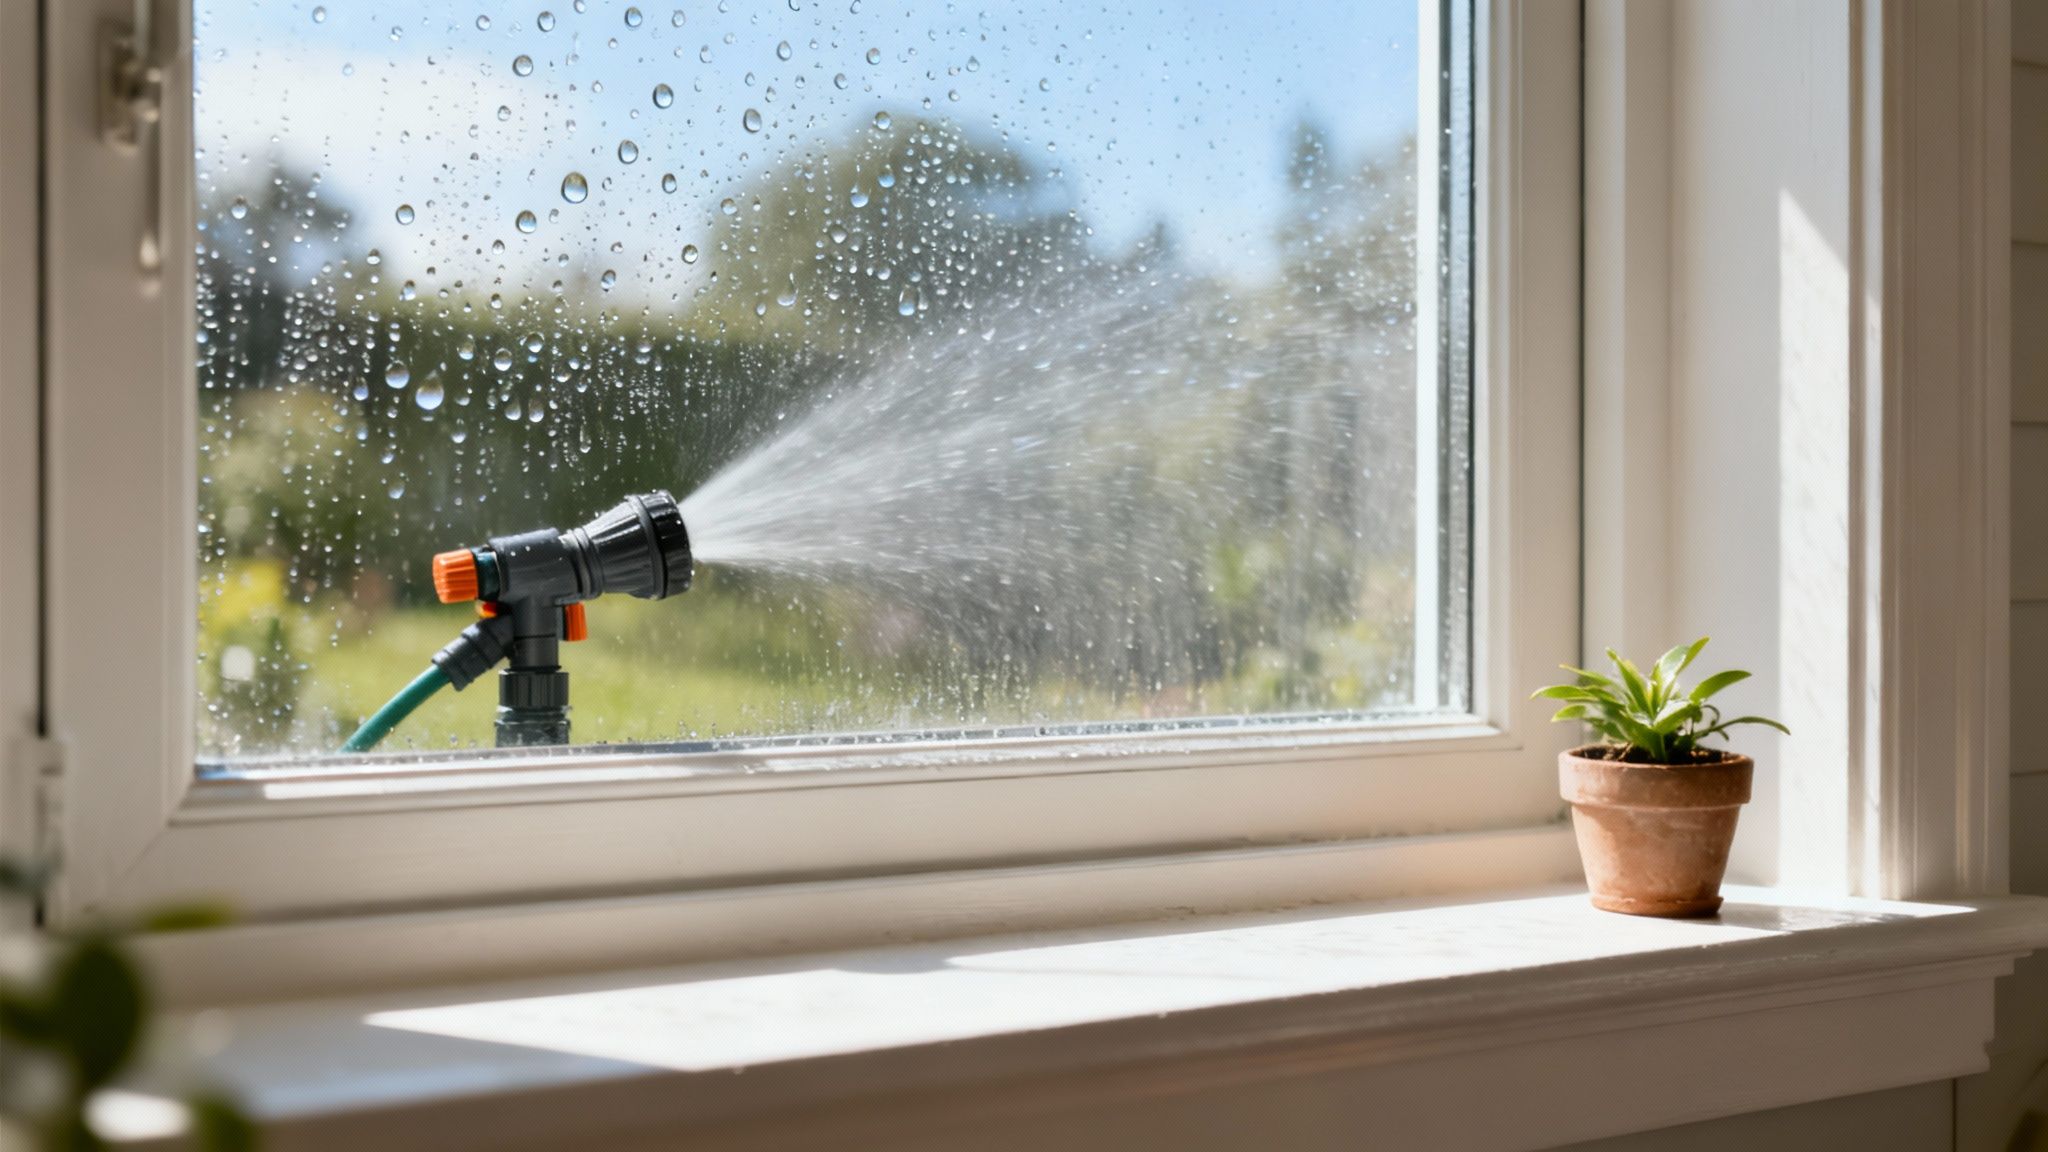
Honestly, the most effective strategy is just keeping mineral-heavy water off the glass to begin with. This means playing detective around your home's exterior to find the usual suspects.
Create a Water-Free Zone
More often than not, the culprit is a rogue sprinkler system. Go outside and watch your sprinklers run. Make sure the heads are spraying at least 6–8 feet away from your windows to avoid overspray. If you can't move a sprinkler head, try adjusting the spray pattern so it points away from the house.
Another common source is roof runoff. When it rains, water streams down your roof, picking up dirt and minerals before splashing all over your lower windows. An easy and cheap fix is to add downspout extenders, which will channel that water away from your foundation and your glass.
An ounce of prevention is truly worth a pound of cure. Taking 15 minutes to adjust a sprinkler head can save you from a full weekend of intensive cleaning later on.
Adopt Proactive Maintenance Habits
Consistent maintenance is your best defense against the slow, sneaky buildup of mineral deposits. This doesn't mean you need to do a deep clean every week, but a simple, regular routine goes a long way. For keeping your entire home's exterior looking great, it's worth following a complete ultimate exterior home maintenance checklist.
If you’re looking for a more set-it-and-forget-it solution, think about applying a hydrophobic glass sealant. These products create an invisible barrier that makes water bead up and roll right off, taking all those pesky minerals with it. A good sealant can last for years, drastically cutting down on how often you need to break out the cleaning supplies.
Common Questions About Hard Water Stains
Even after you've scrubbed away, it's normal to have some lingering questions. Knowing the "why" behind hard water stains is just as important as knowing the "how" to clean them. Let's dig into a few of the most common questions we get from homeowners who are tired of fighting these stubborn spots.
The biggest worry is always the same: is the damage permanent? The honest answer is that it can be, especially if you let it sit for too long.
When hard water first dries, you're just looking at mineral deposits sitting on top of the glass. But give it time, and those alkaline minerals start a chemical reaction with the silica in the glass, literally eating into the surface. This is called etching, and once it happens, you can't just clean it away.
Can Hard Water Stains Permanently Damage My Windows?
Yes, they absolutely can. Once those surface-level spots become etched into the glass, you're dealing with corrosion. The integrity of the glass itself has been compromised.
For very light etching, professional polishing techniques might minimize the cloudy look, but for severe cases, the window is permanently scarred. At that point, the only real fix is replacing the glass entirely—a much bigger and more expensive headache than just staying on top of cleaning. This is exactly why tackling those spots early is so important.
Will a Home Water Softener Stop Stains on Exterior Windows?
This is a really common misconception, but it makes sense why people think it would work. A whole-house water softener does an amazing job preventing spots inside your home—on shower doors, faucets, and dishes—because that's the water it treats.
The problem is, it has zero effect on your exterior windows. The water hitting your glass from sprinklers, a garden hose, or even runoff from a wall isn't coming from inside your house. That water never runs through your softener. To protect your outdoor glass, you have to think differently, focusing on things like adjusting sprinkler heads or using a protective sealant.
Key Takeaway: Don't expect your indoor water softener to solve an outdoor problem. The water sources are completely different, so you need a separate game plan for your home's exterior.
Are There Any Cleaning Products I Should Avoid?
Definitely. You need to be careful here. I’d be very skeptical of any product that claims to be a "miracle" cleaner for severely etched stains. They're often loaded with harsh acids or gritty abrasives that can cause more problems than they solve.
These aggressive chemicals can permanently scratch your glass or leave behind a hazy film that’s even worse than the original stain. A good rule of thumb is to always test a new product on a small, out-of-the-way spot first. And please, never use tools that aren't meant for glass, like those green kitchen scouring pads or any steel wool other than the super-fine #0000 grade.
Tired of the endless cycle of scrubbing hard water stains? If you're ready for a professional solution that actually lasts, the experts at Sparkle Tech Window Washing use specialized pure water systems to dissolve mineral buildup and restore your view. Schedule your service today and see the difference.