

Those chalky, stubborn spots on your windows are more than just grime. They're actually mineral deposits that have chemically bonded to the glass, which is why a simple spray and wipe often does nothing. To get rid of these hard water spots, you need something that can break down those minerals—usually a mild acid like vinegar or a cleaner specifically formulated for the job.
What Causes Hard Water Stains and Why Are They So Stubborn?
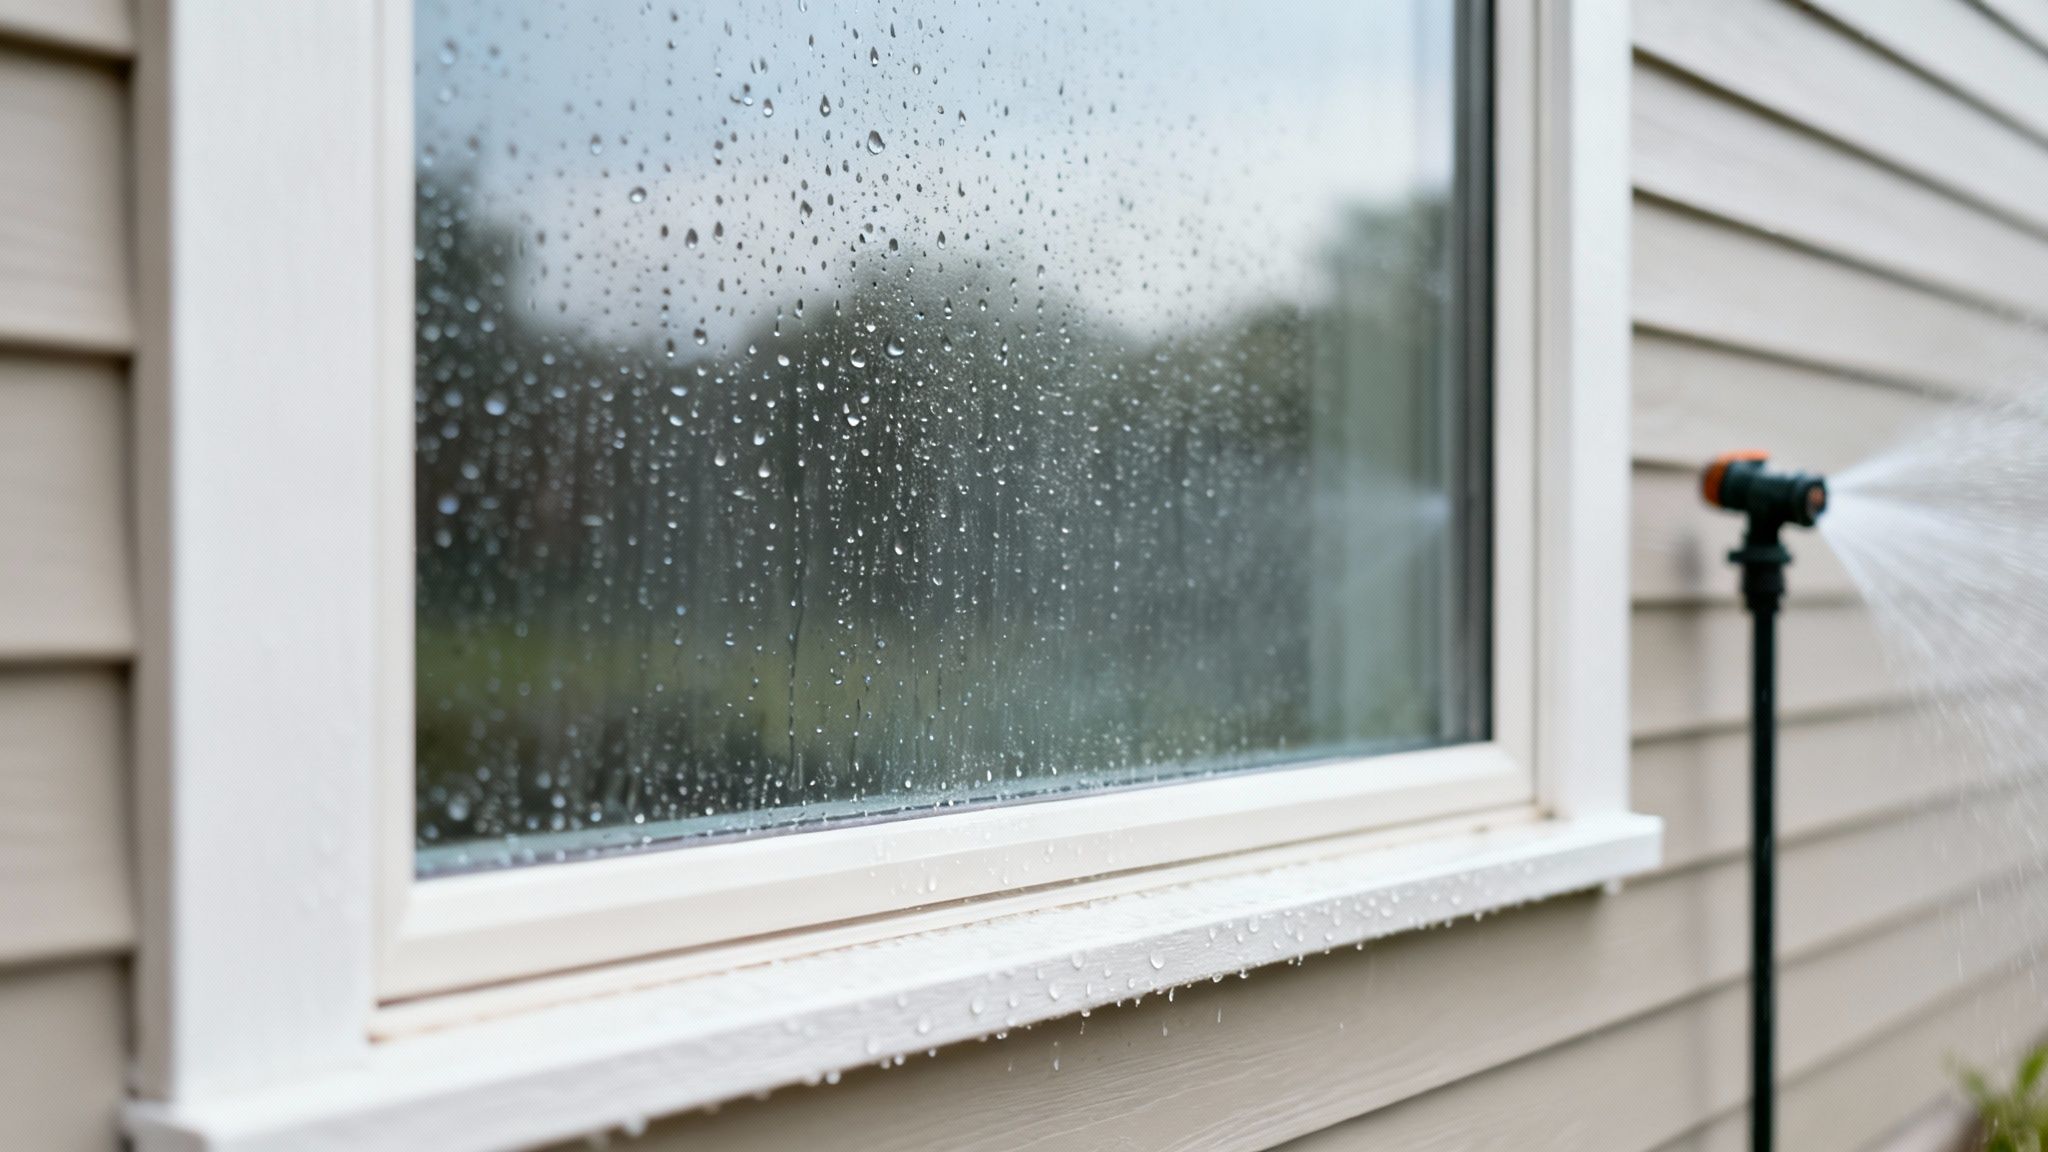
Ever notice how some spots seem to appear from nowhere and just won't budge? The culprit is the water itself. When water from a sprinkler, a garden hose, or even rain evaporates off your window, it leaves behind whatever minerals it was carrying. If you live in an area with "hard" water, that means you have a high concentration of minerals like calcium and magnesium.
Here's the problem: these minerals don't just sit on the surface. They start to form a chemical bond with the silica in the glass. It’s a common misconception that glass is perfectly smooth; on a microscopic level, it’s actually porous. Over time, this bonding process creates a stubborn, almost semi-permanent stain that your average window cleaner can't touch.
From Annoying Spots to Permanent Etching
Time is your enemy when it comes to hard water stains. A fresh spot from yesterday's sprinkler mishap is a whole lot easier to deal with than a stain that's been baking in the sun for months or years.
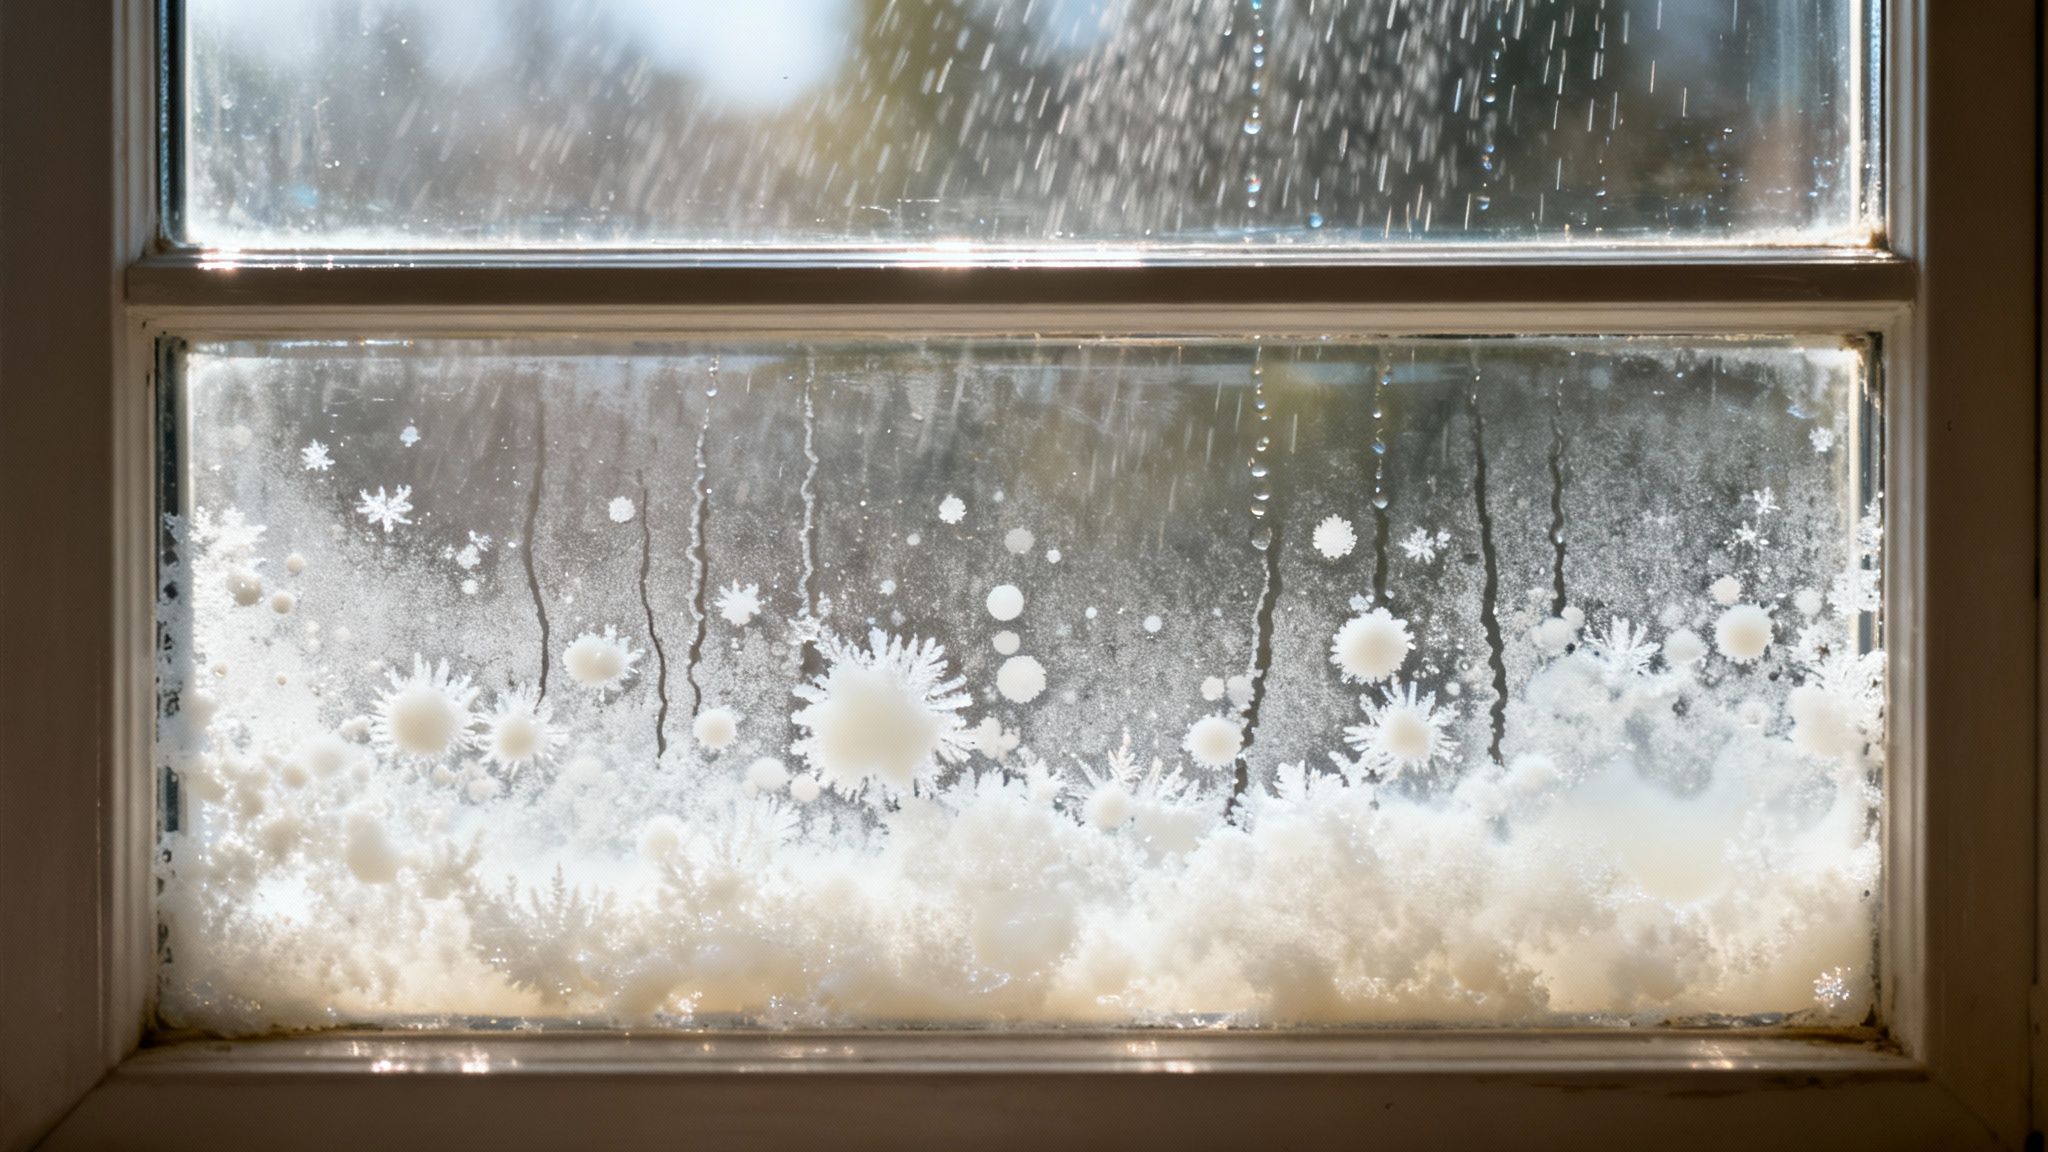
If left alone, these mineral deposits go from being a simple cosmetic issue to a much bigger problem. The minerals can actually start to corrode the glass itself, leading to a type of permanent damage called etching. At that point, no amount of cleaning will restore the window's clarity.
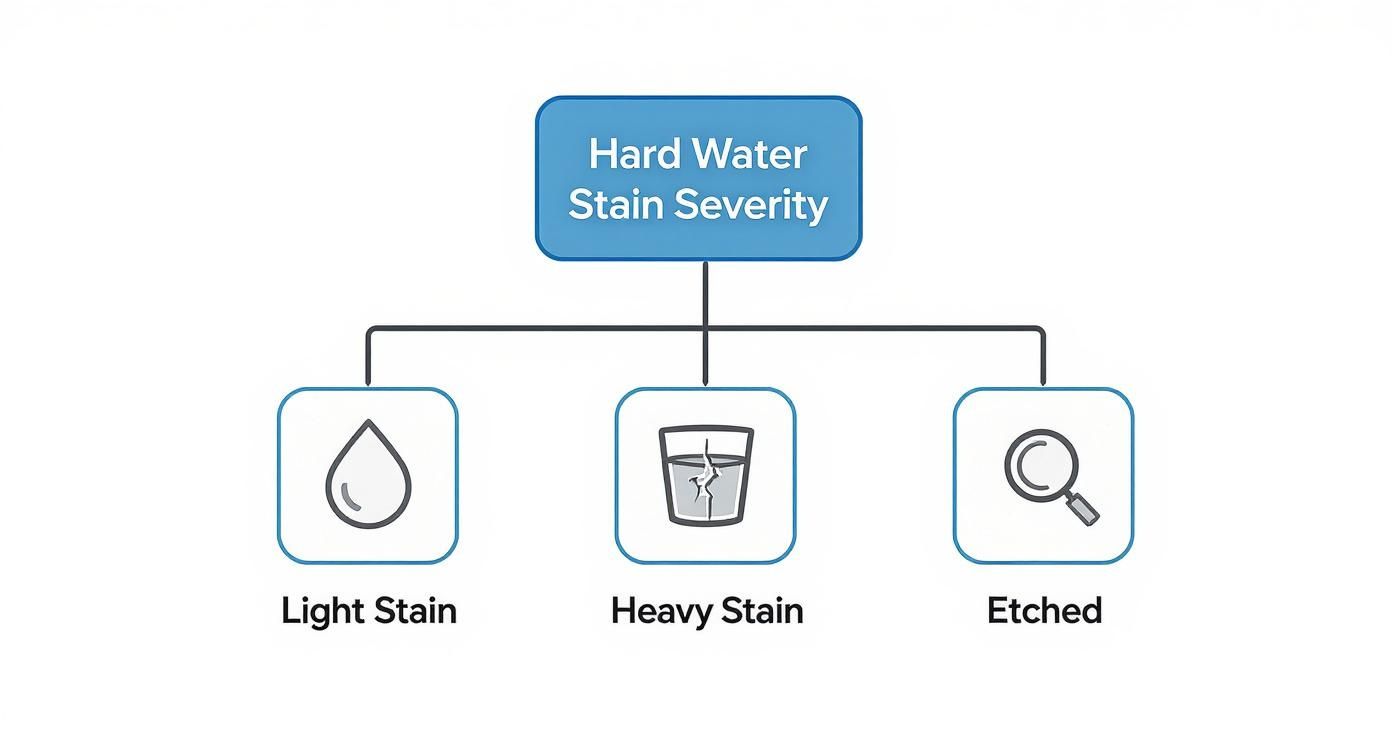
To figure out what you're up against, you need to assess the severity of the stains.
Knowing the difference between a light stain and true etching is the key to choosing the right removal method and avoiding a lot of wasted time and frustration. The type of glass matters, too. For a deeper dive, you can learn about the difference between hydrophilic and hydrophobic glass in our detailed guide.
Identifying Hard Water Stain Severity
Before you grab a bottle and a cloth, take a moment to really look at the stains. Use this quick guide to assess your windows and determine the best approach before you start scrubbing.
| Severity Level | Visual Appearance | Recommended Approach |
|---|---|---|
| Light Stains | Faint, cloudy, or milky spots. Feel mostly smooth to the touch. | Typically removable with a simple vinegar and water solution or a non-abrasive cleaner. |
| Heavy Stains | Thick, white, or opaque layers of buildup. May feel slightly rough. | These require a stronger, dedicated hard water stain remover or a bit more elbow grease. |
| Etching | The glass itself looks frosted, pitted, or has a rough texture that won't scrape off. | This is permanent damage. Cleaning won't remove it, and professional glass polishing or replacement may be needed. |
Once you've diagnosed the problem, you'll be able to choose the right tools and techniques to get your windows sparkling again.
Your Essential Hard Water Removal Toolkit
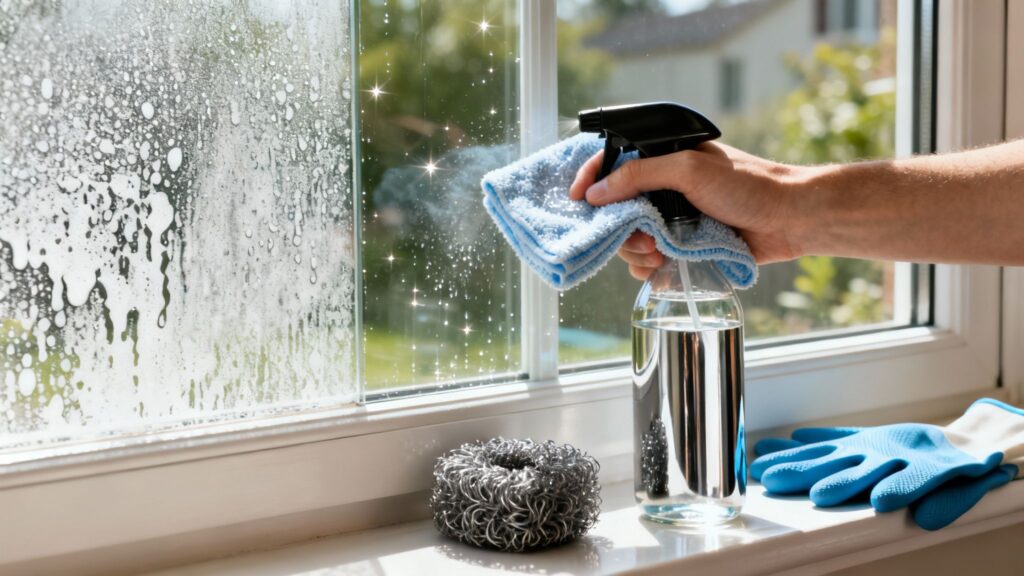
Before you even think about tackling those chalky spots, let's get your supplies in order. Trust me, having everything you need within arm's reach makes a world of difference. There’s nothing worse than having to stop mid-job, only to have your cleaning solution dry on the glass and create even more streaks.
What you'll need really depends on how bad the staining is. For those newer, lighter spots, you can often get the job done with some simple things you probably already have at home.
Gentle Cleaning Supplies
For most situations, you can start with these powerhouse items right from your kitchen pantry. They're surprisingly effective for regular upkeep and spots that haven't been sitting for months.
- Distilled White Vinegar: That classic cleaning workhorse. The acetic acid in vinegar is a natural enemy of the calcium and magnesium deposits that cause hard water stains.
- Baking Soda: Mix it with a bit of water to form a paste. It gives you just enough grit to scrub away grime without scratching the glass.
- Spray Bottle: An absolute must-have for applying your vinegar solution evenly. Just make sure it's clean before you start.
- Microfiber Cloths: Get a small stack of them. They’re super absorbent, won’t leave lint behind, and are perfect for scrubbing, wiping, and drying.
Pro Tip: When you're mixing up a cleaning solution, always reach for distilled water. Using regular tap water can actually put more minerals back onto the glass, completely defeating the purpose of your hard work.
Tools for Tougher Jobs
Okay, what about those stubborn, etched-in stains that have been baking in the sun for who knows how long? That's when you need to bring out the heavy hitters. These tools will give you the extra muscle required to break down that serious buildup.
- Commercial Hard Water Remover: Find a product specifically made for glass. These usually contain mild acids formulated to dissolve mineral buildup without damaging the window.
- #0000 Steel Wool: And I mean #0000 ultra-fine grade. Double-check the package. If you use anything coarser, you’ll end up with a window full of scratches.
- Safety Gear: This is non-negotiable. Get yourself a pair of nitrile gloves and some safety glasses, especially if you're working with commercial chemicals or putting some real elbow grease into scrubbing.
Having a complete set of the best window cleaning tools means you’re ready for anything, from a little bit of haze to the most caked-on mineral deposits.
Taming Lighter Stains with Gentle DIY Solutions
For most of the hard water spots you’ll find on your home’s windows, you don't need to break out the heavy-duty chemicals. If you're just dealing with fresh spots—say, from a misaimed sprinkler head—a simple, homemade cleaner is usually all it takes. This is my favorite approach because it’s cheap, effective, and much kinder to your window frames, siding, and garden.
The whole idea behind these DIY methods is to use a mild acid to dissolve the mineral deposits without harming the glass itself. And luckily, you probably have exactly what you need in your kitchen pantry right now.
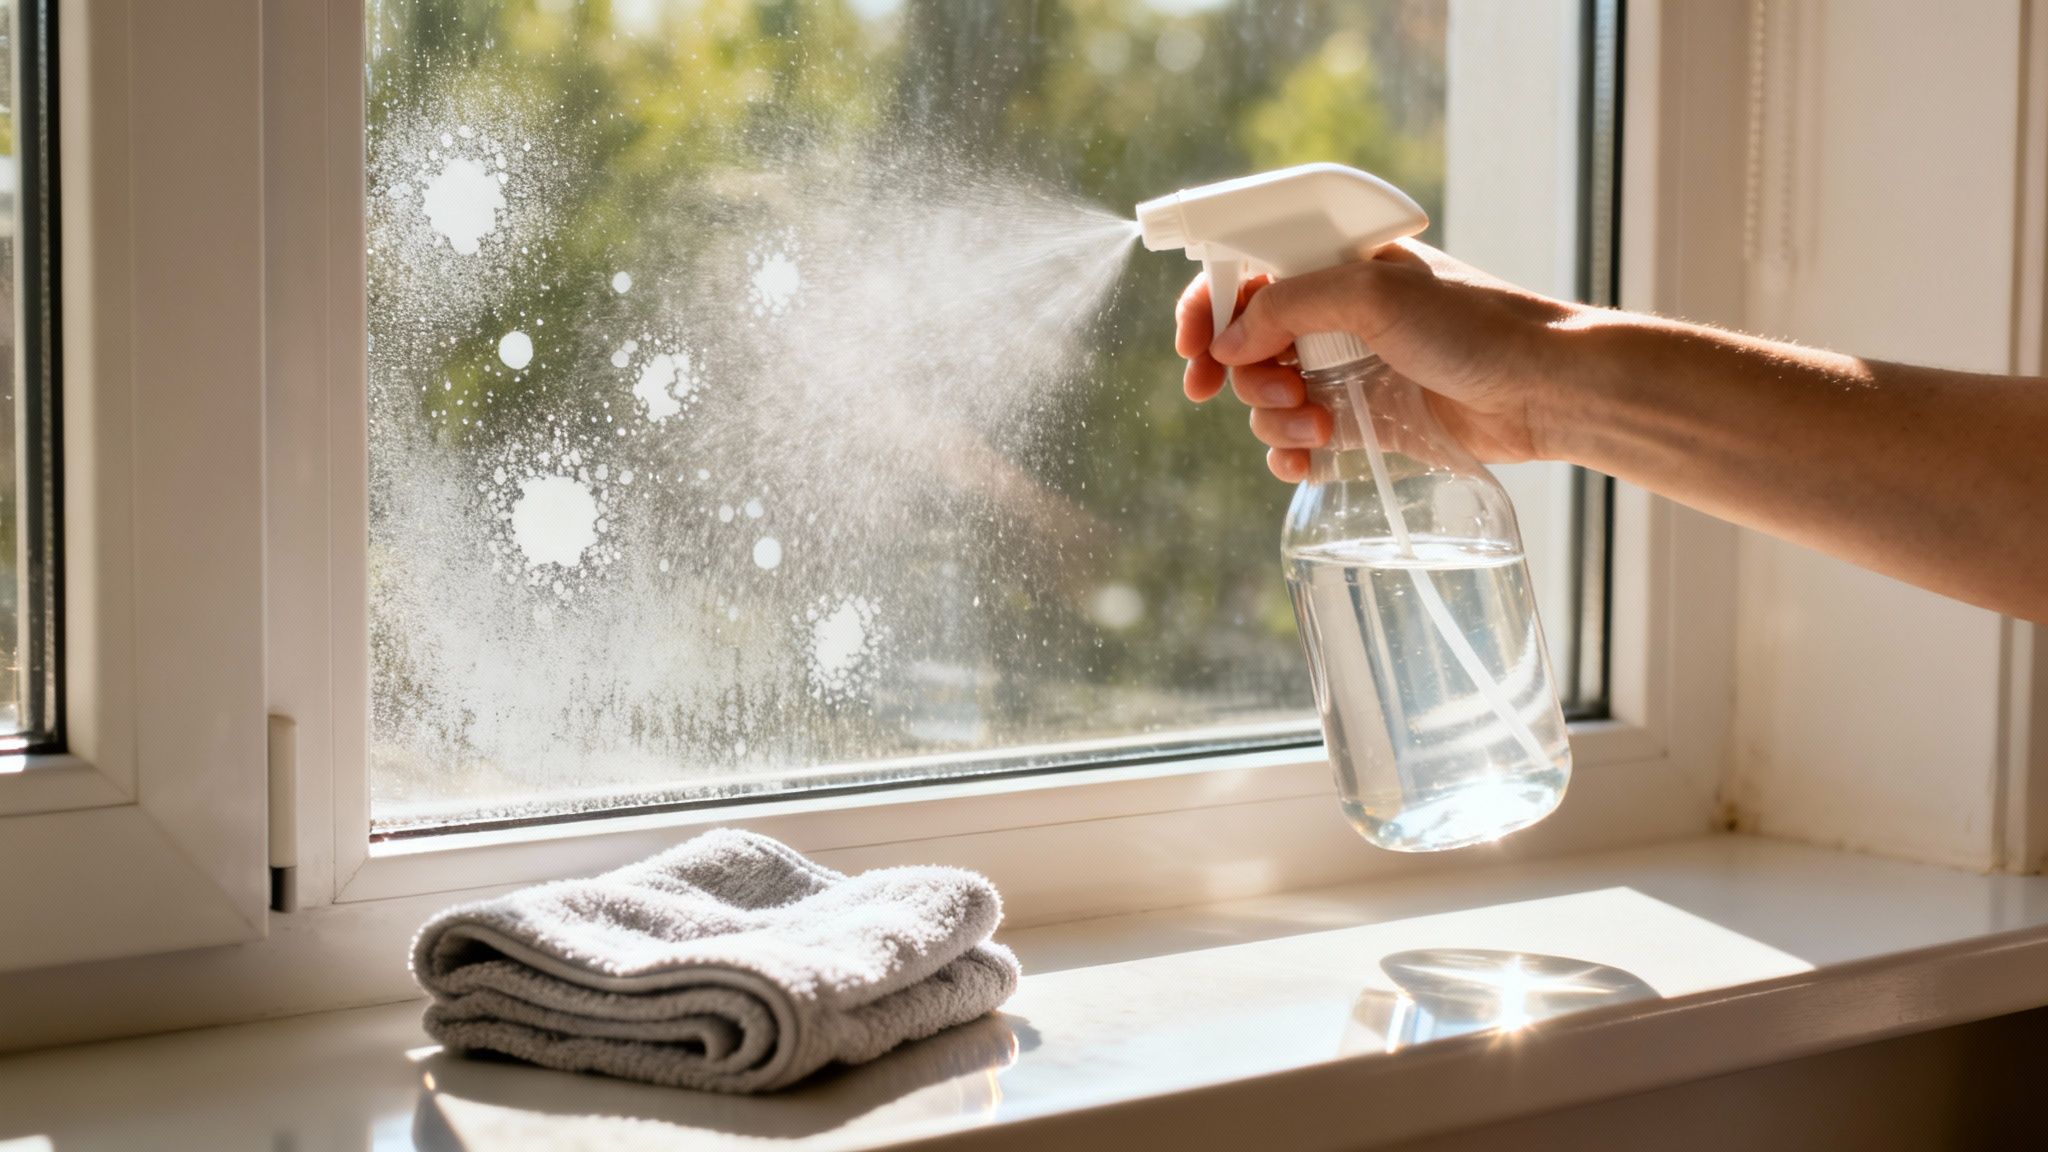
The Go-To Vinegar and Water Trick
My first line of defense against hard water spots is always a simple mix of distilled white vinegar and water. The acetic acid in vinegar is a champ at breaking down those chalky calcium and magnesium deposits that cloud up your view. The trick is getting the mixture just right.
I’ve found that a 50/50 mix of distilled white vinegar and distilled water hits the sweet spot. It’s powerful enough to dissolve the minerals but gentle enough that it won't damage most window seals or painted frames. And here’s a pro tip I can't stress enough: always use distilled water. If you use regular tap water, you risk leaving a new layer of mineral deposits right back on the glass you’re trying to clean.
Putting this solution to work is easy:
- Create the mix in a clean spray bottle. It's a good idea to label it so you know what's inside later.
- Spray it on liberally. Don't be shy—you want to completely saturate the hard water spots.
- Let it sit. This is where the magic happens. Give the vinegar solution at least 5 to 10 minutes to penetrate and break down the mineral bonds. Don't rush this step!
- Give it a gentle scrub. Grab a clean microfiber cloth and use light, circular motions to work on the stains.
- Rinse and dry everything off. Use a second microfiber cloth dampened with plain distilled water to wipe away the vinegar solution. Then, immediately dry the glass with a third, completely dry cloth to prevent any new streaks from forming.
Expert Insight: The biggest mistake I see people make is trying to clean their windows in direct, hot sunlight. The sun will evaporate your cleaning solution in seconds, leaving behind a streaky residue that looks even worse than the original spots. Do yourself a favor and work on a cool, overcast day or stick to the shaded side of your house.
When You Need a Little More Elbow Grease: Baking Soda Paste
Every now and then, you’ll run into a few stubborn spots that just laugh at your vinegar spray. They might not be permanently etched into the glass, but they need something with a bit more grit to lift them off. This is the perfect time to bring in a gentle abrasive.
For this, I make a simple paste with baking soda. It provides just enough scrubbing power to lift tough deposits without scratching the glass.
Here’s how to whip it up:
- Put a few tablespoons of baking soda into a small bowl.
- Add a little water at a time, mixing as you go, until you get a thick paste—think the consistency of toothpaste.
- Using a microfiber cloth or a non-abrasive sponge, apply the paste directly onto the stubborn hard water spots.
Let the paste sit for a few minutes, then gently scrub the area in a circular motion. You should feel the fine grit of the baking soda doing its job. When the spots are gone, rinse the glass thoroughly with clean water and dry it with a high-quality squeegee or a dry microfiber cloth to get that perfect, streak-free finish. This method is fantastic for tackling those isolated, concentrated stains that need a bit of focused attention.
Tackling Stubborn and Etched-In Stains
Sometimes, a simple vinegar solution just won't cut it. When you're facing mineral spots that have been baked onto the glass for months—or even years—by the intense Arizona sun, you need to bring out the heavy hitters.
This is where DIY cleaning starts to border on professional-grade glass restoration. These next-level techniques demand a bit more caution and the right supplies, but they can often rescue a window that looks like a lost cause. Just remember the golden rule: always test any new product or method on a small, hidden corner first.
Choosing an Effective Commercial Hard Water Remover
Walk down the cleaning aisle, and you'll be bombarded with products promising miraculous results. The secret is to ignore the flashy labels and go straight to the active ingredients list. You're looking for a cleaner with a mild acid, which is the key to dissolving those stubborn alkaline deposits of calcium and magnesium.
Keep an eye out for products containing these ingredients:
- Sulfamic Acid: This is a go-to for many professional-grade mineral removers. It’s tough enough to dissolve serious scale but is generally much safer on glass than other harsh acids.
- Phosphoric Acid: You'll often find this in heavy-duty cleaners designed to tackle calcium, lime, and rust. It's incredibly effective but requires you to be careful with handling and to make sure you have plenty of fresh air.
- Oxalic Acid: This one is a champion at removing rust stains, which can sometimes appear alongside mineral deposits, especially if you have older metal window screens.
No matter which product you choose, read the manufacturer’s instructions and follow them precisely. Always wear your safety gloves and glasses, and work in a well-ventilated area. These cleaners are a big step up from vinegar and need to be handled with respect.
The Delicate Art of Using #0000 Steel Wool
For the most deeply embedded stains, you might need to pair a chemical cleaner with a bit of mechanical elbow grease. This is where #0000 ultra-fine steel wool enters the picture. Let me be perfectly clear: it must be grade #0000. Anything coarser will cover your window in a spiderweb of scratches, leaving you with a far worse problem than you started with.
The technique here is all about finesse, not brute force.
First, always work on a wet surface. Never, ever use steel wool on dry glass. Start by liberally applying your commercial cleaner or vinegar solution to the window. This lubrication is absolutely critical to prevent scratching.
Next, apply gentle, consistent pressure. Hold the steel wool pad flat against the glass and work in small, circular motions. You need to let the cleaner and the fine texture of the wool do the work for you—if you're pushing hard, you're doing it wrong.
Finally, check your progress often. After scrubbing a small area for about 15-20 seconds, wipe it clean and look at the glass from a few different angles. If the spot is fading, great! Keep going with that same light pressure. If it’s not budging, it’s probably time to call in a professional.
A Note on Professional Costs
The operational scope of professional hard water spot removal can be significant, with rates sometimes ranging from double to five times that of a standard window cleaning. While experts find that 80-85% of stains are removed on the first attempt, the toughest spots may persist due to deep etching.
When even these advanced techniques don't work, it's a strong sign the minerals have permanently etched the glass. At this point, continuing with DIY methods could do more harm than good. Understanding when to call a professional window washing company is the best way to protect your windows and finally get that crystal-clear view back.
Keeping Your Windows Spot-Free for Good
Getting rid of stubborn hard water spots feels like a major accomplishment, and it is! But the real win is keeping them from coming back. A few simple, proactive habits can save you hours of future scrubbing and keep that perfectly clear view you just restored.
Think of it as your ongoing defense plan. It all starts with minimizing how much mineral-heavy water hits your glass in the first place. More often than not, the primary suspect is your own sprinkler system.
Tweak Your Surroundings
The next time your sprinklers are running, take a quick walk around your house. Are any of the heads misting your windows or spraying the siding? It’s a common issue. A small adjustment to the angle or spray pattern can redirect that water back to your lawn and away from your glass. Problem solved.
Another great habit to get into is a quick wipe-down after a rainstorm, especially if you live in an area with dusty or mineral-rich rain. Grab a squeegee or a microfiber cloth and dry the exterior panes. This simple step removes water droplets before they can evaporate and leave their mineral baggage behind.
Keeping your windows consistently clean does more than just improve the view. Heavily stained glass can block up to 40% of natural light from entering your home. That loss of light often means flipping on more lamps and even affects your heating costs.
It might sound minor, but the impact adds up. The U.S. Department of Energy estimates that heat gain and loss through windows are responsible for 25-30% of residential heating and cooling energy use. Clean windows are simply more efficient.
Proactive Protection That Lasts
If you want a more robust, long-term solution, look into applying a quality water-repellent coating to your glass. These hydrophobic products work by creating an invisible shield that forces water to bead up and roll right off.
It's the same principle as waxing your car. By preventing water from sitting on the surface and evaporating, you give minerals almost no chance to bond to the glass. This makes future cleaning a breeze and dramatically reduces the odds of new spots forming.
Applying a sealant is pretty straightforward:
- Start with squeaky-clean glass. The surface needs to be completely free of any old spots or residue for the product to bond correctly.
- Apply it evenly. Follow the manufacturer's directions, which usually involves using a clean applicator pad in smooth, overlapping motions.
- Buff it out. Once the product dries to a light haze, use a separate, clean microfiber cloth to buff the glass until it’s crystal clear and streak-free.
This single step can protect your windows for months at a time, making it a fantastic investment in your home's curb appeal and your own peace of mind.
To make things even easier, I've put together a simple maintenance schedule. Sticking to a routine is the best way to prevent hard water stains and other issues before they become a major headache.
Your Weekly, Monthly, and Annual Window Maintenance Checklist
| Frequency | Task | Benefit |
|---|---|---|
| Weekly | Quick wipe-down of sills and tracks. | Prevents buildup of dust, pollen, and debris that can trap moisture against the glass. |
| Weekly | Spot clean any new smudges or spots with a microfiber cloth and water. | Addresses minor issues before they become set-in stains. |
| Monthly | Check sprinklers to ensure they aren't hitting the windows. | A five-minute check can prevent months of hard water spot formation. |
| Seasonally | Perform a full interior and exterior cleaning. | Removes accumulated grime and provides a chance to inspect for damage. |
| Annually | Reapply a water-repellent sealant to exterior glass. | Reinforces the protective barrier against mineral deposits and makes cleaning easier all year. |
Following a simple checklist like this takes the guesswork out of window care. It's all about consistency—a little effort on a regular basis is far easier than a massive deep-cleaning project once a year.
Got Questions About Hard Water Spots? We've Got Answers
Even after you've rolled up your sleeves and started scrubbing, some questions inevitably come up. When you're staring down those stubborn mineral stains, a little extra know-how can make all the difference. Let's tackle a few common questions I hear from homeowners all the time.
Can I Just Use an All-Purpose Cleaner on Hard Water Stains?
It's tempting to reach for that familiar bottle of all-purpose spray, but I'd advise against it. Those cleaners are fantastic for everyday grease and grime, but they just don't have the right stuff to break down mineral deposits.
Hard water spots are made of calcium and magnesium, which need a mild acid to dissolve them. Your standard cleaner will likely just smear the spots around, leaving you with a frustrating, streaky mess. Always stick with a solution built for the job, like our trusty vinegar mix or a dedicated hard water remover.
Why Do Some Stains Feel Impossible to Remove?
Have you ever scrubbed a spot until your arm ached, only for it to remain stubbornly in place? If so, you're probably not dealing with a stain anymore. You're dealing with etching.
Etching happens when mineral deposits sit on the glass for so long they physically corrode the surface, creating tiny, microscopic pits.
At this point, the problem is no longer a stain on the glass; it's permanent damage to the glass. No amount of cleaning will fix etching. Professional glass polishing is the next step, or in very severe cases, the window might need to be replaced entirely.
How Often Should I Clean My Windows to Prevent Buildup?
This really boils down to where you live and what your windows are exposed to. There's no single right answer, but here are some solid guidelines based on my experience:
- If you have sprinklers: The best defense is a good offense. A quick wipe-down with a squeegee right after the sprinklers turn off will stop spots before they ever form.
- For general upkeep: Giving your exterior windows a thorough cleaning once a season—so, about 4 times a year—is a great schedule for most homes.
- When you see new spots: Tackle them immediately. The longer a mineral spot bakes in the sun, the harder it becomes to remove.
Keeping up with a regular cleaning schedule is your best bet for avoiding a major hard water battle. And while you're thinking about window care, you might even consider other upgrades, like installing window privacy film, which can offer both privacy and an extra layer of protection.
When your best efforts still leave you with a cloudy view, it might be time to call in the experts. The team at Sparkle Tech Window Washing has the professional-grade tools and experience to eliminate even the toughest hard water damage. Visit us at https://sparkletechwindowwashing.com to get your windows sparkling again.