

You don't need fancy gadgets or harsh chemicals to get perfectly clean, streak-free windows. The truth is, the best way to clean windows comes down to having the right tools, a surprisingly simple cleaning solution, and a solid technique.
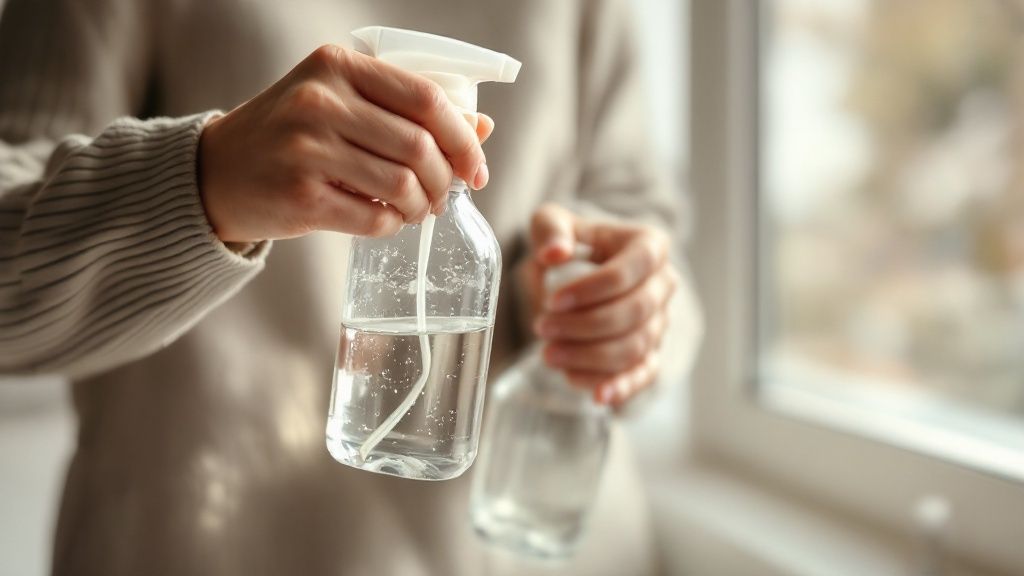
The secret weapon? A high-quality squeegee and a mix of distilled water with just a single drop of dish soap.
Why Simple Is Simply Better
It's tempting to grab a bottle of commercial spray cleaner, but most of them are loaded with additives that leave an invisible film on the glass. This residue is a magnet for dust and is the real culprit behind those frustrating streaks you see when the sun hits.
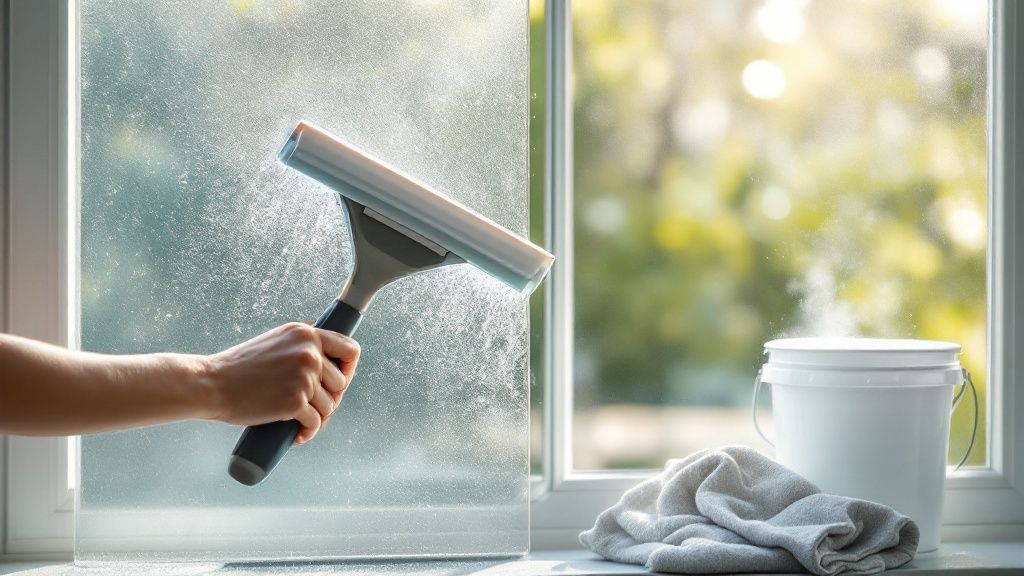
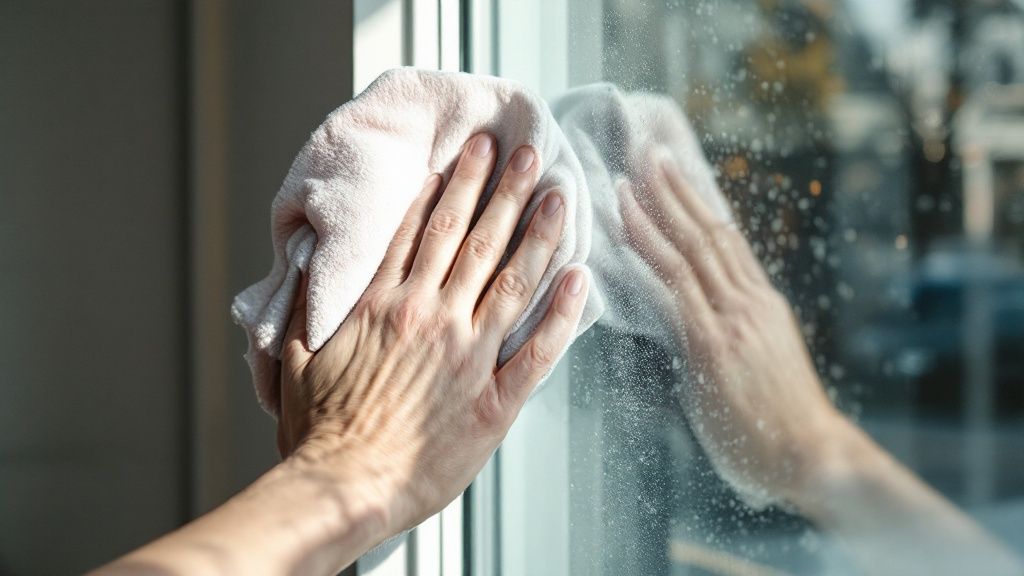
The professional method—using a squeegee and a basic soap solution—avoids this problem entirely. Instead of moving dirt around, you’re physically pulling all the grime and water off the glass surface, leaving nothing behind but a flawless shine.
This back-to-basics approach isn't just more effective; it's also incredibly cheap and much better for the environment. It's a method trusted by pros and is a key reason the global window cleaners market was valued at USD 2.68 billion in 2023. That figure is expected to nearly double by 2031, which shows just how many people are looking for reliable results.
The secret isn't in the bottle; it's in the blade. A quality squeegee is the single most important tool for achieving a professional, streak-free shine that commercial sprays just can't replicate.
Choosing Your Cleaning Solution
To really see why this DIY approach is superior, it helps to put it head-to-head with the store-bought stuff. While commercial cleaners are convenient, their performance often disappoints.
For a deeper look into professional techniques, check out our guide on how to achieve streak-free windows for more tips.
Comparing Window Cleaning Solutions
Here’s a quick breakdown of how our recommended DIY solution stacks up against the typical commercial products you'll find on the shelf.
| Factor | DIY Solution (Water & Dish Soap) | Commercial Glass Cleaner |
|---|---|---|
| Cost-Effectiveness | Extremely low cost; ingredients are already in most homes. | Higher recurring cost per bottle. |
| Streak Potential | Very low, as it leaves behind virtually no residue. | High, due to additives, dyes, and fragrances. |
| Eco-Friendliness | Minimal environmental impact with biodegradable soap. | Often contains ammonia or other chemicals. |
As you can see, the choice is pretty clear. The simple, pro-trusted method wins on almost every front, giving you a better result for a fraction of the cost.
Putting Together Your Pro Window Cleaning Kit
If you're serious about getting those perfectly clear, streak-free windows, it's time to ditch the paper towels and that generic blue spray bottle. The best way to clean windows really boils down to having a simple, professional-grade toolkit. Believe me, the right equipment doesn't just make the job easier—it completely changes the final result.
There's a reason the 35,344 window cleaning businesses across the U.S. aren't using supplies from the grocery store. They rely on specific tools to get flawless results, fast. You can learn more about how they operate by checking out these window cleaning industry statistics. The good news is, you can build the exact same kind of kit for yourself.
The Must-Have Tools for a Flawless Finish
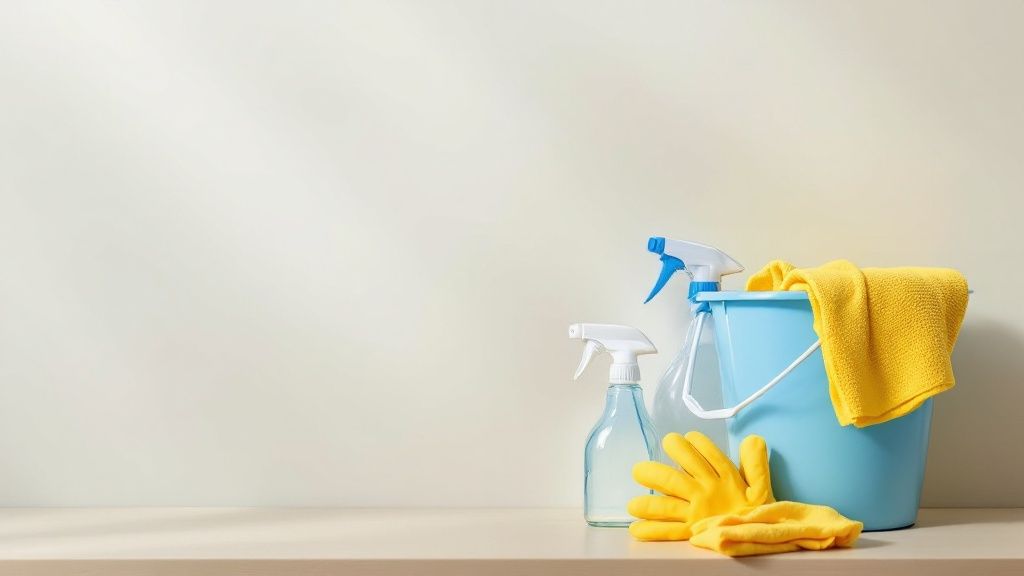
Your setup doesn't need to be massive or complicated. In fact, it's all about focusing on a few core items that do the heavy lifting. Forget the gimmicky all-in-one gadgets and start with these four essentials.
- A High-Quality Squeegee: This is the star of the show, so don't cheap out. Look for one with a sharp, replaceable rubber blade that feels sturdy in your hand. For most homes, a 10 to 12-inch squeegee is the sweet spot—it’s big enough to be efficient but small enough to control easily.
- Microfiber Strip Applicator: You might hear this called a scrubber or a wand. Its job is to sop up a ton of soapy water and lay it on the glass evenly, all while gently scrubbing away dirt and grime without making a drippy mess.
- Lint-Free Microfiber Cloths: These are absolutely essential for the finishing touches. I always keep at least two on hand: a smaller one for wiping the squeegee blade clean after every single pull, and a larger, dry one for catching any drips and wiping the frames and sills.
- Two Buckets: This is a simple trick that makes a huge difference. You'll use one bucket for your cleaning solution and the second for clean rinse water. This way, you’re not just moving dirty water from one window to the next. It keeps your applicator clean and your windows cleaner.
Here's a pro tip that solves a really common problem: mineral spots. If you live in an area with hard water, those deposits can ruin a perfect job. Switch to distilled water for your cleaning mix. It has no minerals, which means no residue and no spots—just a perfectly clear finish every time.
Mastering the Pro Squeegee Technique
This is where the real magic happens. If you want that flawless, streak-free look, learning to use a squeegee like a pro is the single most important skill you can develop. It might look a little intimidating, but the method professionals rely on is actually pretty simple once you get the hang of it. The whole idea is to get every last drop of soapy water off the glass in a controlled, systematic way.
Forget frantic, random wiping. A methodical approach is your best friend for avoiding lines and smudges. With a little practice, these key movements will become second nature.
This quick visual breaks down the fundamentals of the pro technique.
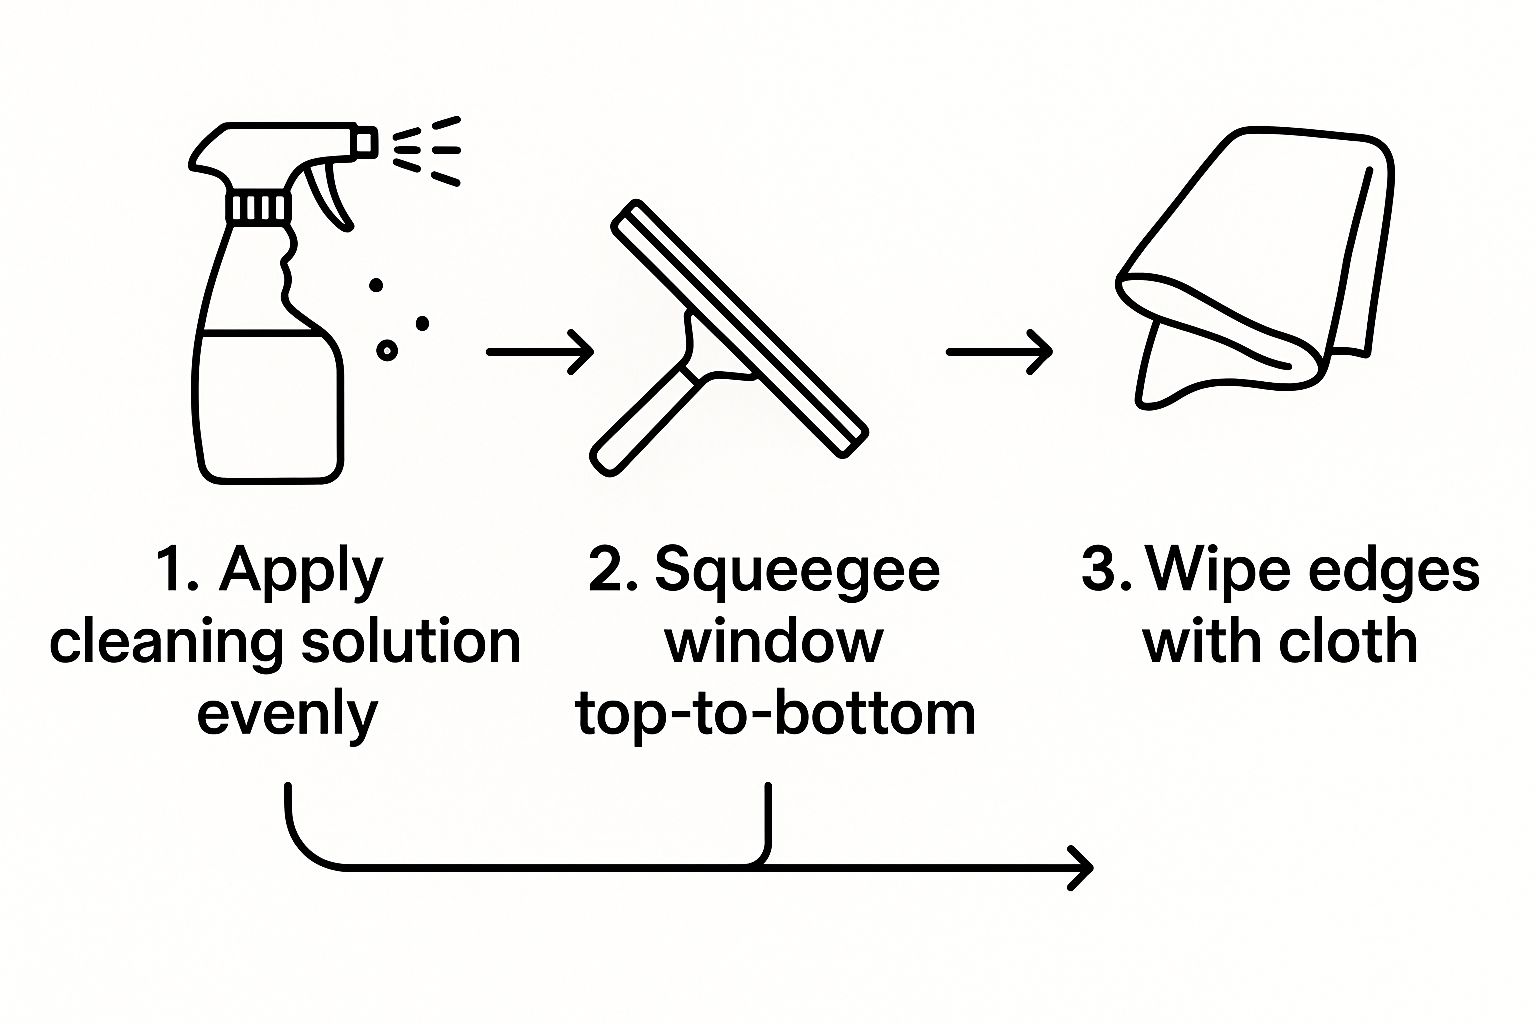
As you can see, it’s a simple loop: apply the solution, pull the squeegee, and then detail the edges. That's the secret to a perfect finish.
Executing the Perfect Pull
First things first, get the window nice and wet with your microfiber applicator. You're looking for even coverage, corner to corner. Now, grab your squeegee. You’ll want to tilt it at about a 30-degree angle to the glass. That's the sweet spot. If you go too steep, the blade will skip and chatter; too flat, and you’ll just smear water around.
Start at a top corner. We're going to create what we call a "dry zone" by pulling the squeegee down about an inch along the top edge and then an inch down the side. This simple move stops soapy water from creeping out from under the frame and messing up your work later.
Here's a pro tip that changes everything: Wipe your squeegee blade with a clean, dry microfiber cloth after every single pass. This tiny step is non-negotiable. It stops you from dragging dirty water across clean glass, which is the number one cause of streaks.
Now for the main event. Place your clean squeegee blade in the dry zone you just made, overlapping the dry edge by about an inch. In one smooth, continuous motion, pull the squeegee straight down the pane. Let the tool do the work—there's no need to press hard.
Mastering Overlapping Strokes
For your next pull, you’ll want to overlap the previous stroke by about one to two inches. This is absolutely crucial. That little bit of overlap catches any water left behind at the edge of the last pull, preventing those annoying vertical streaks.
Keep this pattern going across the whole pane: pull, wipe the blade, overlap, and pull again.
Once the main surface is done, grab your dedicated detailing cloth. Carefully wipe any leftover water from the edges of the glass, the frame, and the sill. This final touch is what separates a decent job from a truly professional one, leaving you with nothing but crystal-clear glass.
Tackling Hard Water Stains and Stubborn Grime
Even the most seasoned pro with a perfect squeegee technique will eventually run into grime that just won’t budge. We’re talking about the tough stuff: mineral deposits from sprinklers, caked-on bug residue, or those tiny, annoying paint specks. This is where you graduate from a routine wash to some real-deal problem-solving.
For anything physically stuck to the glass, like tree sap or paint overspray, a fresh razor blade is your best friend. The trick is to hold it at a low 30 to 45-degree angle against the pane. And I can't stress this enough: always use it on a wet, soapy window. The soap acts as a lubricant, letting the blade glide without leaving a single scratch.
Hard water stains, on the other hand, are a chemical problem. Those cloudy, chalky spots are mineral deposits left behind as water evaporates. To beat them, you need a mild acid to dissolve the bond.
Removing Mineral Deposits and Stains
Don't assume you need to reach for harsh, industrial chemicals. More often than not, a simple and effective solution is probably sitting in your kitchen cabinet.
- White Vinegar Solution: A classic for a reason. Mix white vinegar and distilled water in a 50/50 ratio. Spray it directly on the stains, let it dwell for a few minutes to work its magic, and then give it a gentle scrub with a non-abrasive pad before cleaning the window normally.
- #0000 Steel Wool: When the vinegar isn't cutting it, you can step up to extra-fine #0000 grade steel wool. It's just abrasive enough to scour off the deposits without damaging the glass. That said, it's always smart to test it on a small, out-of-the-way corner first, just to be safe.
Learning to handle these tricky situations is what separates an amateur from a professional. The average age of a window cleaner is around 48, which tells you that experience is crucial for tackling complex jobs safely and effectively.
Pro Tip: Always clean windows on an overcast day. Direct sunlight bakes your cleaning solution onto the glass before you can squeegee it off, which is the number one cause of streaks. Also, never, ever use a razor blade on dry glass—it’s a guaranteed way to leave permanent scratches.
Sometimes, even these techniques aren't enough for severely neglected exterior windows. If you're dealing with extreme mildew or deeply embedded dirt on the frames and glass, considering professional pressure washing services can be a great first step to clear away the heaviest grime, making your final detailed cleaning much more effective.
For a deeper dive into this topic, be sure to check out our complete guide: https://sparkletechwindowwashing.com/how-to-remove-hard-water-stains-from-windows/
Common Window Cleaning Mistakes and How to Avoid Them
Even with the right tools, a few simple missteps can ruin your results. Here’s a quick guide to sidestep the most common errors I see people make.
| Common Mistake | Why It Happens | The Simple Solution |
|---|---|---|
| Cleaning in Direct Sunlight | The sun's heat evaporates the cleaning solution too quickly, leaving behind soap residue and streaks. | Choose a cloudy day or work on the shady side of the house. Time your cleaning for early morning or late afternoon. |
| Using a Dry or Dirty Squeegee | A dirty blade drags grime across the glass, and a dry one skips and chatters, leaving ugly lines. | Always wipe your squeegee blade with a clean, dry cloth after every single pass. Keep it pristine. |
| Starting in the Middle of the Pane | Beginning your squeegee pull in the center of the window often leaves a noticeable start line that's hard to fix. | Start every pull from a dry edge. Create a "dry zone" by wiping a thin strip down one side of the pane before you start. |
| Reusing Dirty Towels | Wiping the frame or drying the edges with a towel already damp with dirty solution just transfers grime back onto the clean glass. | Dedicate one towel for "wet work" (wiping the blade) and a separate, completely dry microfiber for the final detailing. |
By keeping these points in mind, you'll be well on your way to achieving that perfectly clear, professional-looking finish every time.
Keeping Your Tools in Tip-Top Shape for a Flawless Finish
https://www.youtube.com/embed/nguJechosm8
Getting that perfect, professional shine isn't just about technique—it's about the gear you use. If you want consistently great results, you can't afford to neglect your tools. It’s the fastest way to turn a simple job into a frustrating mess of streaks and smears.
Taking a few minutes for a post-job cleanup is a total game-changer. This simple habit doesn't just save you from having to buy new equipment all the time; it makes sure your tools are always ready to perform. Think of it as a core part of the best way to clean windows.
Squeegee and Cloth TLC
The rubber blade on your squeegee is the star of the show. After every job, give it a good wipe-down and run your finger along the edge. You're looking for any nicks, hardening, or tiny cracks. A damaged blade is public enemy number one when it comes to streaks, so swap it out the second you feel an imperfection.
Your microfiber cloths need a little love, too. How you wash them makes all the difference in their ability to absorb water and leave a lint-free shine.
- Always wash them in a separate load. They’re like lint magnets, and you don’t want that on your glass.
- Use a tiny bit of mild detergent. Never use fabric softener—it completely ruins their absorbency by clogging up the fibers.
- Let them air dry or toss them in the dryer on the lowest heat setting.
A well-maintained toolkit is a reliable toolkit. Storing your squeegee with its blade protected and keeping your cloths clean and dry means you're always prepared for a perfect, streak-free job.
For more expert tips on keeping your windows sparkling all year, especially in a dusty climate, take a look at our comprehensive guide to maintaining windows in Phoenix.
Got Questions? I've Got Answers
Even after you've mastered the squeegee, a few questions always pop up. It's totally normal. Getting these sorted is the final step to making sure you're ready for whatever your windows throw at you.
How Often Should I Really Be Cleaning My Windows?
For the average home, a good deep clean twice a year usually does the trick. I like to aim for spring and fall to clear away the grime from the previous season.
Of course, where you live changes everything. If you're near a dusty road, get hammered with pollen every year, or live by the coast with all that salt in the air, you'll probably want to bump that up to four times a year.
Honestly, the best answer is to clean them when they start bugging you. Don't get hung up on a rigid schedule. The whole point is to enjoy the view, right?
What About Using Vinegar or Ammonia?
I hear this one all the time. While vinegar is a popular DIY cleaner, it's actually pretty acidic. Over time, that acid can eat away at the rubber and vinyl seals on modern windows, leading to bigger problems down the road. Ammonia is another one to skip—it's a harsh degreaser that can ruin window tint and the fumes are no joke, especially indoors.
Stick with a single drop of a simple, pH-neutral dish soap. It’s gentle, effective, and won’t cause any damage to your windows or frames. It's what the pros use for a reason.
What's the Best Way to Tackle Window Screens?
First things first, take the screens completely out of the window frames. Find a flat, clean spot like your driveway to lay them down so you don't accidentally bend the frame.
Mix up some warm, soapy water and use a soft-bristled brush to gently scrub away all the built-up gunk. Be careful not to press too hard, as you don't want to tear the mesh.
Rinse them well with a hose on a light spray setting. The most important part? Let them air dry 100% before you pop them back in. Tackling the screens on the same day you do the glass is the secret to a perfectly clear, unobstructed view.
Sometimes the job is just too big, or those second-story windows feel a bit too high. If you want that perfect, streak-free shine without giving up your weekend, it might be time to call in the pros. The experts at Sparkle Tech Window Washing can get it done right. Schedule your service today!