


If you've ever tried to get rid of those stubborn, chalky spots on your windows, you know it's a frustrating battle. Effective water stains on windows removal isn't just about wiping away dirt; it’s about breaking down the minerals that have literally bonded to the glass.
Understanding Why Water Stains Your Windows
Before you reach for just any cleaner, it helps to understand what you're up against. Those annoying white spots are mineral deposits, and they're especially common in places with "hard water."
Hard water is just a term for water that's loaded with dissolved minerals, mostly calcium and magnesium. It’s perfectly fine to drink, but when it dries on glass, it becomes a real headache. The water evaporates, leaving the minerals behind to form a chemical bond with the glass surface. This bond is tough to break with regular soap and water.
Common Causes of Window Stains
Take a moment to think about where the water hitting your windows is coming from. Pinpointing the source is the first step in winning the war against water spots.
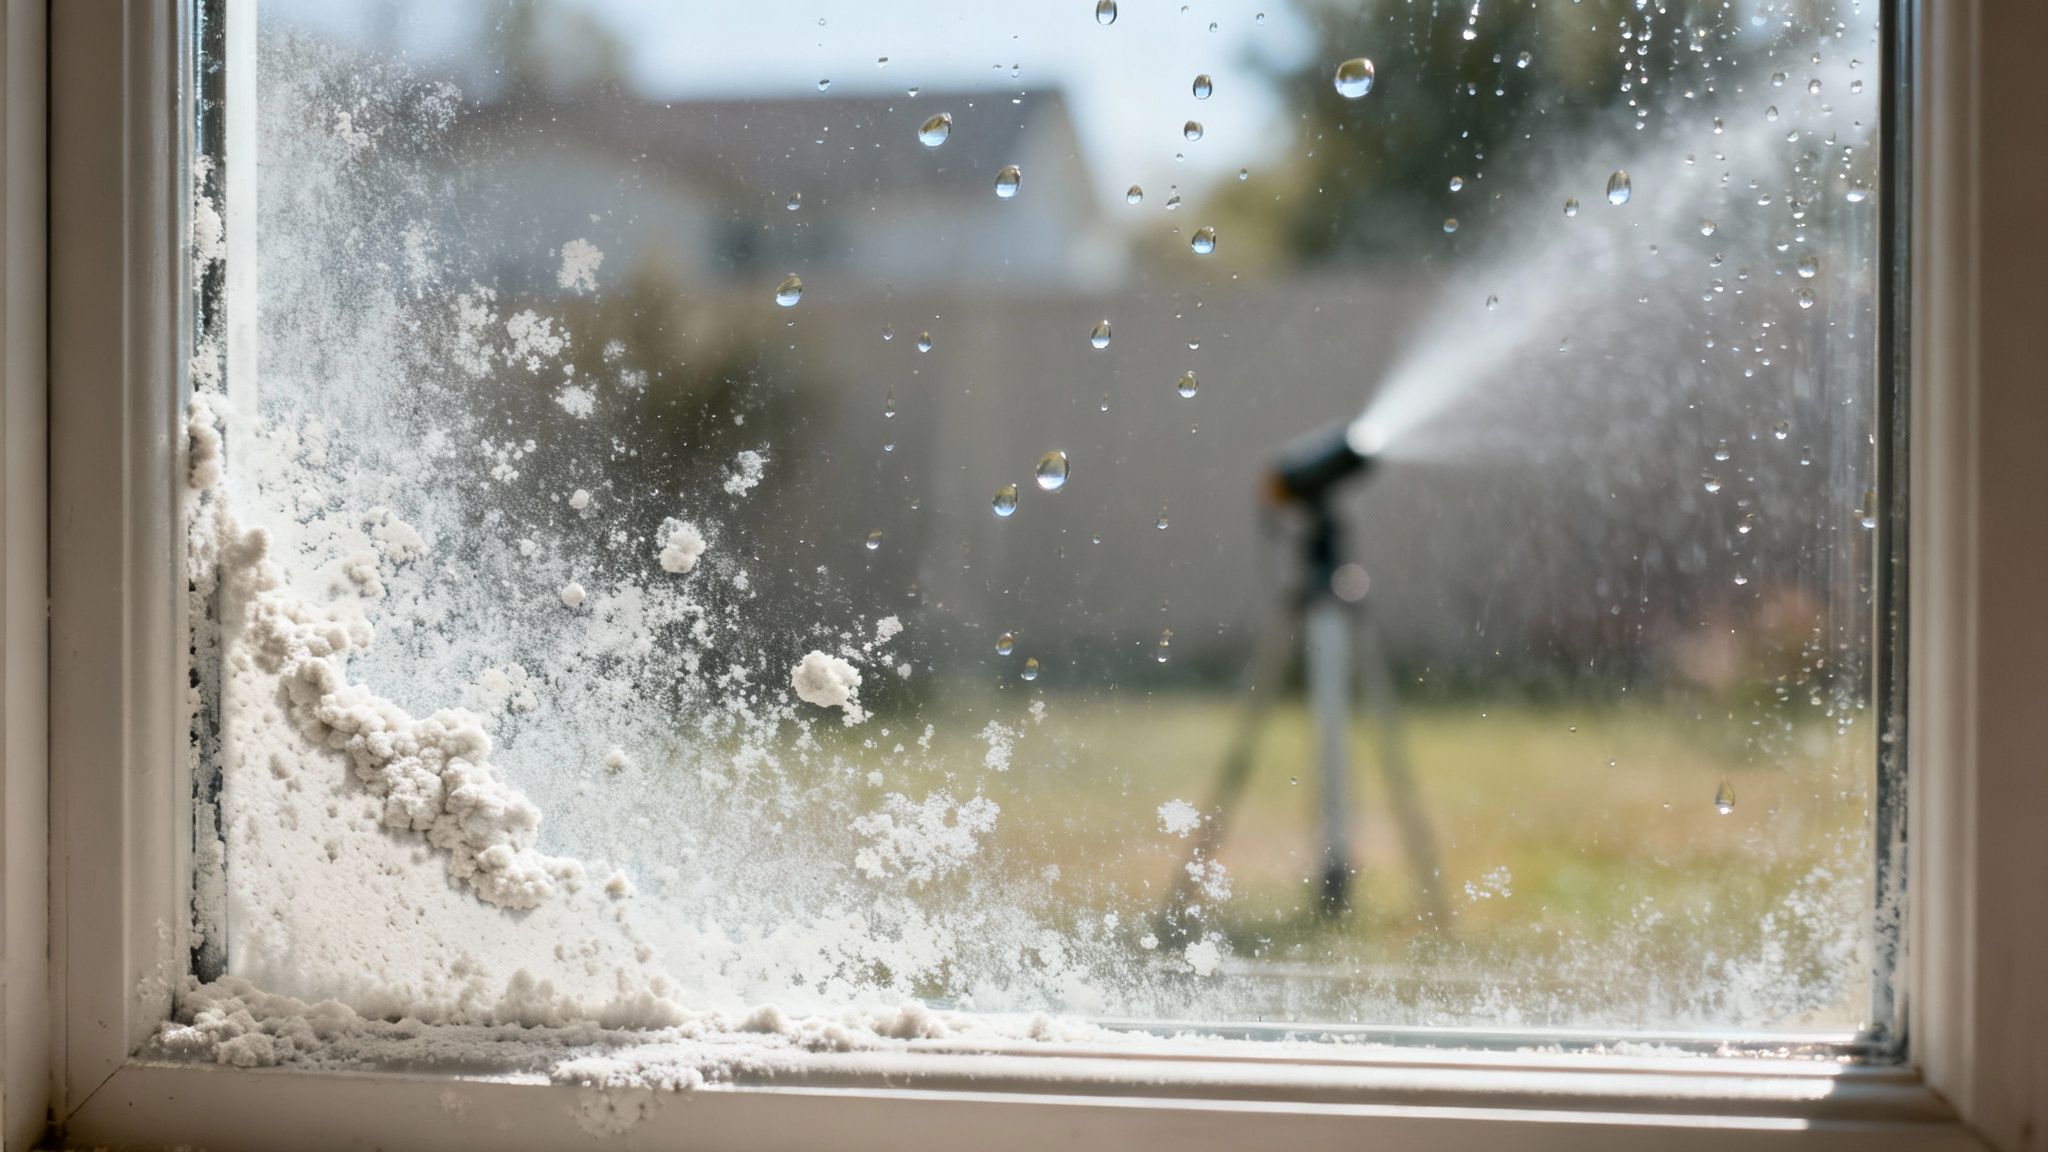
- Sprinkler Systems: This is the number one culprit I see in the field. Sprinklers constantly spray hard water from a well or city tap onto your windows. The sun then bakes those mineral-rich droplets onto the glass, creating layers of buildup over time.
- Rainwater Runoff: While rain itself is naturally soft, it doesn't stay that way. As it flows over your roof, siding, or metal screens, it picks up all sorts of minerals and grime. When that dirty runoff dries on the glass, it leaves a hazy film.
- Hose Water: Rinsing your siding or watering the garden? It's easy to accidentally splash tap water onto the windows. If you don't wipe it off right away, you'll see spots form as soon as it dries.
Here in Phoenix, for example, our hot, dry climate makes the problem much worse. The local water hardness often averages between 150-300 mg/L of calcium carbonate, which is well into the "very hard" category. It's no surprise that local cleaning data shows stains affect up to 70% of untreated windows every year.
The Science Behind the Stain
Glass feels perfectly smooth, right? But on a microscopic level, it's actually porous. These tiny peaks and valleys are where the real problem begins.
As a water droplet evaporates, those calcium and magnesium ions sink into the microscopic pores of the glass and crystallize. This process is called etching. The longer the minerals sit, the deeper they etch, making old stains incredibly difficult to remove because they've essentially become part of the glass.
This is exactly why a quick spray and wipe often fails. You might dissolve the top layer of minerals, making the window look clean while it's wet. But once the water dries, the deposits that are bonded deep in the pores reappear, and the hazy spots are back. Understanding the difference between hydrophilic and hydrophobic glass (https://sparkletechwindowwashing.com/the-difference-between-hydrophilic-and-hydrophobic-glass/) can also explain why some glass seems to attract stains more than others.
Figuring out if your stains come from sprinklers, runoff, or a combination of factors is the critical first step to getting your windows crystal clear again.
Practical DIY Methods for Lighter Stains
If you’ve caught those pesky water spots early, you're in luck. You can often get your glass looking crystal clear again with some common household items. These simple remedies are surprisingly effective against fresh mineral deposits, and the real secret isn’t just the ingredient, but how you use it.
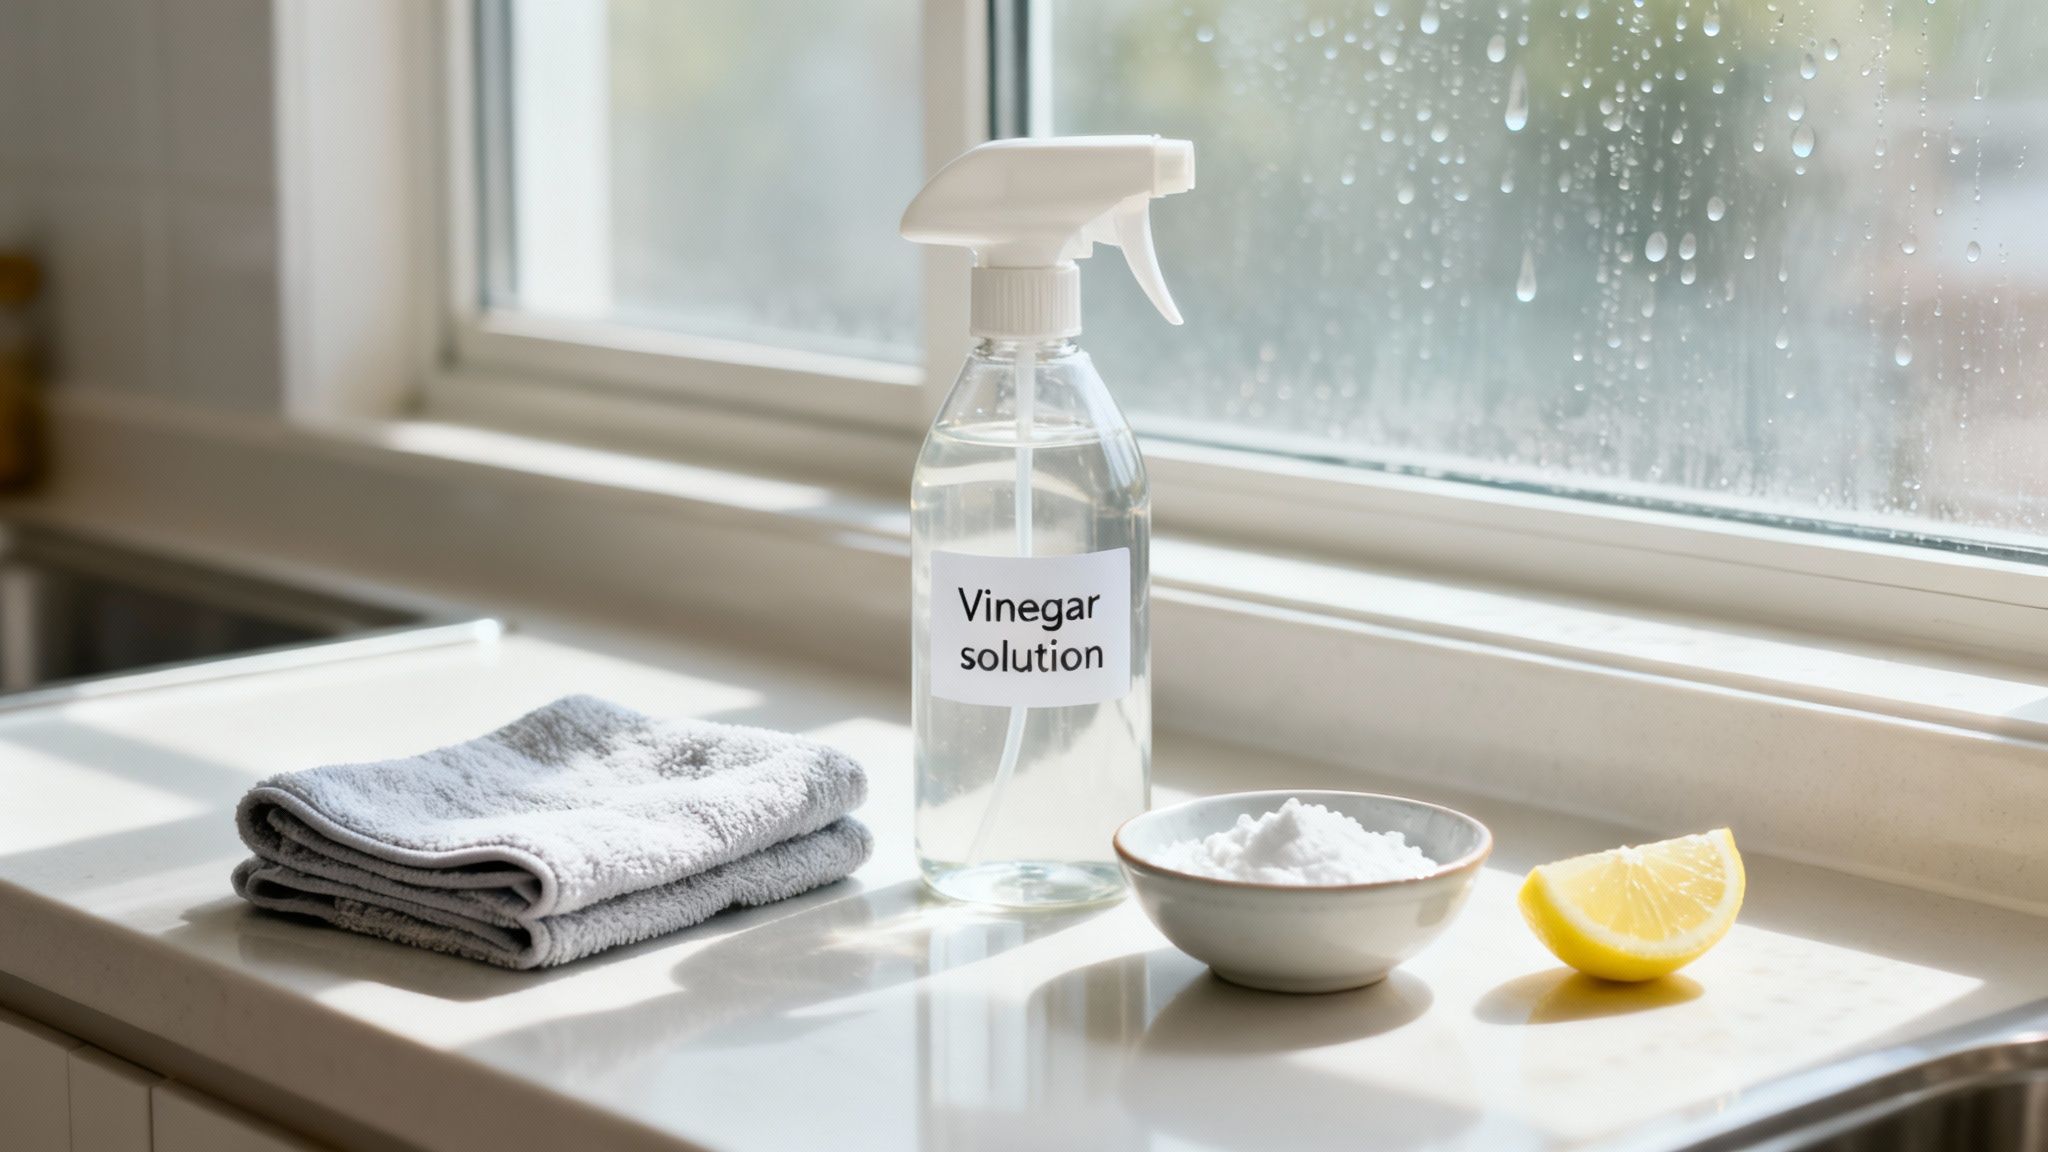
Your first line of defense is probably already in your pantry: white vinegar. The acetic acid in vinegar is a natural enemy of the alkaline mineral deposits—like calcium and magnesium—that create those chalky, hazy stains. But here’s where most people go wrong: a quick spray and wipe just won’t cut it. The vinegar needs time to work its magic.
Think of it like soaking a burnt-on food stain off a pan. Patience is your best friend here.
The Vinegar Solution: A Better Approach
To truly beat light to moderate stains, you have to let the acidic solution sit and break down the minerals that have bonded to your glass. This "dwell time" does the heavy lifting for you, so you don't have to resort to aggressive scrubbing.
Here’s a tried-and-true method that gets the job done right:
- Get the Mix Right: In a spray bottle, combine equal parts distilled white vinegar and distilled water. Using distilled water is a non-negotiable step; tap water will just re-apply the very minerals you're trying to remove.
- Saturate the Glass: Spray the solution generously over the stained areas. Don't be stingy—the glass should be thoroughly wet.
- Let It Dwell: This is the most critical part. Let the vinegar solution sit on the glass for at least 10-15 minutes. For a particularly stubborn new spot, feel free to leave it on even longer.
- Gentle Agitation: Once the time is up, grab a non-abrasive scrub pad or microfiber cloth and gently work the area in small circles. You should feel the gritty mineral deposits start to give way.
- Rinse and Dry: Finish by rinsing the glass completely with clean, distilled water to wash away the vinegar and loosened minerals. For a perfect, streak-free shine, use a squeegee to dry the window.
Pro Tip: For vertical windows where the solution just runs down, soak a few paper towels in your vinegar mix and press them directly onto the glass. The towels will cling to the surface, keeping the solution exactly where it needs to be to dissolve those tough stains.
Creating a Baking Soda Paste for More Grit
Sometimes a liquid cleaner just isn't enough. You need a bit more oomph to lift those stubborn spots, but you certainly don’t want to scratch the glass. Baking soda is the perfect gentle abrasive for the job. Its fine particles provide just enough friction to scrub away deposits without causing damage.
To make a paste, just mix baking soda with a little water until it forms a texture like toothpaste. Dab this paste directly onto the water stains using a soft cloth or sponge.
Let the paste sit for a few minutes before gently scrubbing the area. The combination of the mild abrasion and the dwell time is fantastic for lifting spots that a simple spray couldn't touch. Just be sure to rinse it all off completely with distilled water, or you'll be left with a hazy film.
Harnessing the Power of Lemon Juice
Like vinegar, fresh lemon juice is packed with citric acid, another fantastic mineral-dissolver. While you probably won't use it to clean every window in your house, it’s a great spot treatment for a few noticeable stains on a patio door or kitchen window.
Just squeeze some fresh lemon juice directly onto the stain and let it sit for about 10 minutes. The citric acid will get to work breaking down the minerals. Wipe it away with a damp microfiber cloth, give it a final rinse, and you're done. Its natural acidity is surprisingly potent for light, fresh spots.
Comparing DIY Water Stain Removal Solutions
To help you decide which pantry staple to grab first, here’s a quick-reference table comparing these common household remedies.
| Method | Best For | Pros | Cons |
|---|---|---|---|
| Vinegar Solution | Light, widespread haze and recent water spots. | Inexpensive, effective, and readily available. | Can have a strong odor. Requires dwell time to work properly. |
| Baking Soda Paste | Slightly tougher, individual spots needing gentle abrasion. | Provides scrubbing power without scratching the glass. | Can be messy and requires thorough rinsing to avoid a cloudy residue. |
| Lemon Juice | Small, isolated, and very fresh water stains. | Pleasant smell and uses natural citric acid. | Can be sticky and isn't practical for cleaning large windows or areas. |
Each of these methods is a great starting point for tackling those frustrating water stains.
No matter which DIY solution you try, always keep the safety of your window components in mind. Be careful not to let these acidic cleaners drip onto painted wood frames or any surfaces with special coatings. If you're unsure, it’s always a good idea to test the solution on a small, hidden area first. With the right technique, you can get your glass back to its original clarity without ever reaching for harsh chemicals.
Using Commercial Cleaners for Tougher Jobs
So, you’ve soaked, scrubbed, and tried every DIY trick in the book, but that chalky film is still clinging to your glass. Don't throw in the towel just yet. When home remedies don't cut it, it just means the mineral deposits have put up a good fight and it’s time to bring in the heavy hitters: commercial-grade cleaners.
This is the logical next step, especially if your windows have been getting hammered by a sprinkler system for years or are coated in a haze that just laughed at your vinegar solution. These products are specifically engineered with stronger acids or chemical compounds designed to break down the stubborn bonds minerals form with glass.
Choosing the Right Commercial Product
Walking down the cleaning aisle can feel a bit overwhelming, but if you know what you're looking for, it gets a lot easier. Most of the effective hard water stain removers fall into a few key categories, each designed for a different level of staining.
- Mild Acidic Cleaners: Think of these as the next level up from vinegar. You'll want to look for products with active ingredients like sulfamic acid or glycolic acid. They pack more of a punch than your kitchen staples but are still relatively gentle on surfaces, making them perfect for moderate stains that just won't budge.
- Mineral-Dissolving Gels: For really severe, layered-on buildup, a thick, gel-based formula is your best friend. These products are designed to cling to vertical surfaces like windows, which gives the active ingredients (often stronger acids or special chelating agents) the time they need to work their magic and dissolve years of calcium and magnesium.
- Fine Abrasive Compounds: Some cleaners work less like a chemical and more like a polish. They contain incredibly fine abrasives—much safer for glass than something like baking soda—that physically buff the mineral deposits right off the surface without causing scratches. You’ll often see these labeled as "glass polish" or "restorer."
Always read the label. A product designed to fight soap scum in the shower might not be formulated for the specific type of mineral deposits left by sprinkler water. Your best bet is to find something that specifically calls out "hard water," "mineral deposits," or "calcium and lime."
The Safety-First Application Process
Working with these more powerful products means you have to be methodical. The goal is to get rid of the stain, not to damage your window frames or your skin. Before you even open the bottle, make sure you have your safety gear ready. Chemical-resistant gloves and safety goggles are absolutely essential.
Your first and most important step is the patch test. Never, ever slather a new chemical cleaner all over a window. Pick a small, out-of-the-way corner and apply the product exactly as the directions say. Let it sit, and then let it dry completely to make sure it doesn't cause any hazing, discoloration, or other damage to the glass or the frame.
Once you’ve confirmed the product is safe to use, apply it only to the stained areas. It’s best to work in small, manageable sections instead of trying to tackle the whole window at once. Give the cleaner its recommended dwell time; this is when the chemical reaction is happening. If you rush this part, you'll just end up scrubbing for nothing.
After the product has sat for the right amount of time, follow the removal instructions. This usually means a bit of gentle scrubbing with a non-abrasive pad and then a very thorough rinse. Rinsing is critical—any chemical residue left behind can create new streaks or films. For that perfect, spot-free finish, do a final wipe-down with distilled water and a squeegee. To get a better handle on what works and what doesn't, you can learn more about the dos and don'ts of window cleaning chemicals to avoid.
When Stains Have Etched the Glass: Advanced Removal Techniques
So, you've tried the vinegar, you've tried the special cleaners, and those stubborn, milky stains are still there. What you're likely up against now isn't just a surface deposit; it's mineral etching. This happens when hard water sits on the glass for so long that the minerals physically damage the surface.
At this point, we have to switch gears. We're moving from dissolving the stains to carefully polishing them away. These next steps are for the toughest jobs—think of a shower door that’s seen years of hard water or a window constantly hit by a sprinkler. They require a bit of patience and a careful hand, but they can save glass that looks hopelessly damaged.

The Steel Wool Method: Safer Than It Sounds
I know, taking steel wool to glass sounds like a recipe for disaster. But there's a trick to it. You have to use #0000 grade steel wool, which is the finest you can get. It's often called "quad-zero" for a reason. Its fibers are actually softer than glass, so when used correctly, it won't leave scratches.
Be warned: using any other grade—like #000 or #00—will absolutely ruin your windows. Stick to #0000 only.
The absolute golden rule here is lubrication. Never, ever use steel wool on dry glass.
- Grab a Lubricant: A simple solution of dish soap and water works great. You could also use a commercial glass cleaner or even the vinegar spray from the earlier steps. The idea is to keep things slick.
- Gentle Buffing: Dip the quad-zero steel wool in your liquid and start working on the stain. Use light pressure and small, circular motions. You don't need to muscle it; let the fine steel fibers do the work.
- Keep It Wet: This is critical. If the glass starts to dry, reapply your lubricant immediately. A dry surface is where you risk creating micro-scratches.
- Check Your Work: After a minute or two of polishing, wipe the area clean with a microfiber cloth and let it dry. See how it looks. For deep etching, you might need to repeat the process a few times.
This is a fantastic hands-on method that gives you a lot of control, making it perfect for targeted water stains on windows removal, especially on smaller panes you can easily reach.
Bringing in the Big Guns: Glass Polishing Compounds
If even the steel wool can’t cut it, it’s time for a specialty glass polishing compound. These products, which often contain an ultra-fine abrasive like cerium oxide, are made to polish away the very top-most layer of the glass, taking the etched-in minerals along for the ride. It's essentially like exfoliating your windows to reveal a fresh surface.
A Quick Word of Caution: This isn't just cleaning anymore; it's a restoration process. You are physically removing a microscopic layer of glass. You have to work slowly and check your progress constantly to avoid creating a distorted or low spot in the window.
You'll apply a small dab of the compound to a microfiber applicator or a felt polishing block. Work it into the glass with firm, overlapping circles. It’s definitely a workout, but the results can be stunning, restoring clarity to glass you thought was a lost cause. Once you're done, clean the window thoroughly to get rid of any leftover compound residue.
For Large Areas: Using an Orbital Polisher
Now, if you're looking at a huge, etched picture window or a whole wall of glass doors, polishing by hand is a monumental task. For the confident DIYer, a random orbital polisher can be a game-changer. This is the most aggressive approach and carries the highest risk, so it’s not for the faint of heart.
To do this safely and effectively, you need the right gear:
- The Polisher: A variable-speed random orbital polisher is what you want. Stay away from high-speed angle grinders—they generate way too much heat and can crack the glass in an instant.
- The Pad: Use a dedicated glass polishing pad. These are usually made from dense foam or felt. Do not use pads meant for car paint.
- The Compound: Get a liquid glass polishing compound specifically designed for machine application.
Always start on the lowest speed setting and keep the machine moving. Lingering in one spot can build up heat and pressure. And just like with the steel wool, never let the pad run dry. While this method can save you an incredible amount of time on a big water stains on windows removal project, I strongly recommend practicing on a scrap piece of glass first if you’ve never used a power polisher before.
Proactive Strategies to Prevent Future Stains
After all that hard work getting your windows spotless, the last thing you want is for those stubborn stains to creep back. It’s a common frustration. The real secret to keeping your glass pristine isn't about getting better at scrubbing—it's about stopping the stains before they even start.
Honestly, a few simple adjustments to your routine can make a massive difference.
You’d be surprised how often the main culprit is right in your own yard. The next time your sprinklers are on, take a quick walk around your house. If you see them spraying directly onto your windows, you've found ground zero. A quick tweak to the sprinkler heads to aim them back onto the lawn is often all it takes to solve the problem for good. It's a simple fix, but incredibly effective.
Control Your Water Source
If you live in an area with hard water, you're fighting an uphill battle from the start. For a permanent solution that protects more than just your windows, a whole-house water softener installation is worth looking into. It tackles the problem right at the source, removing those spot-causing minerals before they ever touch your glass.
A much simpler, immediate change is switching to distilled water for your final rinse when cleaning. Using tap water is like taking one step forward and two steps back—you’re just re-applying the minerals you worked so hard to remove. Distilled water, on the other hand, is completely pure and evaporates cleanly, leaving nothing behind. It's a cheap trick that guarantees a spot-free shine every time.
Here's the bottom line: prevention is always easier than correction. A small adjustment to a sprinkler head or a quick switch to distilled water can save you hours of future scrubbing.
Apply a Protective Barrier
For a truly long-term solution, I highly recommend applying a hydrophobic glass sealant. These products create an invisible, ultra-smooth barrier on the glass that water simply can't stick to. Instead of sitting there and leaving mineral deposits as it dries, water just beads up and rolls right off, taking dirt along for the ride.
Think of it just like waxing your car. You'll see the water glide away effortlessly. These sealants are easy to find at any home improvement store, and one application can protect your windows for months.
This is the kind of forward-thinking approach the pros use. Many professional services use advanced water-fed pole systems that purify water on the spot. This method alone can cut down the recurrence of stains by an incredible 85% compared to a standard vinegar-and-water scrub. If you're curious about how the pros get such lasting results, you can find a ton of info on professional window cleaning methods on windowcleaningstore.co.za. By adopting these kinds of strategies, you're not just cleaning your windows—you're investing in their long-term clarity.
Knowing When to Call a Professional Window Cleaner
You’ve tried it all. The vinegar solution, the store-bought cleaner, maybe even some serious elbow grease with a polishing compound, but those ghostly white stains just won't budge. This is often the point where frustration sets in, and continuing to scrub away can do more harm than good. Recognizing when to hand the job over to a professional is a key part of successful water stains on windows removal.
Sometimes, the decision has less to do with the stain itself and more to do with safety. Are we talking about second-story windows that require a shaky extension ladder? Or massive picture windows that are just too awkward to reach safely? A fall isn't worth it. Professional crews like Sparkle Tech Window Washing have the proper safety gear, training, and insurance to handle these jobs without risk.
Assessing When the Job Is Too Big
Take a hard look at how severe the staining is. If those mineral deposits have been baking in the Arizona sun for years, there's a good chance they've started to etch into the glass itself. At that stage, most DIY methods simply lack the power to make a difference, and you risk permanently scratching the surface by getting more aggressive.
Specialty glass is another major consideration. If your windows have unique tints, low-E coatings, or other protective glazes, using the wrong chemical or a slightly-too-abrasive pad can ruin them in an instant. A pro will know exactly which products and techniques are safe for these delicate surfaces.
This flowchart outlines a few preventative strategies that can help you avoid getting to this difficult stage in the first place.

As you can see, simple adjustments to your sprinklers or applying a sealant can make a huge difference in stopping hard water stains before they even start.
The Professional Advantage
Hiring an expert is about more than just convenience; it's about getting a perfect, long-lasting result. Professionals come equipped with specialized gear that you just can't find at a hardware store, like water-fed pole systems. These incredible tools use purified, deionized water that scrubs away grime and dries completely spot-free, as there are no minerals left behind to cause new stains.
A professional clean isn't just a cosmetic touch-up. It's an investment in your home's curb appeal and overall value. Over time, neglected, stained windows can make an entire property look tired and poorly maintained.
In fact, some estimates suggest that poor curb appeal from things like stained windows can reduce a property's perceived value by 15-20%. In booming areas like Arizona's Phoenix Valley, where demand for residential window cleaning services shot up by 12% after 2023, keeping your windows clear is a smart move.
If you're still on the fence, we have a guide that breaks down the 5 important benefits of professional window cleaning. When you add up your time, the cost of supplies, the safety risks, and the superior finish, calling in a pro is often the best decision you can make.
Common Questions We Hear About Water Stains
When you're fighting those stubborn water spots on your windows, a lot of questions come up. It's totally normal. Knowing the right answers can be the difference between sparkling clean glass and an expensive mistake. Let's walk through some of the most common questions we get from homeowners just like you.
Can Hard Water Stains Actually Damage My Windows for Good?
Unfortunately, yes, they absolutely can. When those mineral deposits from hard water sit on your glass for too long, they start a chemical reaction. They essentially begin to bond with and etch into the glass itself.
Once that happens, you’ve got permanent damage that no amount of scrubbing can reverse. This is why staying on top of regular window cleaning is so crucial—it’s the single best way to prevent the problem from even starting.
What About Using a Pressure Washer? Will That Blast the Stains Off?
Please don't do this. A pressure washer is the wrong tool for this job and can cause serious damage.
While it seems like a powerful jet of water would solve the problem, it won't break the chemical bond the minerals have formed with the glass. What it can do is destroy your window seals, damage the frame, and even shatter the glass. Stick with the gentle, targeted methods we've talked about.
A common myth is that more power means a better clean. When it comes to mineral stains, it's all about using the right chemistry and a bit of patience, not brute force. Firing up a pressure washer is one of the fastest ways to turn a simple cleaning task into a costly window replacement project.
Is Vinegar Safe to Use on My Tinted Windows?
This is a great question, and the answer is… it depends. It all comes down to how your windows were tinted.
- Factory-Tinted Glass: If the tint is integral to the glass itself (done at the factory), a mild, diluted vinegar solution is usually fine.
- Aftermarket Tint Films: If a tint film was applied after the window was installed, vinegar is a bad idea. Its acidity can slowly eat away at the film's adhesive, leading to bubbling and peeling.
If you're unsure, the golden rule is to test any cleaner on a tiny, hidden spot first. Or, even better, check the tint manufacturer's website for their specific cleaning instructions. A little research upfront can save you a huge headache later.
For a professional, streak-free shine that gets rid of even the toughest mineral buildup, trust the experts at Sparkle Tech Window Washing. Schedule your service today!