



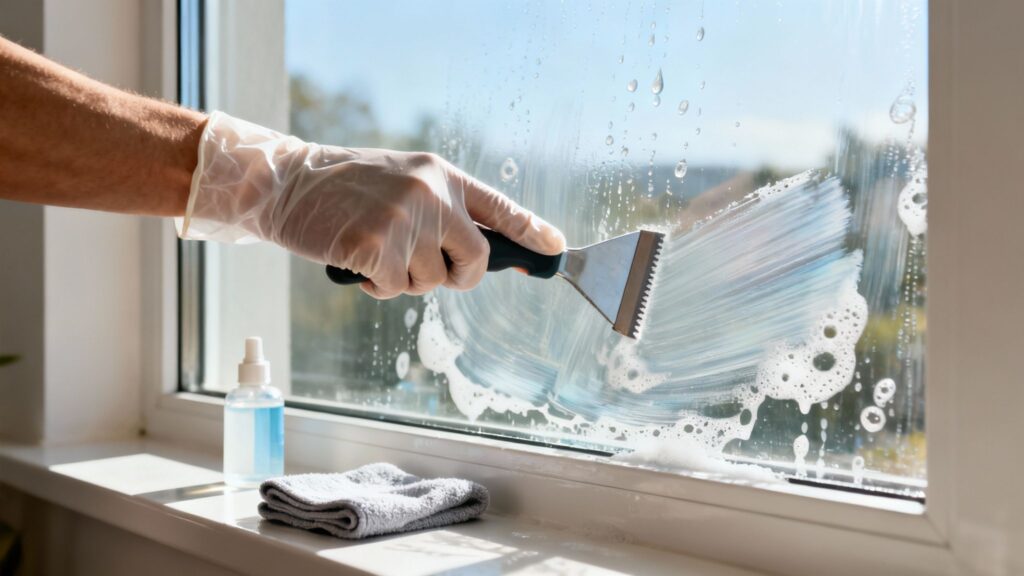
Getting spray paint off glass is often straightforward, and usually, all you need is a new razor blade held at a 30-45 degree angle with some soapy water for lubrication. For the really stubborn stuff, you might need a solvent like acetone or a dedicated graffiti remover. Just remember to test it on a small, out-of-the-way spot first. The golden rule is always to start with the gentlest method—it's the best way to avoid scratches.
Your First Steps Before Touching the Glass
Before you even think about grabbing a scraper or a bottle of solvent, stop. Take a moment to actually look at the glass and the paint. This is, hands down, the most important part of the whole job. Not all glass is the same, and if you treat a historic window or a modern coated pane like a standard piece of glass, you could cause permanent damage.
Getting this initial assessment right is what separates a clean, successful removal from a scratched-up mess.
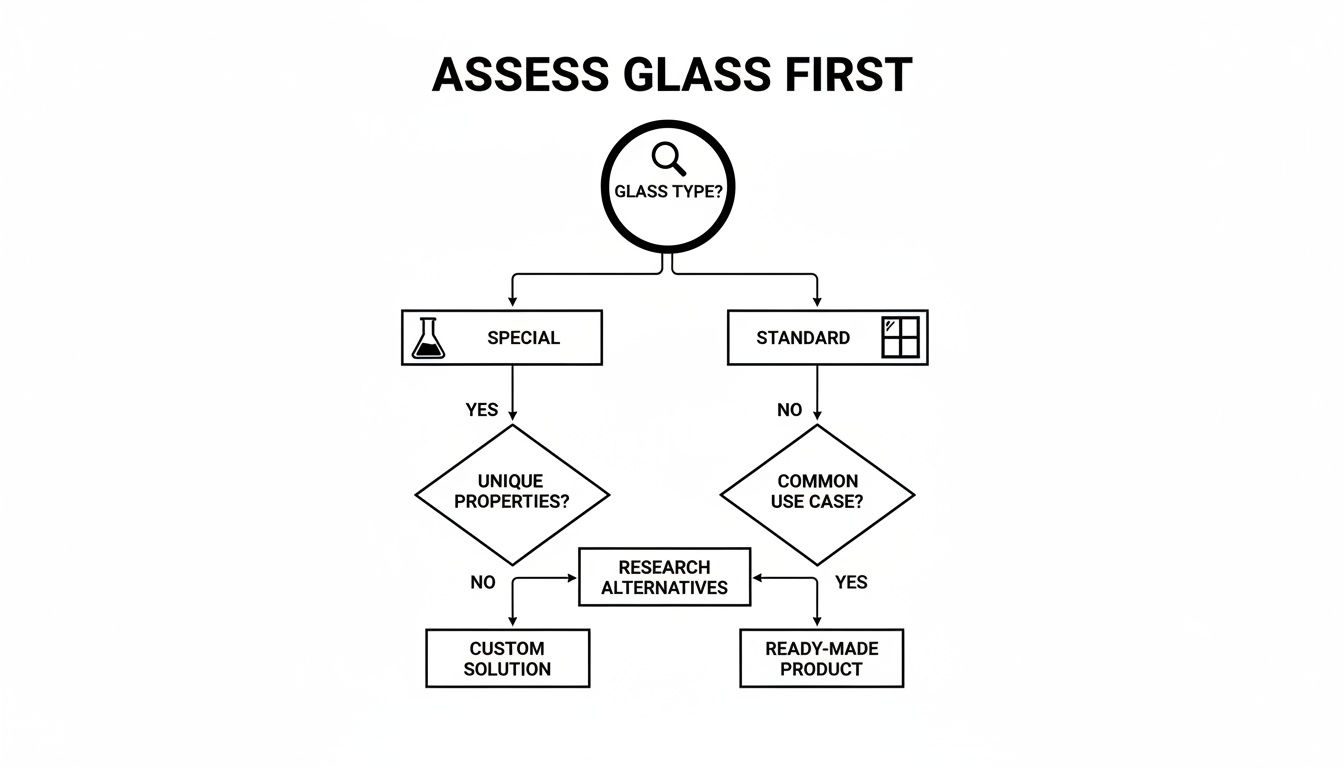
As you can see, the first decision you make—identifying the glass—sets the stage for everything that follows.
Figure Out What Kind of Glass You're Dealing With
Start by checking the corners of the pane for any small markings or stamps. Tempered glass, the kind designed for safety, will almost always have a little label etched into it.
Now, look at the glass from different angles. Do you see a faint, rainbow-like shimmer or a subtle film? That could be a low-emissivity (low-e) coating or an anti-glare treatment. These coatings are incredibly easy to scratch off with a blade or damage with harsh chemicals, so you have to be extra careful. This is especially true when working with various outdoor installations and different types of glass surfaces.
Some newer windows even have special surfaces designed to repel or sheet water. Knowing the difference between hydrophilic and hydrophobic glass can give you a heads-up that a delicate coating might be present.
A Quick Tip from Experience: If you're working on an older home or a historic building, treat the glass like it's fragile, because it probably is. Original panes are often much thinner and can crack easily from too much pressure or sudden temperature changes.
Get a Feel for the Paint Problem
Next, what's the paint actually like? Is it still a bit tacky, or has it been sitting there for months, baked on by the sun? Fresh paint is a dream—it usually comes off without much of a fight. Paint that has fully cured, on the other hand, has formed a strong bond with the glass and will require more elbow grease and probably a more robust removal method.
Gear Up for Safety and Get Your Materials Ready
Even simple removal jobs require a bit of prep. Solvents can create nasty fumes, especially indoors, and you don't want paint flecks or chemical splashes in your eyes. Here’s a quick rundown of what you should have on hand before you start.
Essential Safety and Material Checklist
| Category | Essential Items | Purpose |
|---|---|---|
| Personal Safety | Safety Goggles, Chemical-Resistant Gloves | Protects eyes from splashes & debris; keeps skin safe from solvents. |
| Ventilation | Fans, Open Windows/Doors | Ensures proper airflow to disperse chemical fumes. |
| Cleaning Agents | Dish Soap, Water, Acetone/Solvent | From gentle cleaning solutions to stronger paint removers. |
| Tools | Razor Scraper, Microfiber Cloths, Bucket | For mechanical removal, lubrication, and cleanup. |
| Protection | Drop Cloths, Painter's Tape | Protects surrounding surfaces (frames, sills, floors) from damage. |
Having these items ready to go will make the job safer, cleaner, and a whole lot less stressful. It's always better to take a few extra minutes to prepare than to spend hours fixing a preventable mistake.
The Gentle Approach: Scraping Paint From Glass
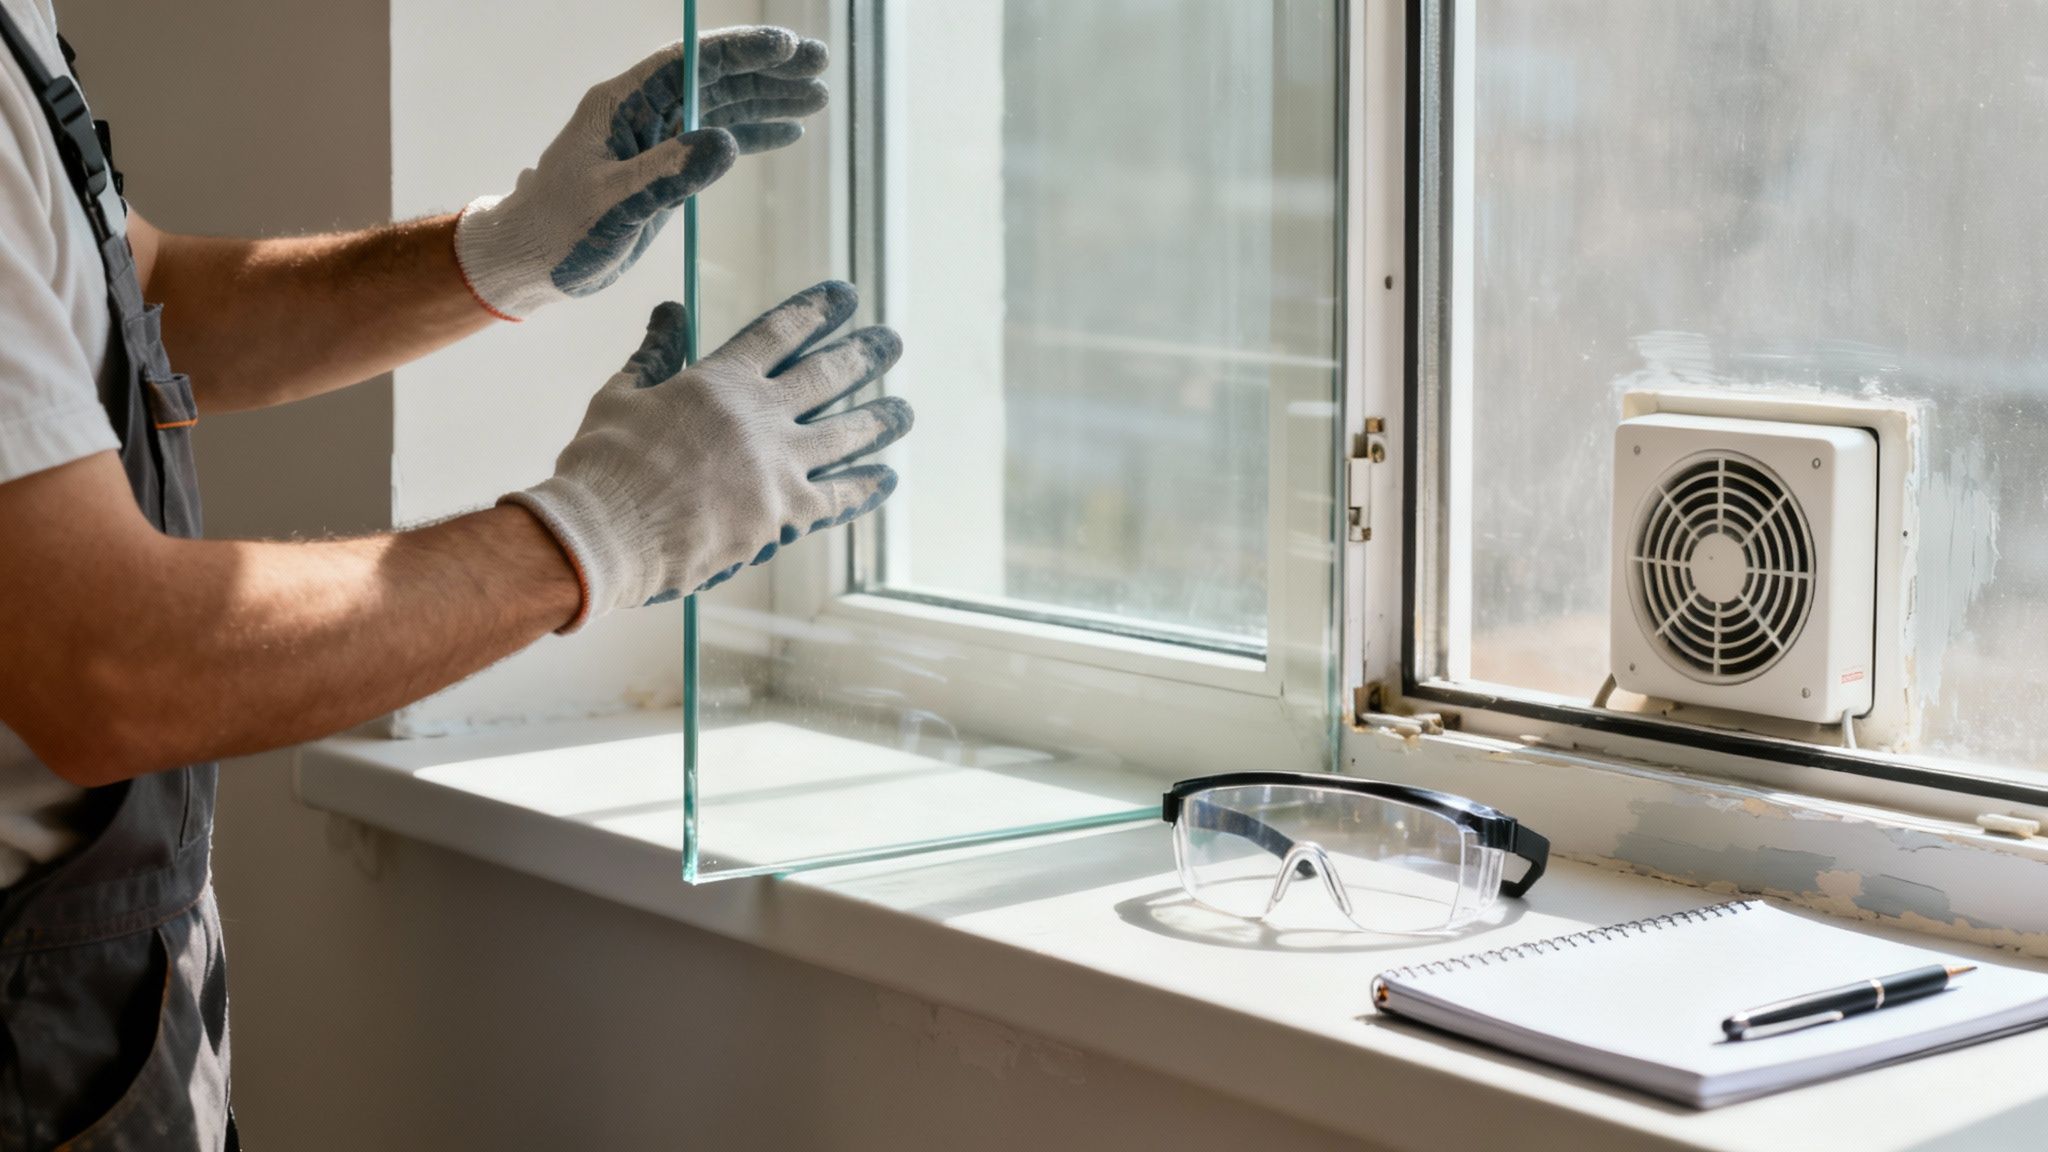
When you see spray paint marring a beautiful pane of glass, it's tempting to grab the most potent chemical you have on hand. But hold on. In my experience, the best tool for the job is often the simplest and least aggressive one: a scraper. This straightforward mechanical approach can often lift the paint clean off without resorting to harsh solvents.
It's a core principle in any kind of restoration work: always start with the gentlest method possible to avoid doing more harm than good. This isn't just a pro tip; it’s a widely accepted practice. Even the U.S. General Services Administration advises starting with mechanical methods like scraping before moving on to chemicals. This simple strategy dramatically lowers your risk of etching the glass or damaging any special coatings. For a deeper dive, the National Park Service offers similar guidelines for historic preservation.
Mastering the Razor Blade Technique
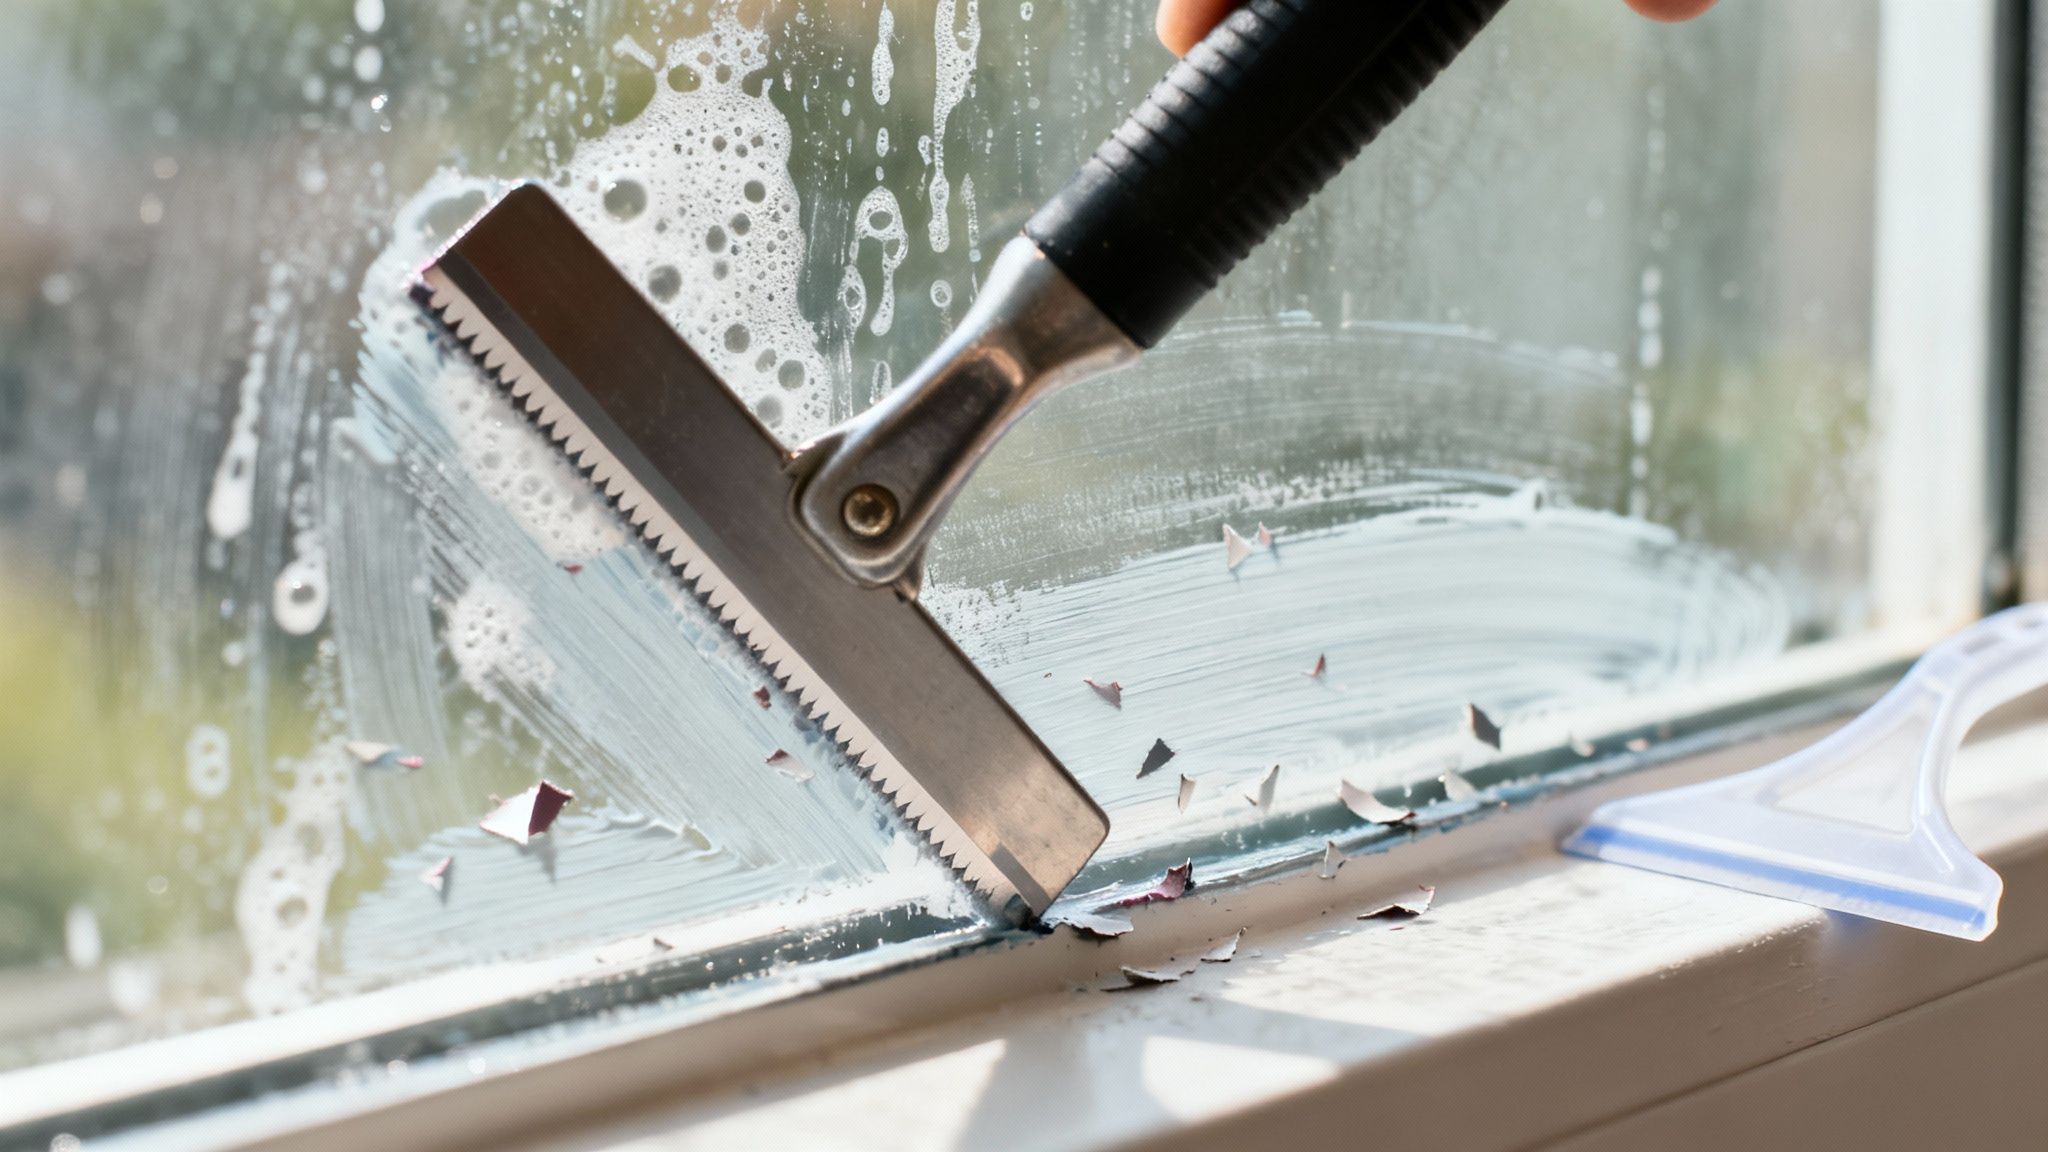
Successfully using a razor blade on glass all comes down to technique. You'll need two essential items: a brand-new, sharp razor blade secured in a proper holder, and a good lubricant. A spray bottle filled with a simple mix of dish soap and water works perfectly.
First, don't be shy with the soapy water—liberally spray the entire painted area. This lubricant is absolutely critical. It creates a slick surface that lets the blade glide smoothly instead of digging in and causing scratches.
Next, get your angle right. Hold the scraper at a low 30 to 45-degree angle relative to the glass surface. This is the magic angle that lets the blade's edge get under the paint layer without biting into the glass itself. Coming in too steep is a classic rookie mistake and a surefire way to leave a scratch.
With the blade in position, apply gentle, even pressure and push forward in short, controlled strokes. You’ll see the paint start to lift away in strips or little flakes.
Key Takeaway: Never underestimate the power of a fresh blade and plenty of lubrication. A dull blade forces you to push harder, which is when slips and deep scratches happen. For a larger job, don't hesitate to swap out the blade for a new one as soon as you feel it dragging.
Choosing Your Scraper and Perfecting Your Motion
While a standard single-edge razor is the workhorse for most jobs, a plastic scraper can be a much safer bet. I often reach for a plastic one when working on delicate surfaces or coated glass where the risk of scratching is just too high. They're less aggressive, so they might take a bit more elbow grease, but the peace of mind is worth it.
No matter which blade you choose, a consistent and methodical motion is what gets you professional results.
- Move in one direction: Resist the urge to saw back and forth. Push the blade forward, lift it completely off the glass, bring it back, and start the next push stroke.
- Overlap your passes: Make sure each new stroke slightly overlaps the last one. This prevents you from leaving thin, frustrating lines of paint behind.
- Wipe as you go: Keep a clean microfiber cloth handy to wipe away the paint flakes and extra soap. This helps you clearly see your progress and what areas still need attention.
This tried-and-true method works wonders on most spray paint. But if you’re working on a surface you’re nervous about or just prefer to avoid blades entirely, there are other ways. For those situations, we've put together a guide on removing paint on glass without using razors.
Using Solvents and Chemical Removers Safely
Sometimes, a razor blade just won't cut it, especially with older, baked-on spray paint. When you're dealing with a stubborn patch that won’t budge, it’s time to bring in the chemical removers. Using solvents is a more advanced technique, and the key is to dissolve the paint without damaging the glass or any of its coatings.
Choosing the right solvent isn't about grabbing the strongest thing you can find. It's about a strategic approach, starting mild and working your way up.
Selecting The Right Chemical For The Job
Before you reach for heavy-duty industrial removers, start with what you might already have under your sink. Isopropyl alcohol (rubbing alcohol) or acetone (the main ingredient in many nail polish removers) can be surprisingly effective. These are great first options for fresh paint or less resilient formulas.
If you’re still not seeing results, it’s time to move on to something with a bit more punch. Mineral spirits or denatured alcohol are the next level up. For the toughest graffiti jobs, you’ll likely need a dedicated commercial graffiti remover, which is formulated to break down the specific polymers in modern spray paints. Just remember, the stronger the chemical, the more care you need to take. It's always wise to understand the potential risks of DIY projects before you get started.
A Quick Word on Safety: This is non-negotiable. Always work in a well-ventilated space. Crack open windows, get a fan going, and make sure fresh air is circulating. The fumes from these products can be potent and harmful.
The Spot Test: Your Most Important Step
I can't stress this enough: always do a spot test. Before you go to town on the entire window, you absolutely must test your chosen chemical in a small, out-of-the-way corner. This is the only way to prevent a disaster, especially if your windows have any kind of tint, film, or low-e coating.
Here’s how you do it:
- Pick a small, inconspicuous area.
- Put a little bit of the solvent on a clean microfiber cloth.
- Dab it onto your test spot and let it sit for a minute or two.
- Wipe it off and look closely. Check for any cloudiness, discoloration, or signs that a film is softening or peeling.
If you see any kind of negative reaction, stop. You’ll need to switch to a gentler method. Trust me, finding a problem on a one-inch square is much better than ruining an entire pane of glass. For a deeper dive into what chemicals to keep away from your windows, check out our guide on the dos and don'ts of window cleaning chemicals.
Comparing Common Paint Solvents
To help you decide, here’s a quick look at common solvents, what they work best on, and crucial safety information.
| Solvent Type | Best For | Application Method | Safety Precautions |
|---|---|---|---|
| Isopropyl Alcohol | Fresh, light spray paint; latex-based paints. | Apply with a microfiber cloth; let sit for 1-2 minutes. | Good ventilation; avoid open flames. Generally mild. |
| Acetone | Nail polish; some enamel and lacquer-based paints. | Dab with a cloth or cotton ball; works quickly. | Highly flammable. Requires excellent ventilation; wear gloves. |
| Mineral Spirits | Heavier, oil-based paints; older paint layers. | Apply with a cloth; may require a longer dwell time. | Strong fumes. Use in a very well-ventilated area; wear gloves. |
| Graffiti Remover | Cured, multi-layered graffiti; stubborn synthetic paints. | Follow product directions; often sprayed or applied as a gel. | Wear gloves and eye protection. Requires maximum ventilation. |
This table is just a starting point. Always read and follow the specific instructions and safety warnings on the product you choose.
Proper Application For Maximum Effect
Once your spot test comes back clean, you're ready to tackle the rest of the paint.
The trick is to apply the solvent to your cloth, not directly to the glass. Pouring it on the window is a recipe for messy drips that can damage the window frame, sill, or the wall below. Just dampen your cloth, apply it to the paint, and let it sit for a few minutes.
This "dwell time" is where the magic happens—it gives the chemical time to penetrate the paint and break down its bond with the glass. After a few minutes, use a clean section of your cloth and rub in a gentle circular motion. You should see the paint start to lift and transfer to the cloth. If you're dealing with a thick layer of paint, you might need to repeat the process a couple of times to get it all.
Taking On the Toughest Spray Paint Stains
Every once in a while, you’ll run into spray paint that seems like it has become one with the glass. It's old, baked-on, and laughs at your initial attempts with a scraper or solvent. For these truly stubborn jobs, it's time to bring out the heavy hitters. With the right approach, you can save a window that looks like a lost cause.
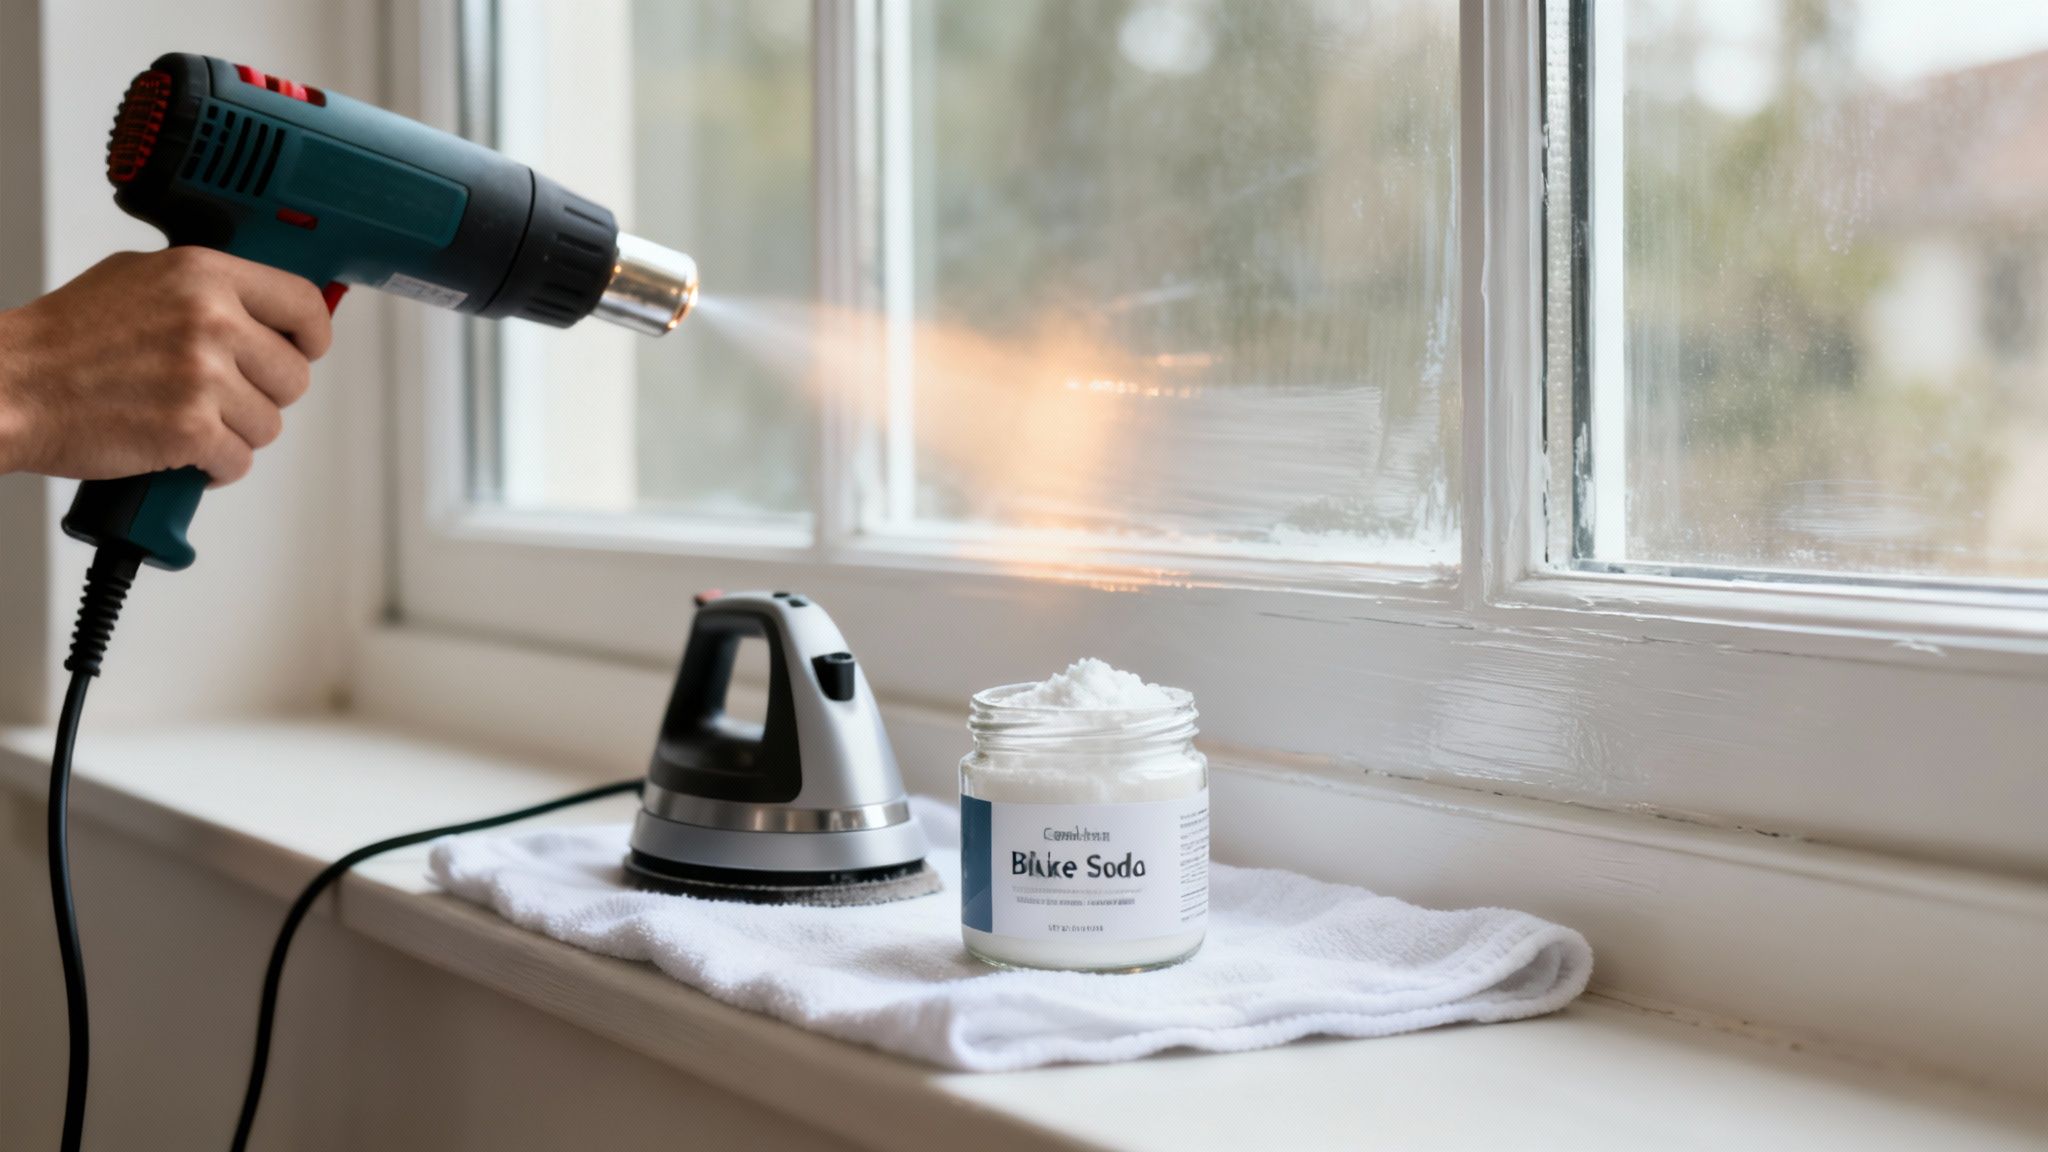
One of the best tricks of the trade for this scenario is heat. A carefully used heat gun or even a clothing steamer can be surprisingly effective against paint that's had years to cure. The idea isn't to blast the paint into oblivion but to gently warm the glass. This heat softens the paint’s bond, making it lose its brittle grip and become rubbery and much easier to lift.
When you're dealing with heat, especially on glass, technique is everything.
How to Use Heat Without Cracking the Glass
The biggest risk when using a heat gun is "thermal shock"—a sudden, drastic temperature change that can crack or even shatter a pane of glass. This is a real danger, particularly on a cold day.
To do it right, follow these simple rules:
- Keep moving. Never, ever let the heat gun rest on one spot. Use a steady, sweeping motion, almost like you’re spray painting the area. This ensures the heat is distributed evenly.
- Watch your distance. Keep the nozzle a safe six to eight inches away from the glass. Any closer, and you risk concentrating too much heat in one area, which is how cracks happen.
- Start low and go slow. Always begin with your heat gun on its lowest setting. You can gradually increase the heat if you need to, but you can't reverse a crack. You're aiming for the paint to get soft, not to make it bubble or smoke.
Once the paint feels pliable (you can carefully test a corner with your scraper), you'll be amazed at the difference. The softened paint should peel away with minimal effort, which also dramatically reduces the chance of scratching the glass.
Polishing Out the Ghostly Remnants
After the main layer of paint is gone, you might be left with a faint haze or some tiny, almost invisible scratches. This is where a final polish makes all the difference, taking the glass from clean to crystal clear. You don't need fancy equipment for this; a simple homemade paste often does the trick.
For a gentle polishing compound, just mix a little baking soda with a few drops of water until it has the consistency of toothpaste. If you're dealing with a more stubborn haze, a professional-grade glass polish like cerium oxide mixed with water works wonders.
Dab a small amount of the paste onto a clean microfiber cloth and work it into the affected area using firm, circular motions. The paste acts as a super-fine abrasive that buffs out those last imperfections without damaging the glass.
Wipe it all clean, then give the window one last wash with your standard glass cleaner. It’s this finishing touch that really restores that brand-new, invisible-glass look.
The Final Cleanup and How to Prevent Future Damage
Getting that stubborn spray paint off is a huge relief, but you’re not quite done yet. The last few steps are what really separate a decent job from a professional-looking finish. This final cleanup ensures every bit of residue is gone and sets you up for easier maintenance down the road.
First things first, if you used any kind of solvent or chemical graffiti remover, you need to neutralize it. Don’t skip this. A simple bucket of warm water with a few drops of dish soap will do the trick. Wipe down the entire glass surface to wash away any leftover chemical film, which can look hazy or even damage your window frames over time.
Once you’ve done that, rinse the glass with plain water and grab a high-quality, ammonia-free glass cleaner. Using a fresh microfiber cloth, give the window a final polish. This is what gets rid of any last streaks and brings back that perfectly clear, invisible-glass look we’re all after.
Protecting Your Glass from Future Vandalism
After all that effort, you really don't want a repeat performance. The good news is, there are a few smart, proactive things you can do to protect your glass and make vandals think twice. One of the best options out there is a professional-grade anti-graffiti film.
Think of this film as a clear, tough, sacrificial barrier. If your window gets tagged again, the paint goes on the film, not the glass. You just peel off the damaged layer—paint and all—and apply a new one. It’s a brilliant solution that saves your glass from paint, scratches, and even acid etching.
Physical barriers aside, a few simple tweaks to the environment can make a world of difference. Vandals love dark, hidden spots where they can work undisturbed. Your job is to take that away.
- Light It Up: Install motion-activated floodlights. Nothing sends a would-be vandal running faster than being suddenly bathed in bright light.
- Get Smart with Landscaping: Trim back those overgrown bushes that offer perfect cover. You could even plant something thorny like holly or barberry under windows as a natural, prickly deterrent.
- Improve Visibility: Make sure your windows are easily seen from the street or your neighbors' houses. The more potential eyes on the area, the less attractive it becomes as a target.
Taking these steps is an investment in your peace of mind. It’s about shifting from just knowing how to remove spray paint to knowing how to prevent it in the first place.
Common Questions About Removing Spray Paint From Glass
Even when you know the basic steps, every paint removal job seems to throw a curveball. You start wondering if the same rules apply to your car's windshield or if that can of WD-40 sitting in the garage is the magic bullet you've been missing.
Let’s run through some of the questions I hear all the time. These answers come from years of tackling every kind of paint-on-glass mess you can imagine, so you can get the job done right without any guesswork.
Does the Removal Method Change for Car Windows?
Yes, and this is a big one. You have to be way more careful with car windows. While the glass is tough, everything around it—the rubber seals, plastic trim, and that precious paint job—is incredibly easy to damage.
Aggressive solvents are your enemy here. Acetone or mineral spirits can instantly discolor, warp, or even melt those delicate materials. And if a razor blade slips just once, you’re looking at a permanent scratch in your car's clear coat, which is never a cheap fix.
When dealing with a vehicle, always start with the gentlest options first:
- Try a clay bar: A standard detailing clay bar with a good lubricant is your safest bet. It's surprisingly effective at lifting paint overspray and poses zero risk to your car’s finish.
- Move to isopropyl alcohol: If the clay bar doesn't cut it, rubbing alcohol is a much safer solvent choice than the harsher stuff. It’s less likely to harm the surrounding surfaces.
- Use a plastic scraper only: Never use a metal razor on a car. A plastic razor or scraper is the only tool you should use to gently pry off stubborn spots without risking a costly scratch.
How Do I Handle Paint That Is Decades Old?
Old, sun-baked paint is a completely different beast. Over the years, the sun's UV rays have fundamentally changed its chemical structure, making it incredibly brittle and almost fused to the glass.
For this kind of challenge, you need to combine your techniques. Your best strategy is a one-two punch of heat and solvent.
Start by carefully warming the glass with a heat gun (like we covered in the advanced techniques section) to soften up that ancient, brittle paint. The moment it becomes pliable, hit it with a solvent like denatured alcohol or a dedicated graffiti remover. This combination is often the only thing that will break a bond that has been strengthening for decades.
Pro Tip: Patience is everything with old paint. You'll likely have to repeat the heat-and-solvent process a few times. Don't get frustrated and crank up the heat or force it with a scraper—old glass can be more fragile and prone to cracking from thermal shock.
Are Household Products Like Vinegar or WD-40 Effective?
I get asked this all the time. People want to know if they can just grab something from under the sink. The short answer is: no, not really. While it's tempting to try things you already have, products like vinegar and WD-40 are pretty much useless against the binders in modern spray paint.
Vinegar is a mild acid that’s great for hard water spots, but it won’t do a thing to the polymers in paint. And WD-40? It’s a lubricant, not a solvent. It might make the surface slippery, but it won't break the paint's bond. In fact, it usually just leaves a greasy film that makes the real cleanup job even harder.
For results you can count on, stick with the proven tools: a sharp scraper and the right kind of solvent.
When your DIY efforts just aren't cutting it or the risk of damage seems too high, it's time to call in a pro. For a perfect, damage-free finish every single time, you can trust the experts at Sparkle Tech Window Washing. You can learn more about our professional window cleaning services on our website.