


Finding paint splatters on your windows is a classic homeowner headache. The good news? It's usually a pretty straightforward fix. But before you jump in, the smartest thing you can do is take a moment to assess the situation. Identifying the paint type and inspecting the glass isn't just a preliminary step—it's the most critical one. Getting this right from the start will guide your entire approach and save you from causing accidental damage.
Assessing the Paint Before You Begin
Before you even think about grabbing a scraper, you need to play detective. Figuring out how to get paint off glass windows always starts with a simple diagnosis of the paint itself. Different paints bond to glass in different ways, so what works for one might be useless on another.
Identify the Paint Type
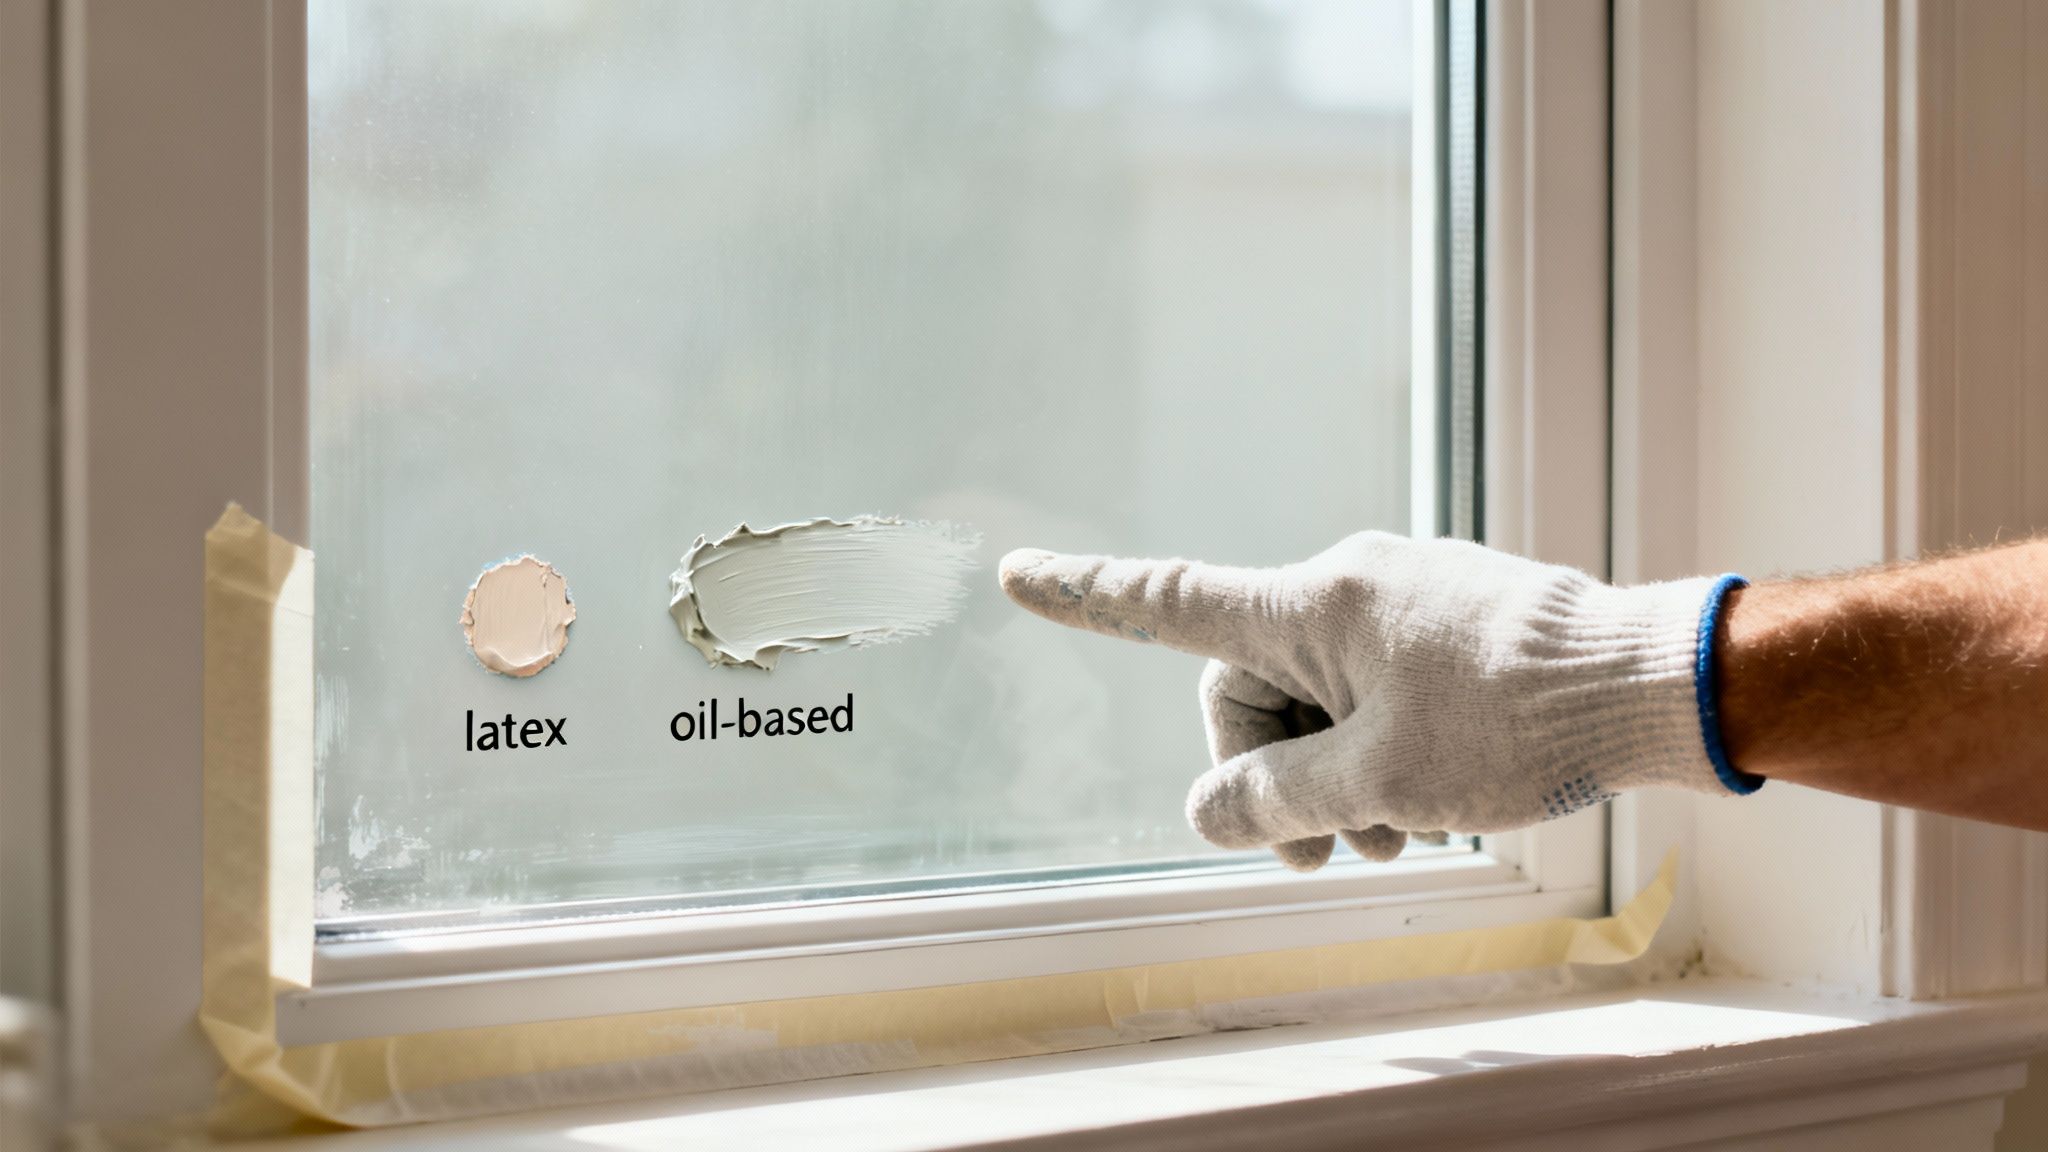
Most of the time, you’ll be dealing with either latex (water-based) or oil-based paints. There's a simple test I use on almost every job to tell them apart.
Just press your fingernail firmly into a thicker splatter. If the paint feels a bit soft or rubbery and has some give, you've got latex paint. If it's hard, brittle, and seems like it would chip off cleanly, you’re almost certainly looking at oil-based paint.
So, why does this matter so much?
- Latex Paint: This is the easier opponent. It often comes off in satisfying sheets with a razor scraper, especially if you lubricate the glass first.
- Oil-Based Paint: This stuff cures to a much harder, more resilient finish. Removing it requires a bit more muscle. You’ll likely need a combination of careful scraping and a solvent to break its stubborn bond with the glass.
Inspect the Glass and Frame
Next up, get close and give the entire window a once-over. Are there any existing scratches, tiny chips, or cracks in the glass? You want to know what the window's condition is before you start working to avoid blaming yourself for old damage.
Pay close attention to the frame, too. Is it painted wood? Vinyl? Aluminum? This is incredibly important because the solvents that are perfectly safe for glass can wreak havoc on certain frame materials.
Pro Tip: I always take a quick "before" photo with my phone, especially if I spot any pre-existing damage. It’s a simple habit that has saved me from more than one headache when a client later notices a scratch and I can't recall if it was my doing or not.
Once you understand these three key factors—the paint type, glass condition, and frame material—you've laid the groundwork for a successful project. You can now confidently choose the right tool for the job, whether that's a purely mechanical approach with a scraper or bringing in chemical solvents. A clear game plan is everything.
Gathering Your Essential Paint Removal Tools
Before you even think about tackling that paint on your windows, let's talk gear. Walking into any project with the right setup is half the battle, and this job is no exception. Having a well-stocked toolkit doesn't just make the work go faster; it's your best defense against scratching the glass or wrecking your window frames.
Think of this as your pre-flight checklist. Getting everything together now saves you from those frustrating mid-job runs to the hardware store and sets you up for a clean, professional result.
At the heart of your kit is a simple, yet crucial tool: a single-edge razor blade in a proper holder. Don't even consider grabbing that rusty utility knife blade from the bottom of your toolbox. A fresh, new blade is non-negotiable. Why? Because a brand-new blade is perfectly sharp, allowing it to shear the paint off the glass surface instead of digging in and causing a scratch. A sturdy holder gives you the leverage and control to maintain the perfect angle, which dramatically reduces the chances of a slip.
Personal Protective Equipment (PPE)
This is the part people often want to skip, but trust me, your safety comes first.
- Impact-Resistant Safety Glasses: This is non-negotiable. Hardened paint chips can fly off a blade with surprising force. Protect your eyes.
- Nitrile Gloves: These are my go-to. They’re tougher than latex and will protect your hands from both the sharp blade and any solvents you might use.
I can't tell you how many DIY projects I've seen go wrong because someone skipped the PPE. A few bucks for good gloves and glasses can save you from a world of hurt.
The Supporting Cast of Tools
Beyond the scraper and safety gear, a few other items will make your life a whole lot easier and protect your property. Having these ready will make the entire process, from prep to cleanup, feel much less chaotic. For a deeper dive, check out our guide on the best window cleaning tools.
For Workspace Protection:
- Painter's Tape: Use a quality painter's tape to carefully mask off the window frame and sash. This creates a critical barrier, especially if you have painted wood or vinyl frames that a scraper or solvent could easily damage.
- Drop Cloths or Old Towels: Lay these down on the windowsill and the floor directly below where you're working. This simple step catches all the paint flakes and makes cleanup about 10 times faster.
For Cleaning and Application:
- Spray Bottle: The secret weapon for a scratch-free scrape is lubrication. Fill a spray bottle with water and just a few drops of dish soap.
- Microfiber Towels: You can never have too many of these. I recommend having at least three on hand: one for spritzing on the soapy water, another for wiping away the gunk you scrape off, and a final clean, dry one for buffing the glass to a streak-free shine.
The Right Way to Scrape Paint Off Glass
Taking a razor blade to a window can feel a little nerve-wracking, I get it. But honestly, when it's done right, it is by far the most effective way to get stubborn paint off the glass. It’s less about brute force and more about technique. The real secret isn't just the blade; it's the entire setup and how you approach the job.
The one thing that absolutely separates a professional result from a scratched-up mess is lubrication. I can't stress this enough: never scrape a dry window. Your best friend here is a simple spray bottle filled with water and a few drops of dish soap. This soapy water creates a slick film that lets the blade glide, lifting the paint right off instead of chattering and gouging the glass.
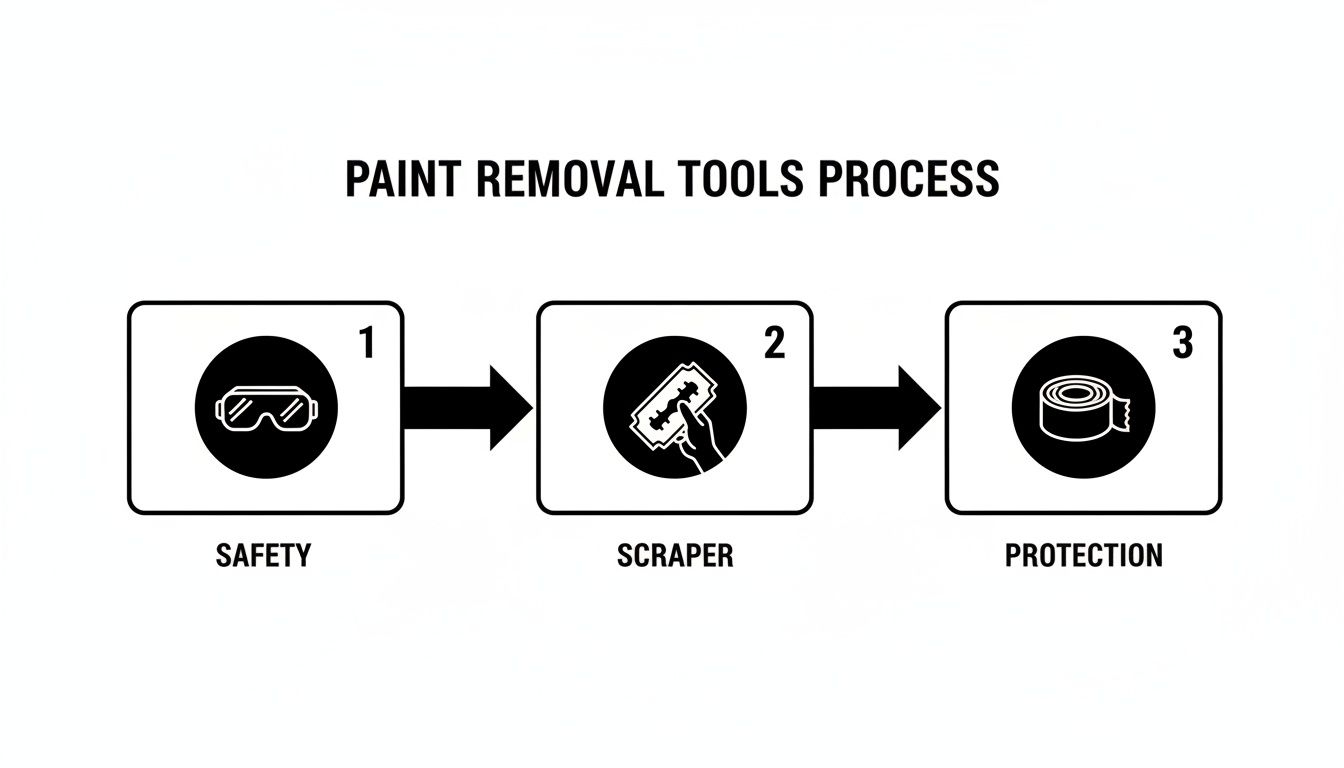
As you can see, the basic workflow is simple: protect yourself, use a good scraper, and mask off the areas you don't want to damage.
Mastering Your Blade Angle and Motion
Once you’ve sprayed the glass down, it’s all about the angle. You want to hold the scraper at a shallow 30 to 45-degree angle to the glass. If you go too steep, you’re asking for a nasty scratch. Too flat, and you’ll just skim right over the paint.
Apply steady, even pressure and always push the blade forward in one smooth, controlled motion. Whatever you do, don't saw back and forth like you're cutting a piece of wood. That choppy movement is how you get scratches and leave paint behind.
Here’s the rhythm I get into on a job:
- Spray a section: Give a small area a good soaking with your soapy water. Don't try to do the whole window at once.
- Angle and push: Set your blade at that perfect angle and push away from yourself in a single, confident stroke.
- Wipe the blade: After every single pass, wipe the blade clean on a rag. This is critical. It stops you from dragging old paint chips across the glass, which is another common cause of scratches.
Just work your way across the window in small, manageable sections, re-spraying as you go. This methodical approach gives you total control and ensures you don't miss any spots.
Common Scraping Mistakes to Avoid
A few simple mistakes can turn this job into a real headache. The number one offender? Using a dull, nicked, or—even worse—rusty blade. Your blade should be perfect. The second you feel it start to drag or catch, it's time to flip to a fresh side or pop in a new one. Blades are cheap; a new window is not.
A Pro’s Insight: Pay attention to the sound. A sharp blade on a properly lubricated window makes a clean, quiet "swoosh" sound. If you hear a gritty, grating noise, stop immediately. Something is wrong. It could be a bad angle, a damaged blade, or some debris trapped under it.
Another classic mistake is trying to muscle through it. Don't use a death grip or push with all your might. Let the sharp edge of the blade do the actual work. Forcing it won't make the paint come off faster, but it dramatically increases the risk of the blade digging in and leaving a permanent mark.
If you focus on good lubrication, the right angle, and a smooth motion, you'll be able to get that paint off cleanly without a single scratch.
Dissolving Stubborn Paint with the Right Solvents

Sometimes, a scraper blade just isn't enough. You get the big stuff, but what about that hazy film, those tiny specks, or the rock-hard oil-based splatters that have been baked on for years? This is where solvents come into play.
A good solvent gets in there and chemically breaks down the paint's grip on the glass. Suddenly, that stubborn spot becomes something you can just wipe away. The trick is to always start with the mildest option and only bring out the bigger guns if you absolutely have to. It's the best way to protect your glass, the surrounding frames, and yourself.
H3: Choosing Your Solvent Wisely
Before you run out for a heavy-duty chemical stripper, check under your sink. You probably have what you need right at home.
White Vinegar: This is your go-to for fresh latex paint. The gentle acidity in vinegar is surprisingly effective at dissolving water-based paint without being a threat to most window frames or sills. It's the perfect first attempt.
Rubbing Alcohol (Isopropyl Alcohol): If vinegar doesn’t cut it, rubbing alcohol is the next logical step. It’s a solid performer against both stubborn latex and even some oil-based paints. Just be aware that it evaporates almost instantly, especially on a warm day.
Acetone (Nail Polish Remover): When all else fails, acetone is the powerhouse. It's fantastic for fully cured, tough-as-nails oil-based paints and spray paints. Acetone is incredibly effective, but it's also potent stuff, so you’ll need to be extra careful.
Industry experience backs this up. A simple solution of white vinegar and hot water can knock out about 85% of water-based paint splatters after a couple of tries. Acetone, on the other hand, boasts a 92-96% success rate on both oil and water-based paints, though it demands more careful handling. You can dive deeper into these paint removal findings on FishWindowCleaning.com.
When you're trying to figure out which solvent to grab, it helps to see how they stack up. Here's a quick comparison of the most common options.
Comparing Common Paint Removal Solvents
| Solvent | Best For | Effectiveness | Safety Notes |
|---|---|---|---|
| White Vinegar | Fresh latex paint, light splatters | Moderate | Non-toxic, safe for most surfaces. |
| Rubbing Alcohol | Stubborn latex, some oil-based | High | Flammable, can damage some finishes. Work in a well-ventilated area. |
| Acetone | Cured oil-based, enamel, spray paint | Very High | Highly flammable, strong fumes. Requires good ventilation and gloves. Can melt plastic and damage finishes. |
| Commercial Paint Removers | Multiple layers, very old paint | Very High | Varies by product. Follow manufacturer instructions precisely. Often requires significant ventilation and PPE. |
Ultimately, the best solvent is the mildest one that gets the job done. Start with vinegar and work your way up only as needed.
H3: The Right Way to Apply Solvents
How you put the solvent on the glass matters just as much as which one you choose. Never, ever pour it directly onto the window. That's a surefire way to have it run down and destroy your window frame, sill, or the finish on your floor.
Instead, go for a controlled, targeted approach.
- First, dampen a clean microfiber cloth or a few cotton balls with your solvent. You want it wet, but not so soaked that it’s dripping everywhere.
- Next, press the damp cloth firmly onto the paint spot. Don't start scrubbing right away—just hold it there.
- Let the solvent do its thing. This is the most important part. For vinegar, you might need to wait a few minutes. For something powerful like acetone, 30-60 seconds is usually all it takes. You'll literally see the paint start to pucker or soften.
- Once the paint is soft, use a clean section of the cloth to wipe it away with a gentle, circular motion. If it's still being stubborn, a plastic putty knife or even your fingernail can help lift the loosened paint right off.
A Quick Tip for a Hot Climate: Here in Arizona, we see solvents like rubbing alcohol vanish in seconds under the sun. Always try to work in the shade or on a cooler day. If you can't avoid the heat, fold your cloth over a few times. This slows down the evaporation and gives the solvent the time it needs to dissolve the paint.
Finally, don't forget about chemical safety. Knowing the do's and don'ts of window cleaning chemicals is non-negotiable. Always test your solvent on a small, hidden spot on your window frame first—especially if it's vinyl or painted wood—to make sure it won’t cause any damage.
Knowing When to Call a Window Cleaning Professional
Taking on a DIY project can be incredibly rewarding. But when it comes to removing paint from glass, there are moments when stepping back and calling in a professional is the smartest move you can make. Sometimes, the risk of scratching glass or damaging frames just isn’t worth the few dollars you might save.
One of the biggest red flags is the age of your home. If your house was built before 1978, you could be dealing with lead-based paint. Scraping, sanding, or heating this stuff can release toxic lead dust into your home, which is a serious health hazard. This is a job that absolutely requires professional containment and handling—it's not a risk worth taking.
The type of glass is another major factor. Do you have antique, wavy glass? Or maybe modern windows with a special Low-E coating for energy efficiency? These surfaces can be incredibly delicate. A razor blade in the wrong hands can easily cause permanent scratches and costly damage.
Assessing Safety and Scale
Beyond the materials themselves, you have to think about your own safety. Are the windows on a second or third story? Does the job require you to spend hours on a ladder? Professionals have the training, insurance, and safety equipment to tackle work at heights safely. It’s a huge risk to take on yourself.
Then there's the sheer scope of the project. Cleaning up a few stray paint splatters is one thing, but tackling an entire house's worth of painted-over windows is a massive undertaking. Research shows that a DIY attempt can take 3-5 hours for a single window, and an estimated 67% of those attempts end up with either incomplete removal or damage that needs professional help anyway.
When you're facing down really stubborn paint, or just don't feel confident in your ability to get it done right, opting for professional window care is a game-changer. An expert can assess the situation and choose the right method without the guesswork.
The Sparkle Tech Advantage
This is exactly where bringing in an insured and bonded service like Sparkle Tech Window Washing pays off. Our technicians have seen it all. We know how to identify different types of paint and glass on sight and have a whole arsenal of specialized tools to get the job done without harming your windows or the surrounding frames.
Deciding to hire a professional isn't giving up; it’s making a smart, strategic choice to protect your property and your valuable time. For tough jobs, that guaranteed perfect finish from an expert not only saves you a massive headache but can actually be more affordable than a DIY project that ends in a costly mistake.
If you’re on the fence, our guide on knowing when to call a professional window washing company can help you make the right call.
Common Questions About Removing Paint from Glass
Even the most straightforward project can throw you a curveball. When it comes to getting paint off glass, a few specific situations pop up time and time again. Here are the answers to the most common questions we get, straight from our years of experience in the field.
Can I Use a Heat Gun to Remove Paint?
My short answer? Please don't. Using a heat gun on glass is a recipe for disaster.
The intense, concentrated heat can cause something called "thermal shock," which is just a technical way of saying the glass can crack or even shatter from the rapid temperature change. This is a huge risk, especially with older, single-pane windows or even modern double-paned ones. The sealed air gap in newer windows makes them particularly vulnerable.
It's not just the glass you have to worry about, either. That heat can easily melt or warp vinyl frames and rubber seals, turning a simple paint cleanup into a major repair job. While we pros sometimes use specialized, controlled steam for certain tough jobs, a standard heat gun is far too unpredictable for DIY use. A sharp, lubricated scraper and the right solvent are much safer bets.
A Critical Warning: If your home was built before 1978, the paint almost certainly contains lead. A heat gun can vaporize these lead particles, creating a toxic fume you can easily inhale. The risk to your health and your property just isn't worth it.
How Do I Get Paint off a Window with Tinted Film?
This is a delicate operation. Window tint is a thin, sensitive film that you can damage in a heartbeat.
First things first: never use a metal razor blade. It will slice right through the tint, leaving a permanent scratch or tear. You also need to stay away from harsh solvents like acetone or ammonia-based cleaners, which can eat away at the film's adhesive or cause it to bubble and discolor.
The key here is to start gentle and work your way up.
- Begin with a soft microfiber cloth and a simple solution of soap and water.
- If that doesn't cut it, try a plastic scraper or even the edge of an old credit card.
- The trick is to use light, even pressure so you don't gouge the film.
If you’ve tried these gentle approaches and the paint still isn't budging, it’s time to stop. Your best move is to call in a professional to avoid ruining your window tint. For more on working with window films, this guide on how to remove tint from car windows offers some great related insights.
What’s the Best Way to Clean Windows After Removing Paint?
You've done the hard part, now it's time for that final, satisfying sparkle. Getting a streak-free finish is all about removing any leftover residue. Start by wiping the entire pane down with a clean, damp microfiber cloth to pick up any last bits of paint dust or solvent film.
Now you're ready for the final clean. Spray the window with your favorite glass cleaner or a homemade mix of distilled water with a little white vinegar. For that truly professional, crystal-clear look, nothing beats a squeegee. Just be sure to wipe the blade with a cloth after every single pass.
No squeegee? No problem. The two-towel method is a classic for a reason. Use one microfiber cloth to wash the window and a second, perfectly dry one to buff it to a flawless shine.
If you're staring down a stubborn paint problem or simply want to ensure your windows are handled with expert care, the team at Sparkle Tech Window Washing is here to help. Our insured and bonded professionals have the right tools and techniques to make your windows look brand new without any risk. Get your free estimate today!