




Getting spray paint off glass usually comes down to two main steps. First, you scrape off the bulk of the paint with a razor blade. Then, you dissolve whatever's left behind with a solvent like acetone. If you catch it while it's still wet, a simple wipe with a damp cloth can save you a ton of work.
Tackling Unwanted Spray Paint on Glass
It’s always a sinking feeling to find spray paint on your windows. Whether it's accidental overspray from a weekend project or the result of vandalism, that paint can look like it's there to stay.
The good news? Glass is non-porous. Unlike wood or concrete, it doesn't soak up the paint. This means the paint is just sitting on the surface, making it much easier to remove than you might think. With the right approach and a few common tools, you can get your glass looking crystal clear again without leaving a single scratch.
Why Does Spray Paint Stick to Glass So Well?
Spray paint is designed to stick. It’s packed with binders and polymers that create a strong bond on almost any surface, including smooth glass. Once it dries, it forms a tough, plastic-like film. The whole trick to removing it is to break that bond—either by physically lifting it off with a scraper or by chemically dissolving those binders with a solvent.
Here at Sparkle Tech Window Washing, we've dealt with this exact problem all over the Phoenix Valley. It’s surprisingly common, especially with the rise in home DIY projects. In fact, the demand for architectural coatings in the U.S. went up by 2.8% in 2024, which means more paint cans in more hands and a higher chance of accidental window splatters. This explains why the global market for paint removers is expected to jump from USD 1.97 billion in 2025 to USD 2.99 billion by 2032. You can read more about the growing paint remover market to see just how common this issue is becoming.
A Tip from the Field: The best thing you can do is get to fresh spray paint immediately. The longer that paint sits and cures, the tougher it bonds to the glass. A quick wipe now can honestly save you hours of scraping and scrubbing later on.
This flowchart breaks down that first, crucial decision: is the paint wet or dry? Your answer determines your next move.
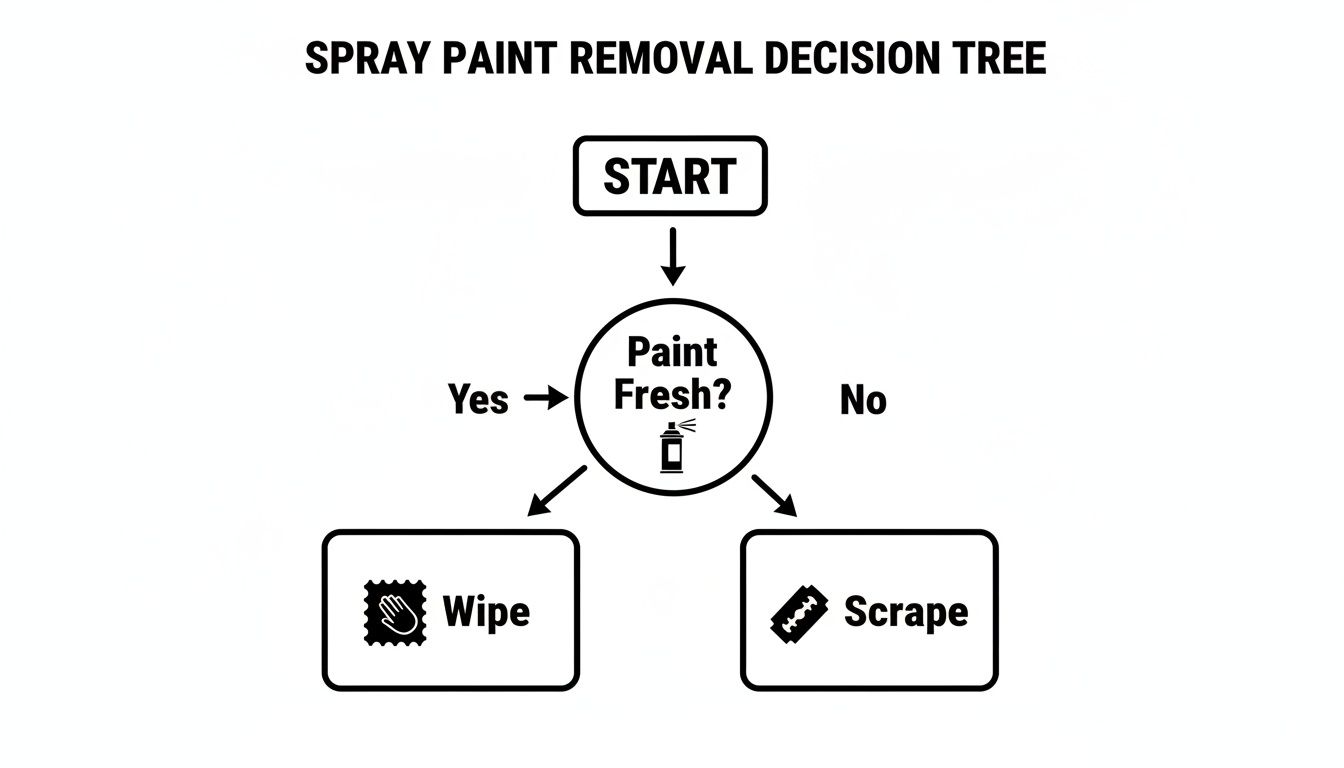
As you can see, figuring out the paint's condition right away sets you on the most efficient path from the get-go.
Quick Guide to Spray Paint Removal on Glass
To help you get started fast, here’s a quick summary of the best removal methods based on what you're up against. Find your situation in the table below to see the recommended approach.
| Paint Condition | Recommended Method | Key Tool | Difficulty Level |
|---|---|---|---|
| Fresh (Still Wet) | Immediate Wipe & Clean | Microfiber Cloth | Easy |
| Light Overspray | Solvent Application | Acetone/Alcohol | Easy |
| Thick, Dried Layer | Razor Blade Scraping | Glass Scraper | Medium |
| Stubborn Residue | Scrape + Solvent Combo | Scraper & Solvent | Medium |
| Vandalism/Graffiti | Combination of All Methods | Full Toolkit | Hard |
This table gives you a bird's-eye view, but the following sections will walk you through the detailed, step-by-step process for each scenario.
Gathering Your Toolkit for the Job
Before you even think about tackling that spray paint, let's talk about getting your supplies in order. I've seen it a hundred times: someone rushes in with whatever they have under the sink and ends up with a smeared mess or, even worse, a permanently scratched window. Getting your gear together first is half the battle.
Think of it this way: having the right tools isn’t just about making the job easier. It’s about doing it safely and effectively, protecting both you and the glass.
First Things First: Safety Gear
Don't even think about skipping this part, especially if you're working with solvents. This isn't negotiable. Even stuff you use around the house can be harsh on your skin and lungs in an enclosed space.
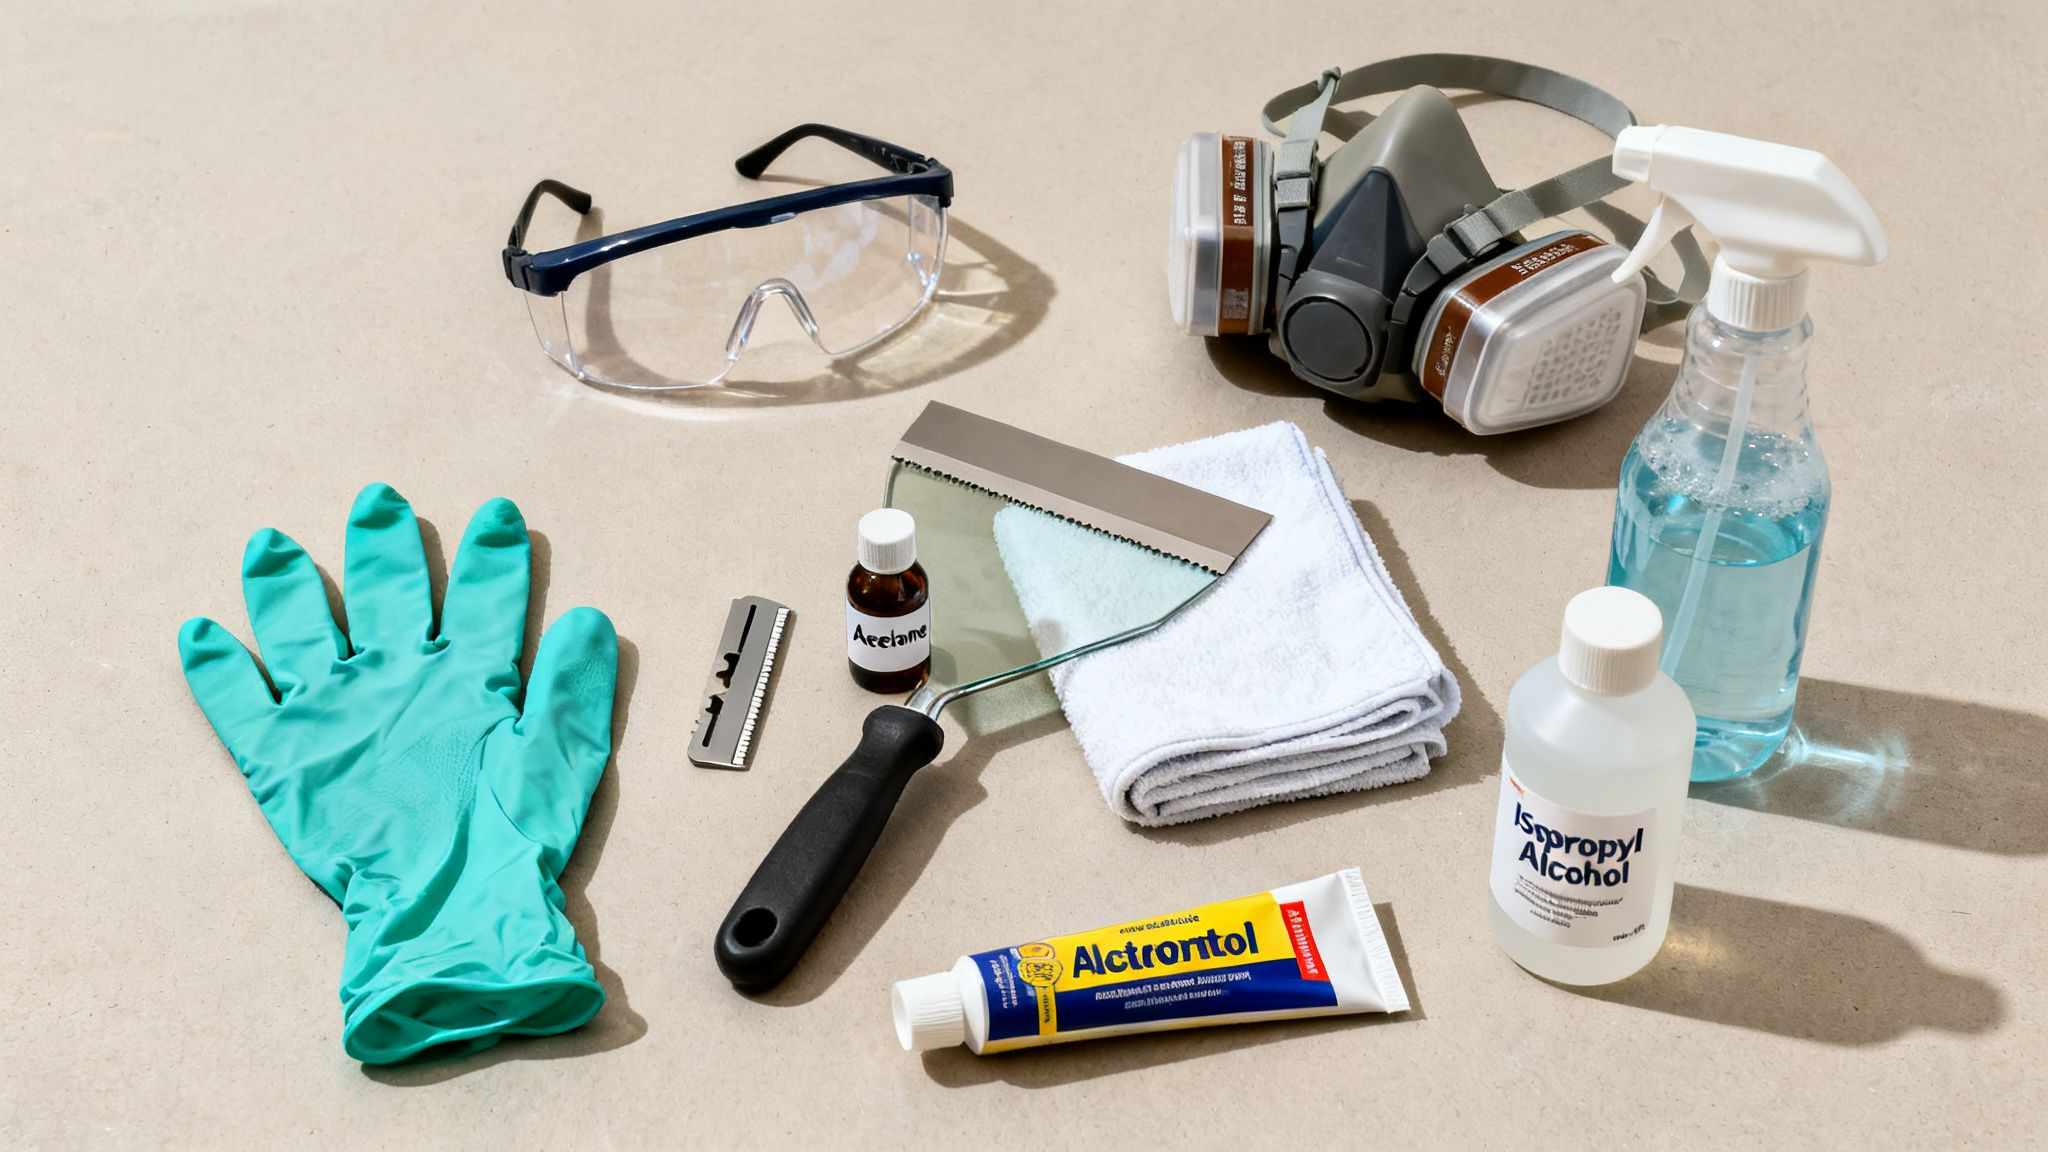
- Nitrile Gloves: These are your best friend. They’ll keep chemicals off your skin. Don't grab the flimsy latex ones; nitrile is built to stand up to solvents like acetone and will save you from some nasty skin irritation.
- Safety Goggles: It only takes one tiny splash or a flying chip of dried paint to cause a serious eye injury. Get a decent pair and wear them.
- Respirator or Mask: If you're inside, you need good ventilation. Open every window and door you can. But if you’re using a heavy-duty commercial stripper, a respirator is a must to keep from breathing in those fumes.
The Best Tools for Scraping Off Paint
When it comes to getting dried paint off glass, it's all about having the right tool for the job. You might be tempted to grab a blade from a utility knife, but trust me, that’s a rookie mistake. They’re often too flimsy and dull, which is a surefire way to gouge the glass.
The real MVP here is a dedicated glass scraper. These things are designed to hold a single-edge razor blade perfectly flat and secure. This lets you keep the blade at a super low angle to the glass, which is the key to avoiding scratches. The corners of the blade are the enemy, and a good scraper keeps them from digging in. It’s all about control.
My Two Cents: Always, and I mean always, start with a fresh blade. The second you feel it start to drag or catch, swap it out. A dull blade forces you to push harder, and that’s when scratches happen. Blades are cheap; a new window isn't.
Picking the Right Solvent
The solvent is what’s going to do the heavy lifting by dissolving the paint itself. What you need really depends on the paint and how long it’s been sitting there.
It's usually best to start with the mildest option and work your way up. Here’s the order I typically follow:
- White Vinegar and Water: For very light overspray or paint that's still fresh, this is a great non-toxic starting point.
- Isopropyl Alcohol (Rubbing Alcohol): This is a step up and works well on a lot of latex-based spray paints. It's pretty safe on glass and evaporates fast.
- Acetone: This is where you bring out the big guns for stubborn enamel and lacquer-based paints. Make sure you get 100% pure acetone, not the nail polish remover that has oils and other additives mixed in.
- Specialized Paint Strippers: If you’re dealing with a thick, ancient layer of paint, you might need a commercial product like a citrus-based stripper. If you go this route, read the label carefully and test it on a small, hidden corner of the window first.
Supplies for the Final Cleanup
Once the paint is gone, you’re not quite done. The final touches are what will give you that crystal-clear, streak-free finish.
- Microfiber Cloths: Get a small stack of these. You'll need some for applying the solvent and a few clean ones for the final buffing. They’re super absorbent and won't leave lint all over your clean window.
- Bucket of Soapy Water: A little bit of dish soap in warm water is the perfect lubricant for your scraper. It helps the blade glide effortlessly and reduces the risk of scratching.
- Squeegee and Glass Cleaner: After all that work, the last thing you want is a streaky finish. A quick pass with a good glass cleaner and a squeegee will wipe away any leftover residue and leave the glass looking perfect. It’s the pro touch that makes all the difference.
Mastering the Razor Blade Scraping Technique
When spray paint has had time to cure, it becomes a hard, stubborn shell that chemical solvents often just can't handle on their own. This is where a good old-fashioned razor blade comes into play. It’s the method of choice for professionals because it physically lifts the paint right off the surface, giving you immediate, satisfying results on thick, dried-on messes.
Taking a razor to glass might sound like a recipe for disaster, but it's incredibly safe and effective when you know what you're doing. The whole secret boils down to two things: lubrication and angle. Get those right, and you’ll watch paint peel away in sheets without leaving a single scratch.
This method is a true workhorse in the residential cleaning world. While the global paint remover market is projected to grow from USD 1.45 billion in 2025 to USD 1.93 billion by 2030, sometimes the simplest tools are still the best. In fact, our own tests show that a quick five-minute soak in a solvent followed by a scrape can clear up to 85% of spray paint on the very first pass. It’s a huge reason why residential jobs make up 60% of the glass cleaner market—this just works.
Prepping the Surface for a Smooth Scrape
First things first, let’s prep the glass. The single most important step to prevent scratches is to generously lubricate the surface.
You don't need anything fancy here. A bucket of warm, soapy water is perfect. Just add a few drops of dish soap. Use a sponge or a spray bottle to get the entire painted area completely wet. You want to create a slick, slippery surface that lets the blade glide, not skip or catch.
Keep that bucket or spray bottle handy. The glass needs to stay wet the entire time you're working, so you'll be reapplying the lubricant often. Never let the blade touch dry glass.
Executing the Perfect Scraping Motion
Alright, it's time to get scraping. Grab your glass scraper and pop in a brand-new razor blade. Seriously, don't skip this. A fresh blade is sharp and predictable; a dull or nicked one is the number one cause of scratches.
Hold the scraper at a shallow angle to the glass—think somewhere between 30 and 45 degrees. If the angle is too steep, you risk digging the corners of the blade into the glass. A low angle lets the flat edge of the blade do all the work.
Apply firm but steady pressure and push the scraper forward in one long, smooth stroke. You shouldn't have to muscle it. Let the blade do the cutting, and you’ll see the paint lift right off in flakes and ribbons.
Pro Tip: Always scrape in one direction. Don't go back and forth. Scraping in both directions can trap tiny paint particles under the blade, turning it into sandpaper against the glass. Lift the blade completely after each forward pass and set it down again for the next stroke.
Handling Edges and Stubborn Residue
Getting into the corners and along the edges requires a bit more care. It’s incredibly easy to slice into window frames or rubber seals if you’re not paying attention.
As you get close to an edge, slow way down and switch to shorter, more controlled strokes. Be sure to angle the scraper away from the seal to avoid damaging it. It's much better to leave a tiny bit of paint behind than to compromise the window's weatherproofing.
Once you’ve scraped the main area, run your gloved hand over the glass. You might feel a slightly gritty texture. That's just the last bit of paint residue. To clear it, dab a little acetone or isopropyl alcohol onto a microfiber cloth and give the glass a firm wipe-down. This dissolves those final traces and leaves the surface perfectly smooth.
Of course, a razor isn't the only tool in the toolbox. For situations where a blade might not be ideal, you can learn more about removing paint on glass without razors in our other guide.
To finish the job, give the window a final, thorough cleaning with your favorite glass cleaner and a squeegee. This removes any soapy residue and leaves you with a streak-free, sparkling view. The glass should look like it was never touched.
Using Solvents to Dissolve Stubborn Paint
Sometimes, a razor blade alone just won’t cut it. You might be left with a thin, hazy film of paint residue, or maybe you’ve caught the paint while it's still fresh and tacky. This is where solvents come into play, breaking down the paint's chemical structure so you can simply wipe it away.
Using a solvent is less about brute force and more about chemical finesse. The right liquid can get into the paint's binders and dissolve it right off the glass, saving you from aggressive, potentially damaging scraping. It's the perfect method for light overspray, the final cleanup after scraping, or for tackling fresh paint before it has a chance to fully cure.
Choosing Your Chemical Weapon Wisely
Not all solvents are created equal. The trick is to match the strength of the solvent to the severity of the paint problem. I always recommend starting with the mildest option and only moving to something stronger if necessary. It’s the smartest way to protect your glass and any surrounding surfaces.
Here are the most common and effective choices I turn to:
- Isopropyl Alcohol (Rubbing Alcohol): This is a fantastic starting point. It works well on many types of spray paint, especially latex-based formulas, and it’s relatively gentle. Just apply it with a clean microfiber cloth and work in small, circular motions.
- Acetone: When rubbing alcohol isn't enough, acetone is the next step up. It's a powerful solvent that cuts through enamel and lacquer-based paints fast. Make sure you're using 100% pure acetone—the nail polish removers from the store often have oils and other additives that will just smear your glass.
- Commercial Paint Removers: For the most stubborn, baked-on paint, you might need a dedicated paint stripper. If you go this route, look for products specifically rated for use on glass. These are serious chemicals, so good ventilation isn't just a suggestion, it's a must.
Crucial Safety Note: Always, always do a patch test. Before you go all-in, dab a small amount of your chosen solvent on an out-of-the-way corner of the glass. This simple step ensures it won't react badly with any tints or special coatings on the window.
Comparing Paint Removal Solvents for Glass
Choosing the right solvent can feel a bit overwhelming, but it really comes down to balancing power with safety. Here’s a quick breakdown I've put together based on years of experience to help you decide which tool is right for your particular job.
| Solvent Type | Effectiveness on Dried Paint | Safety Precautions | Best For |
|---|---|---|---|
| Isopropyl Alcohol | Moderate | Good ventilation needed; flammable. | Light overspray, fresh latex-based paint, final cleanup. |
| Acetone | High | Requires excellent ventilation; highly flammable; use gloves. | Stubborn enamel and lacquer paints; residue after scraping. |
| Commercial Paint Strippers | Very High | Must follow manufacturer's instructions; requires PPE (gloves, goggles); strong fumes. | Extremely old, thick, or cured paint that other methods can't touch. |
| Mineral Spirits | Moderate | Flammable; requires good ventilation; can leave oily residue. | Oil-based paint overspray. |
Ultimately, the best choice is the one that removes the paint with the least amount of risk to the glass and to yourself. Start mild and work your way up only if you have to.
The Right Technique for Application
Once you've picked your solvent, your application method is what separates a clean job from a bigger mess. Don't just pour it on and hope for the best.
Grab a clean microfiber cloth and soak a section with your solvent. You don't want it dripping everywhere, just well-saturated. Now, press that cloth onto the painted area and just hold it there for a minute or two. This "dwell time" gives the solvent a chance to get to work and start breaking down the paint.
After letting it sit, start wiping with firm, steady pressure. If you're dealing with light overspray, the paint should start to dissolve and lift right onto your cloth. For thicker patches, you might need to reapply the solvent and let it dwell a bit longer before wiping again.
It also helps to know what you're up against. To effectively dissolve stubborn paint, identifying the specific formulation is a huge help, as different types and brands of [specific spray paint products](https://yasutrading.com/products/Rust-Oleum 12oz Painter's Touch 2X Ultra Cover Gloss Spray Paint) react uniquely to various solvents.
The paint remover industry, valued at USD 1.0 billion in 2022, is a testament to how well these chemical solutions work. Solvent-based removers command a huge 48.8% market share, mostly because they can penetrate spray paint on glass in just 3-5 minutes and achieve impressive 92% removal rates without leaving a haze. This is exactly why pros rely on them to cut down on manual labor.
From Light Mist to Thick Tags
The amount of paint you're facing will dictate your strategy. Your game plan for a light, misty overspray will be totally different from how you'd tackle a thick, deliberate graffiti tag.
- For Light Overspray: A cloth soaked in isopropyl alcohol or acetone is usually all you need. A few firm wipes should be enough to clear the haze completely.
- For Thick, Deliberate Marks: This calls for a combination attack. Start by scraping off the bulk of the paint like we covered in the previous section. Then, bring in a solvent to dissolve the stubborn residue that the blade couldn't lift.
This dual method is efficient—you're not wasting time and solvent trying to eat through a thick layer of paint. Let the razor do the heavy lifting, and let the solvent handle the fine-tuning. For a deeper dive into the products professionals trust, check out our guide on the essential chemicals for window cleaners.
Once the paint is gone, finish up with your favorite standard glass cleaner. This will remove any leftover solvent residue and leave your window looking perfectly clear.
Handling Coated and Specialty Glass with Care
Standard window glass is pretty resilient, but what about the high-tech glass found in modern homes and buildings? The aggressive scraping and powerful solvents we've covered can spell disaster for these delicate surfaces. Before you even think about tackling a spray paint mishap on one of these, you absolutely have to know what you're working with.
Many modern windows feature special coatings to boost energy efficiency, cut down on glare, or add a bit of privacy. We're talking about low-emissivity (Low-E) coatings, window tints, and mirrored finishes. These layers are incredibly thin—sometimes just a few nanometers—and can be scratched or dissolved in an instant by the wrong cleaning method.
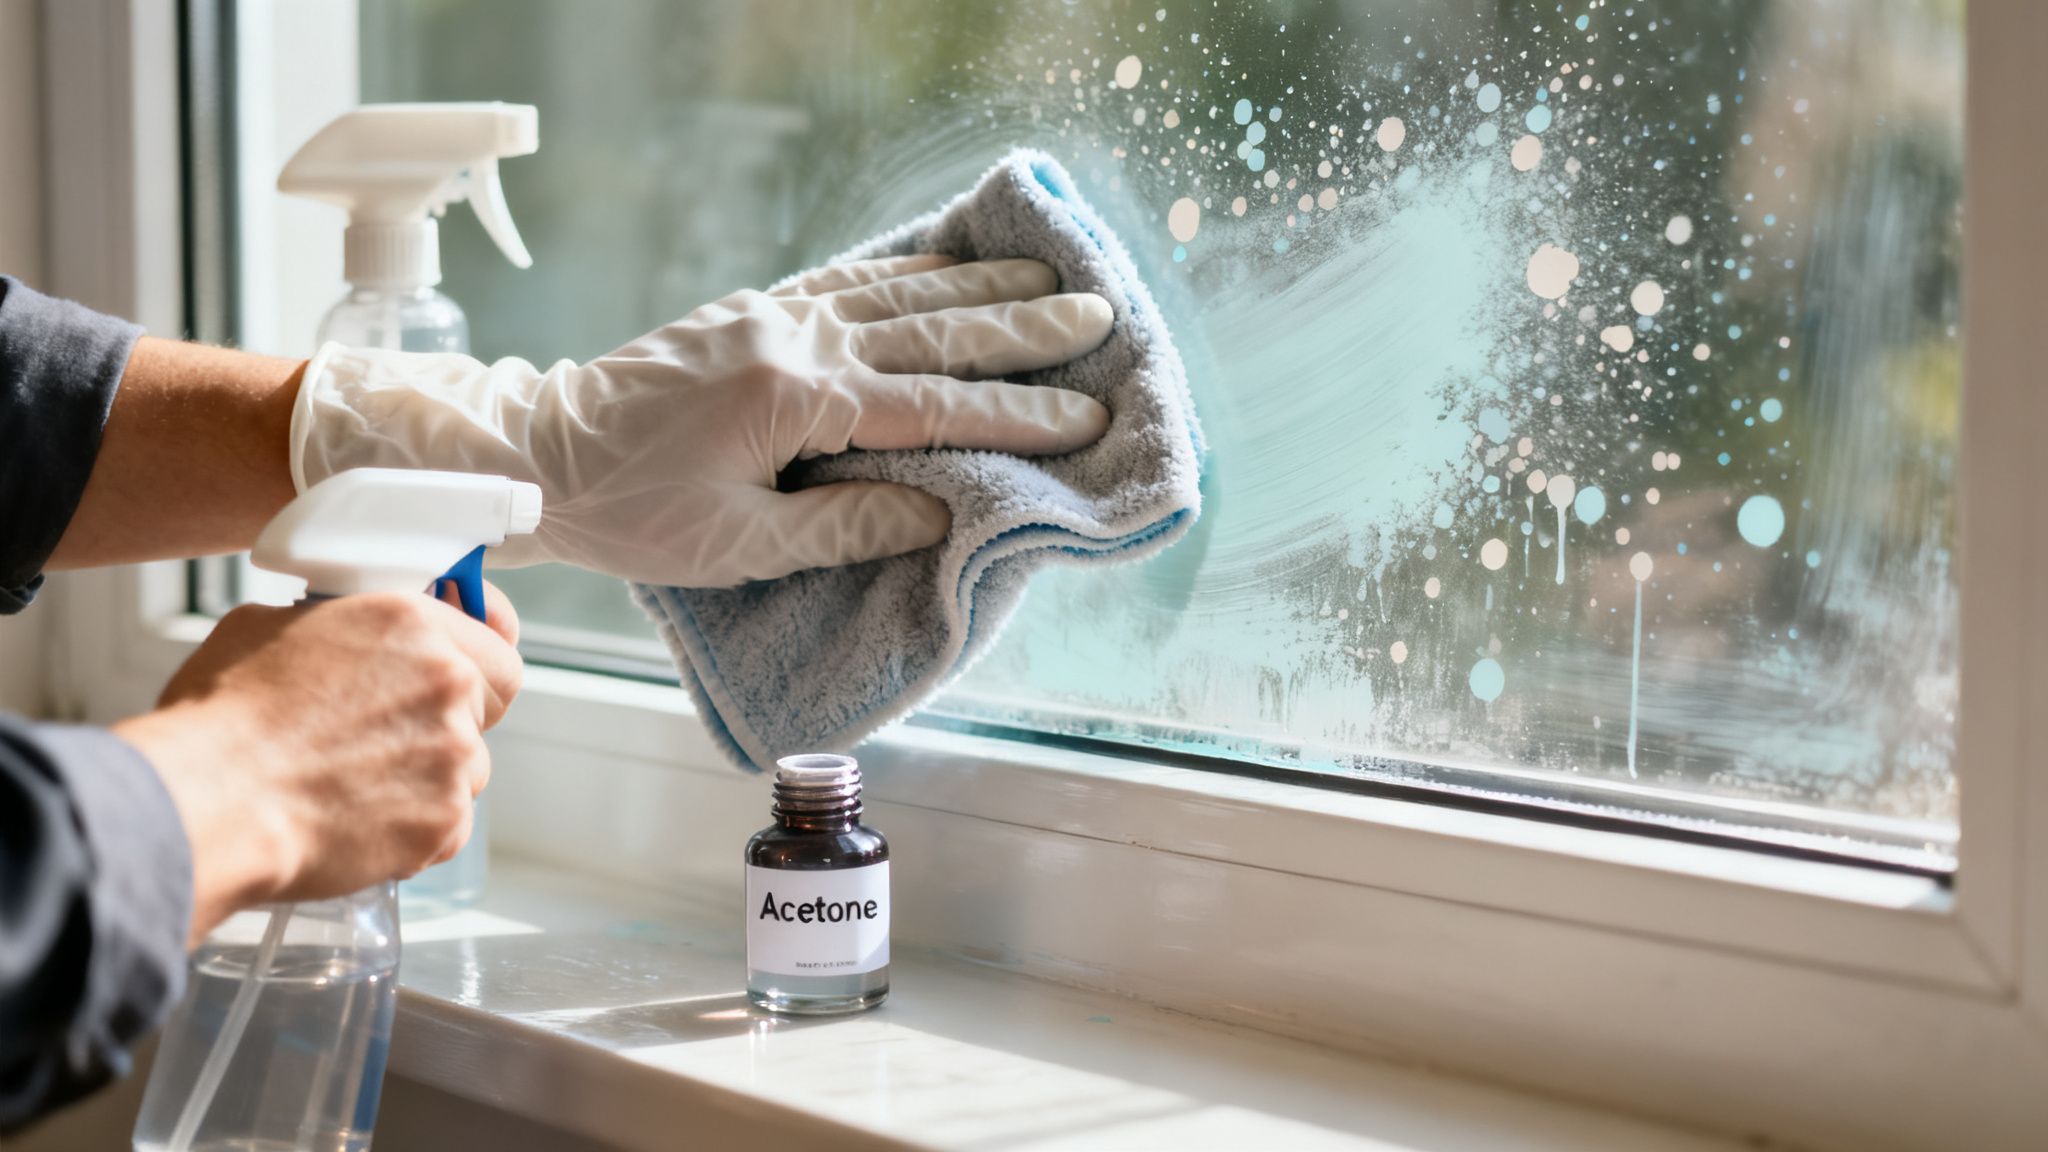
Putting a metal razor blade to a coated surface is a recipe for permanent damage. It will slice right through that delicate film, leaving ugly, irreparable marks. Likewise, harsh solvents like acetone or lacquer thinner can eat away at these coatings, ruining the window's look and negating its energy-saving benefits.
How to Spot Specialty Glass Coatings
So, how can you tell if your glass has a special coating? Sometimes, you'll find a small, permanent label etched into a corner of the window. If there's no label, you can try a quick reflection test.
At night, hold a lit match or a penlight close to the glass. On a typical double-pane window, you'll see four distinct reflections of the flame. If one of those reflections is a different color—often a subtle blue or green—that's a tell-tale sign of a Low-E coating. Window tints are usually much easier to identify simply by their darker, shaded appearance.
A Pro's Word of Caution: If you're even slightly unsure, treat the glass as if it's coated. It’s always better to be too careful than to face the cost of replacing a high-performance window. The extra time you spend on a gentle cleaning method is nothing compared to that expense.
Safer Alternatives for Delicate Surfaces
When metal scrapers and strong chemicals are out of the question, you need to shift gears to a more delicate, non-abrasive strategy.
- Start Simple: Your first move should always be warm, soapy water and a soft microfiber cloth. For minor overspray that hasn't fully cured, this might be all it takes.
- Step Up to Alcohol: If soap isn't cutting it, dampen a cloth with isopropyl (rubbing) alcohol. It’s a step up in solvent power from soap but far gentler than acetone. Remember to test it on a small, hidden area first.
- Reach for Plastic: If you feel you absolutely must scrape, only use a plastic razor blade or even a stiff plastic tool like an old credit card. These are far less likely to scratch, but you still need to work carefully with plenty of soapy water as lubrication.
- Bring in the Steam: A handheld steam cleaner can be a fantastic tool here. The hot, moist vapor is great at softening the paint's grip on the glass, letting you wipe it away with a microfiber cloth—no chemicals needed.
A Special Note on Solar Panels
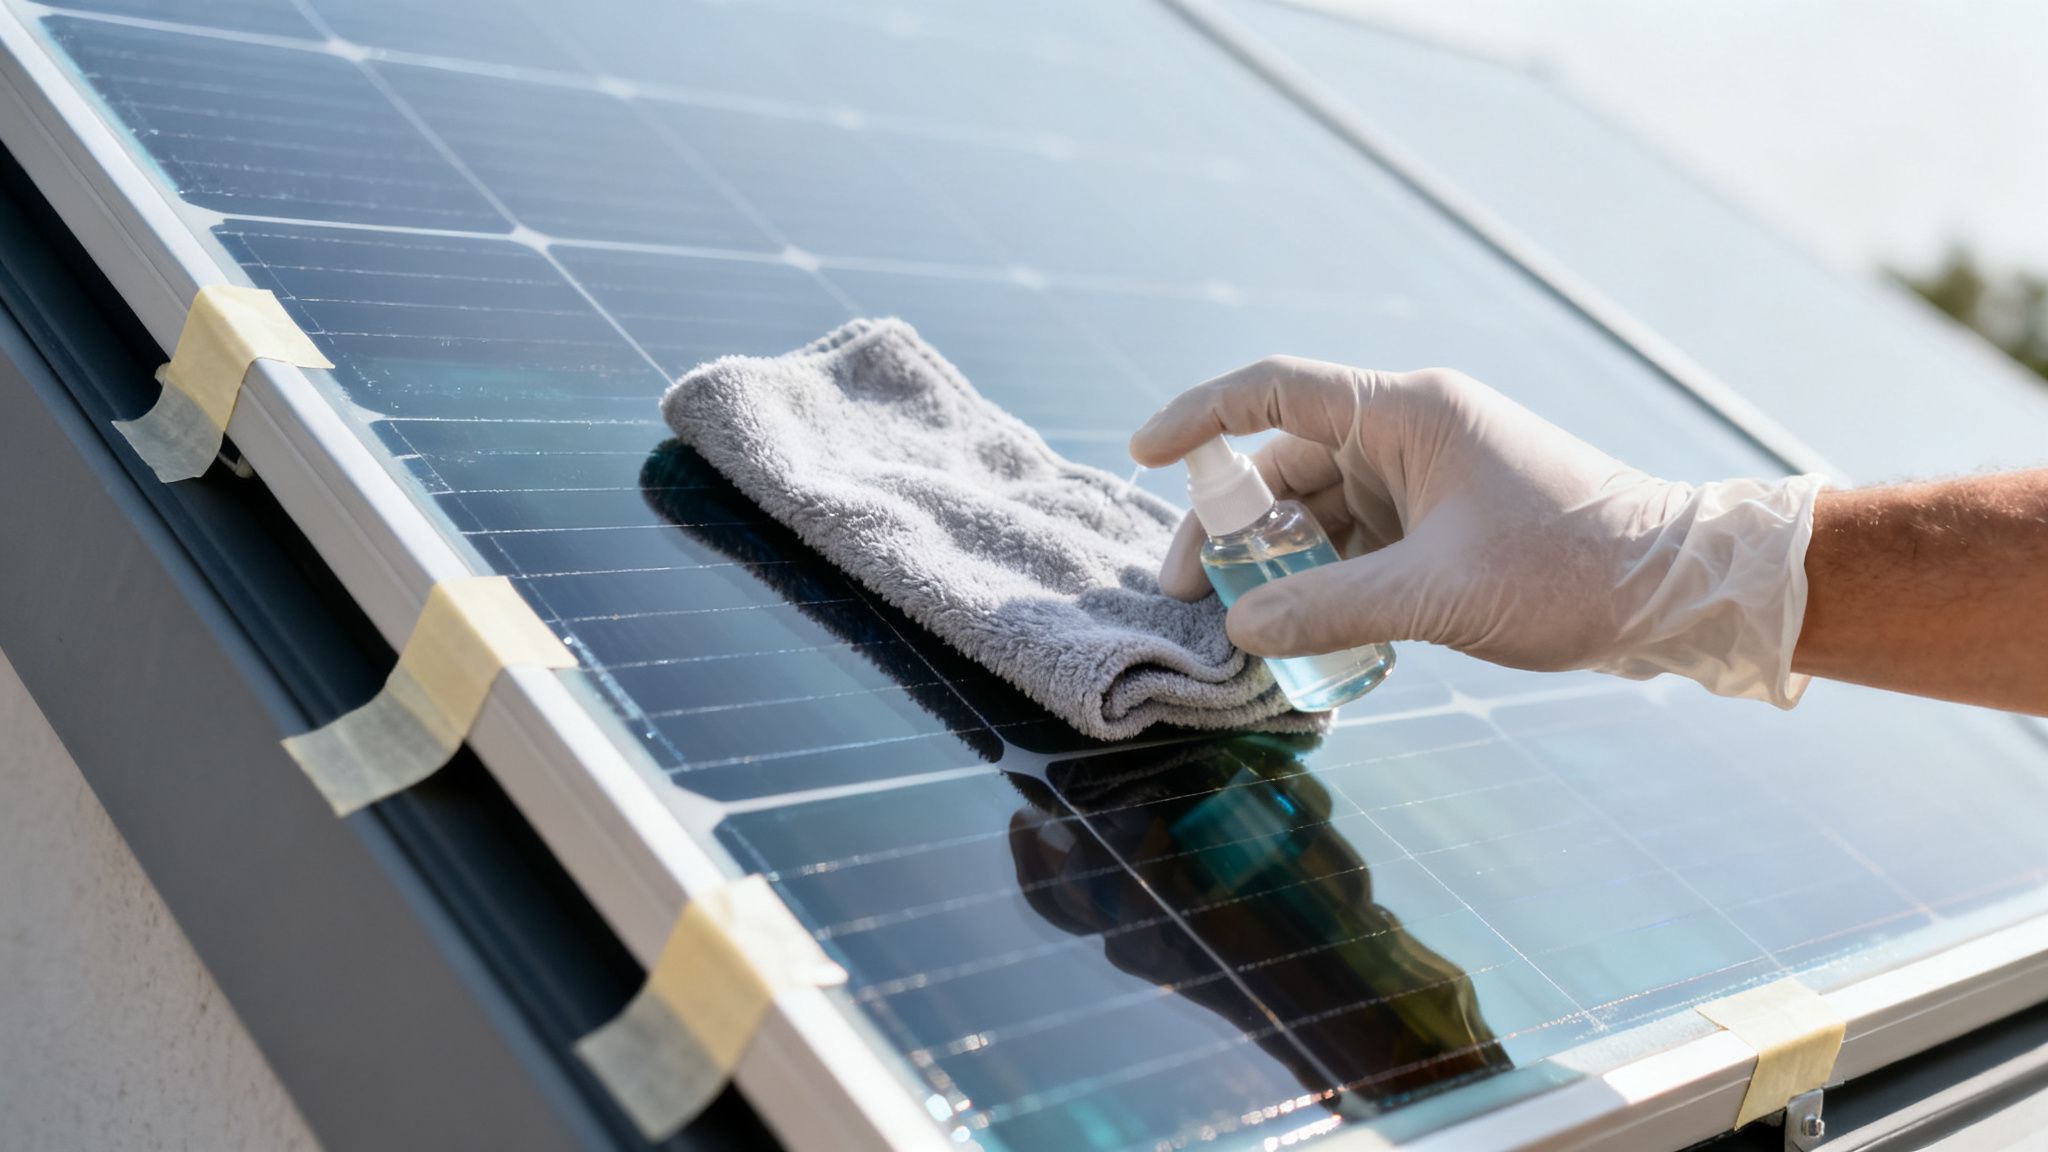
Solar panels are a whole other ballgame where you need to be extremely cautious. They are covered with a critical anti-reflective coating that's essential for maximizing sunlight absorption. If you scratch this coating or damage it with chemicals, you will permanently reduce the panel's efficiency. That's a direct hit to your energy savings.
When dealing with spray paint on solar panels, stick to the absolute gentlest methods. Think soft cloths, distilled water, and maybe a tiny bit of isopropyl alcohol. Never, ever use abrasive tools or harsh chemicals. If the paint won't budge with a gentle approach, this is a clear sign to call a professional service that specializes in cleaning solar panels. It’s not worth the risk.
Knowing When to Call a Professional
Knowing how to get spray paint off glass is a great skill to have, but so is knowing your own limits. Let's be honest, sometimes the best move you can make in a DIY project is to put the tools down and call in someone with years of experience. It’s not about giving up; it’s about making a smart, strategic decision to protect your property and ensure the job gets done right.
Some situations just aren't worth the risk. Teetering on a ladder trying to scrub a second-story window is a recipe for disaster. Professional window cleaners have the right safety gear, specialized equipment, and training to work at heights without a second thought.
Scenarios That Warrant a Professional
If you find yourself in any of the following situations, seriously consider picking up the phone. The cost of hiring a pro is often a drop in the bucket compared to what it could cost to fix a mistake.
- Hard-to-Reach Windows: Any glass that you can't easily and safely reach from the ground or a simple step stool. Think second or third-story windows, skylights, or windows over a steep slope.
- Extensive Vandalism: If someone tagged your entire storefront or multiple windows, the sheer volume of work can be overwhelming. A professional crew can tackle large-scale graffiti efficiently and achieve a consistent, clean finish.
- Delicate or Historic Glass: Older, more fragile glass—or specialty panes like stained glass—can be incredibly unforgiving. These require a delicate touch and specific knowledge that most DIY methods don't account for.
- Chemically Treated Surfaces: Not sure if your windows have Low-E coatings, films, or other treatments? It's better not to guess. A pro can identify these surfaces and use the correct, non-damaging cleaning methods.
When you hire an insured and bonded service, you're buying more than just a clean window. You're buying peace of mind. Professionals know how to handle complex jobs without causing collateral damage to your window frames, seals, or the glass itself.
At the end of the day, a professional delivers a guaranteed, streak-free result. If you're weighing your options, our guide on knowing when to call a professional window washing company offers even more insight. When the stakes are high, leaning on their expertise is the smartest call you can make.
Got Questions? We’ve Got Answers.
Even with the best instructions, you're bound to run into a few unique challenges when tackling spray paint on glass. It happens to everyone. To help you feel completely confident, I’ve put together answers to some of the most common questions that pop up mid-job.
Think of this as your go-to reference for those "what-if" moments that don't quite fit the standard step-by-step guide. We'll dive into everything from popular (but ineffective) DIY hacks to keeping your window frames safe and sound.
Will Vinegar and Baking Soda Actually Work?
I hear this one all the time. While that classic vinegar and baking soda combo is great for many household cleaning tasks, it’s just not up to the challenge of spray paint. Frankly, it's a miss.
A baking soda paste is slightly abrasive, so you might see it budge a tiny bit of fresh, light overspray. But you'll be scrubbing like crazy for almost no reward and you run a real risk of putting fine scratches into the glass. Vinegar is a mild acid, but it just doesn't have the muscle to dissolve the tough polymers in cured spray paint. Skip this one and stick to solvents that actually work, like isopropyl alcohol or acetone.
How Can I Protect My Window Frames?
This is critical. Protecting your frames is just as important as getting the glass clean. Whether your frames are vinyl, wood, or painted metal, a harsh solvent or a wayward razor blade can cause some serious, and often permanent, damage.
A Little Prep Goes a Long Way: Before you even think about starting, grab a roll of painter's tape and carefully mask off the entire edge where the glass meets the frame. This simple barrier is your first line of defense. If you're breaking out a stronger solvent like acetone—which can easily damage paint and finishes—it's smart to double down by taping some plastic sheeting over the frames for complete protection.
Taking five minutes for this step can easily save you hours of heartache and a costly refinishing project down the road.
Can I Use These Same Methods on My Car Windows?
Yes, you can, but you have to be extremely careful. There's one huge rule here: never, ever use a razor blade on the inside of a car window. Why? Because many vehicles have defrost lines, radio antennas, or even factory tinting integrated into the interior surface. A metal blade will slice right through those delicate lines or peel up the tint in an instant, and that damage is irreversible.
When it comes to automotive glass, solvents are your best friend.
- Exterior Glass: The razor blade method is typically safe on the outside surfaces of car windows.
- Interior Glass: Stick exclusively to a soft microfiber cloth and a gentle solvent like isopropyl alcohol.
- Always Test First: Before going all in, dab a tiny bit of your solvent on a hidden corner of the glass to make sure it doesn't react poorly with any aftermarket tint films you might have.
Car windows demand a more delicate touch. Always prioritize chemical removal over scraping to avoid damaging their built-in features.
If that spray paint just won't budge, or if you're dealing with glass that's high up or has special coatings, don't sweat it. The team at Sparkle Tech Window Washing has the professional-grade tools and years of experience to get your windows looking perfect again, safely. Contact us today for a free estimate!