

Phoenix Window Cleaning — Streak-Free Residential Service
Family-owned window cleaning, solar panel washing, and screen service across Phoenix, Scottsdale, Peoria, Paradise Valley, and the entire Valley. 20+ years, fully insured, 5-star rated. Free estimates in minutes.
"Sparkle Tech left our windows literally spotless — inside and out. Haylie was easy to book with and the crew showed up on time in …"
— Karen M., Scottsdale, AZ
"Booked them for solar panel cleaning after monsoon season. My production went up almost 20% the following month. Professional, ins…"
— David R., Paradise Valley, AZ
Professional Cleaning, Backed by 20 Years
From full-home window washing to solar panel restoration and custom screens — one trusted crew for your entire home exterior.

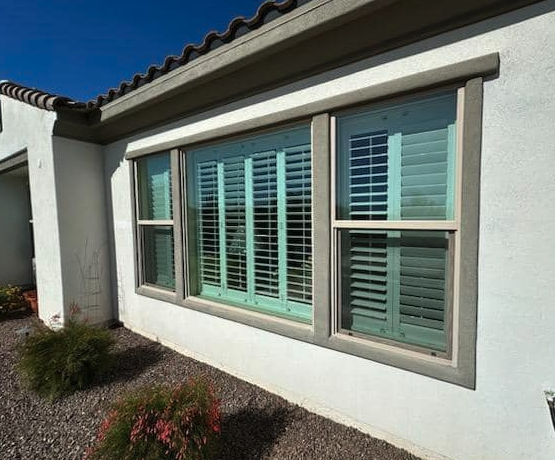
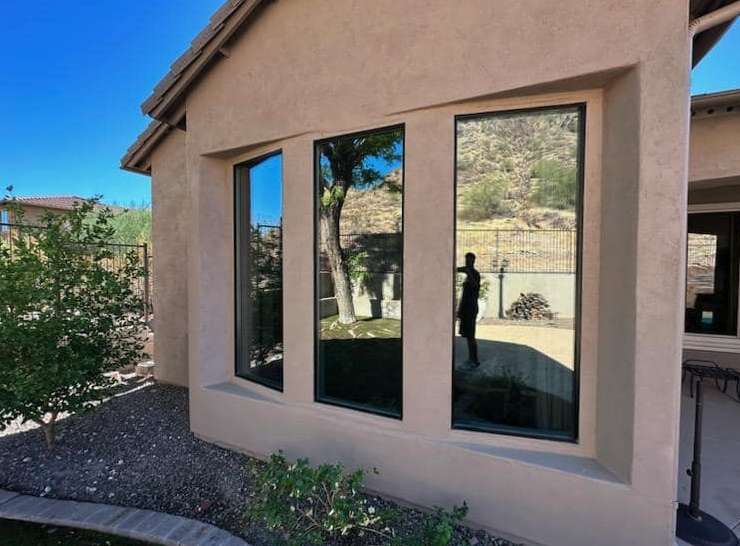
Window Cleaning
Interior and exterior residential window cleaning — streak-free, every time.
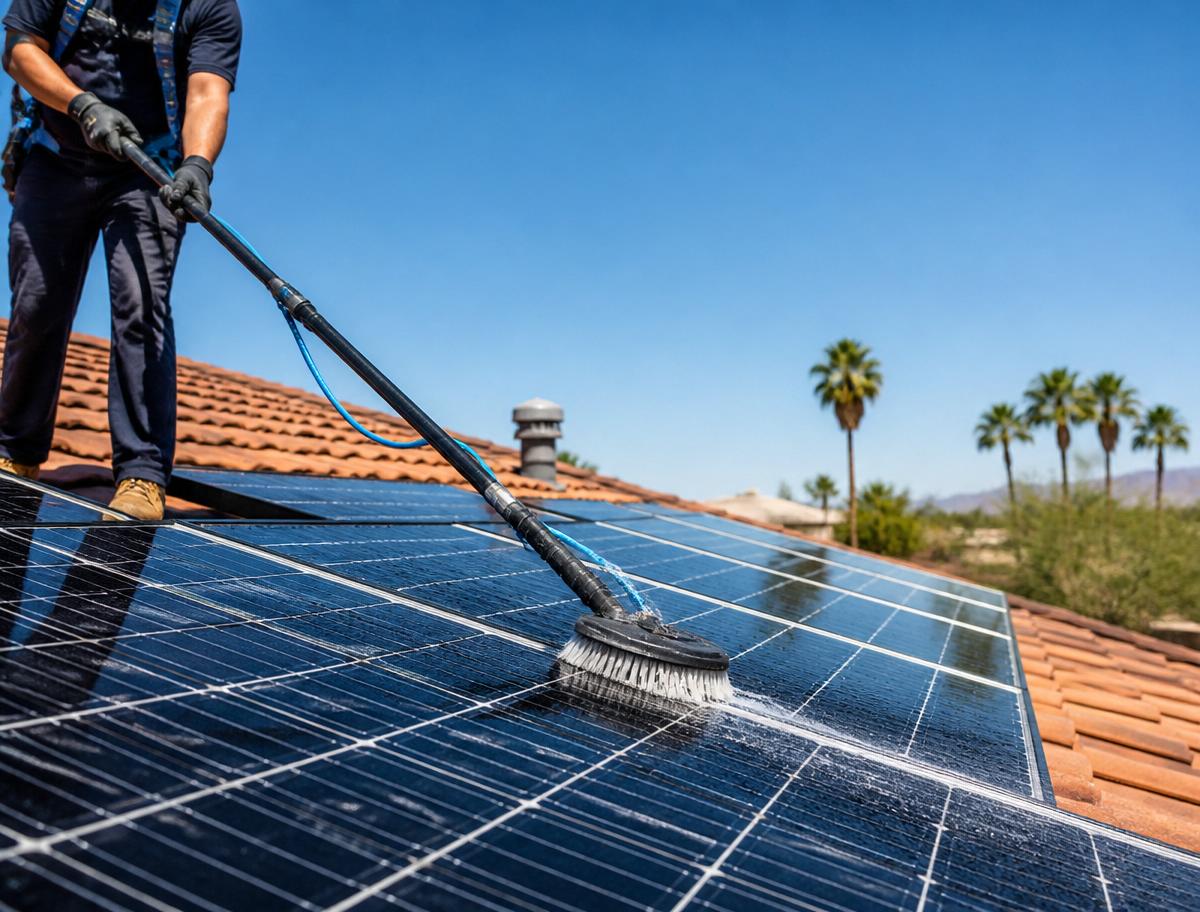
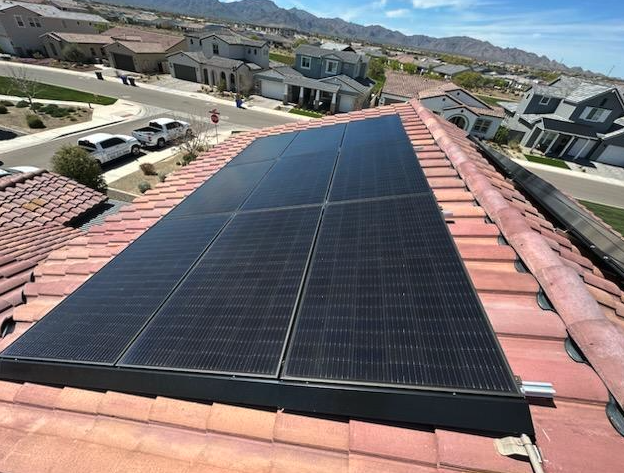
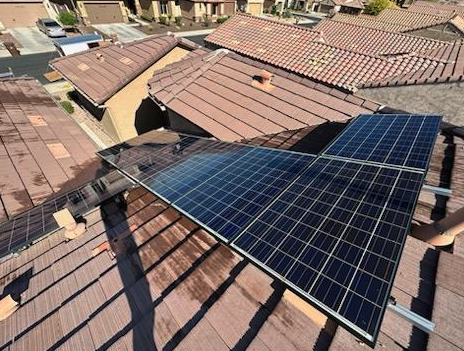
Solar Panel Cleaning
Restore panel efficiency and protect your energy investment across the Phoenix Valley.
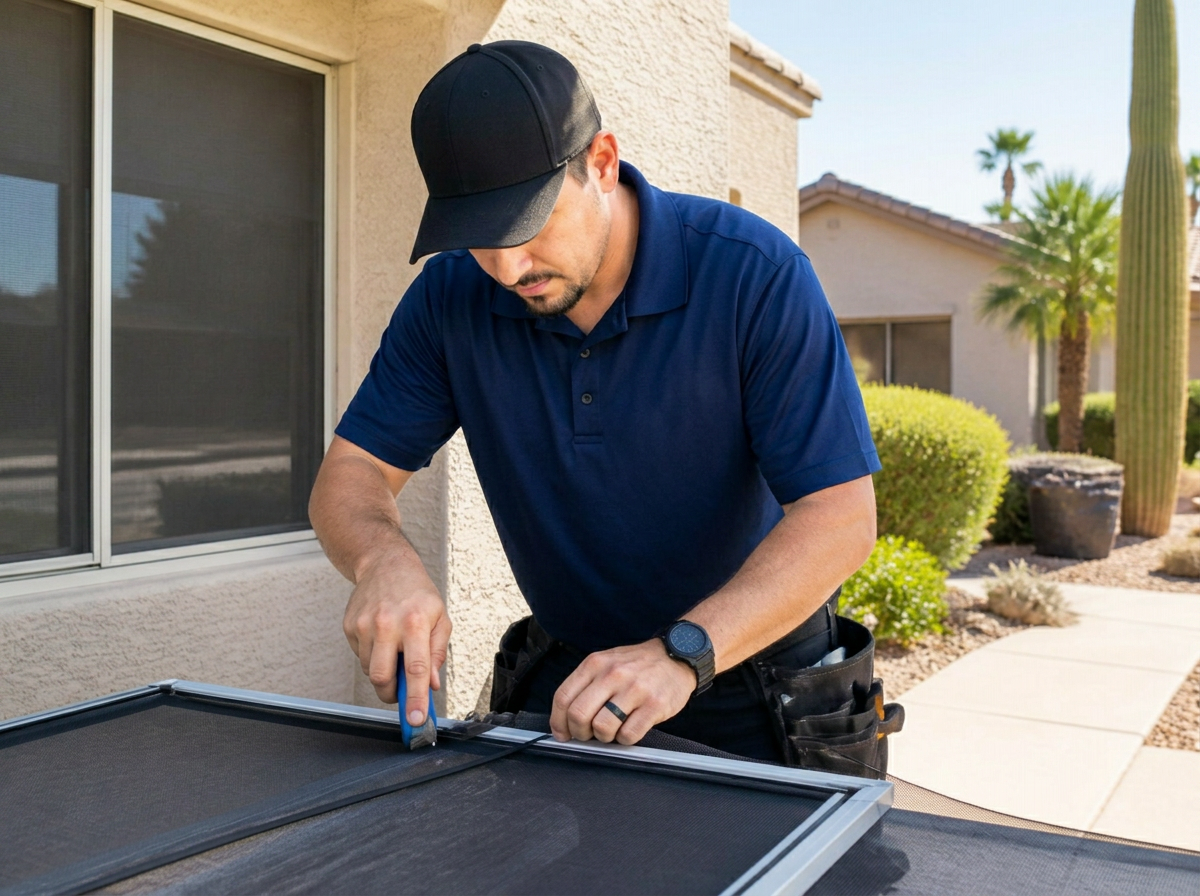
Window Screen Service
Screen cleaning, re-screening, and full replacements — solar and standard mesh.
Family-Owned. Local Since 2005.
Sparkle Tech Window Washing LLC is a family-owned window cleaning service based in the Phoenix Valley. We carry comprehensive Workers' Compensation, General Liability Insurance, and a dishonesty bond — registered as a window cleaning service in the state of Arizona and a licensed LLC for your protection.
Clean windows change the entire feel of your home. That's why our quality is unmatched — and why Phoenix homeowners have trusted us for over two decades.
Serving the Entire Phoenix Valley
From Wickenburg to Fountain Hills, Sun City to Paradise Valley — we cover all of Maricopa County.
Trusted by Thousands of Arizona Homeowners
"Sparkle Tech left our windows literally spotless — inside and out. Haylie was easy to book with and the crew showed up on time in matching polos. Best window service I've hired in Phoenix."
"Booked them for solar panel cleaning after monsoon season. My production went up almost 20% the following month. Professional, insured, honest pricing. Will be a yearly service."
"Family-owned, and it shows. They rebuilt three of my screens and cleaned every window in the house for less than I expected. No upsells, no games — just quality work."
"Same-day service after I called for a last-minute pre-listing clean. Realtor commented on how clean the windows looked in the photos. Highly recommend."
"Sparkle Tech has been our go-to for over a year now. Consistently great communication, fair pricing, and my windows always look brand new when they leave."
"Haylie's team cleaned 26 solar panels and every window on our two-story. Careful with landscaping, super respectful of the property. 5 stars all day."
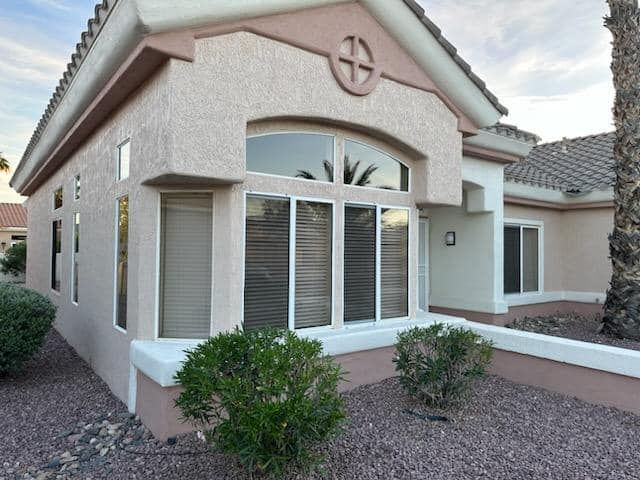
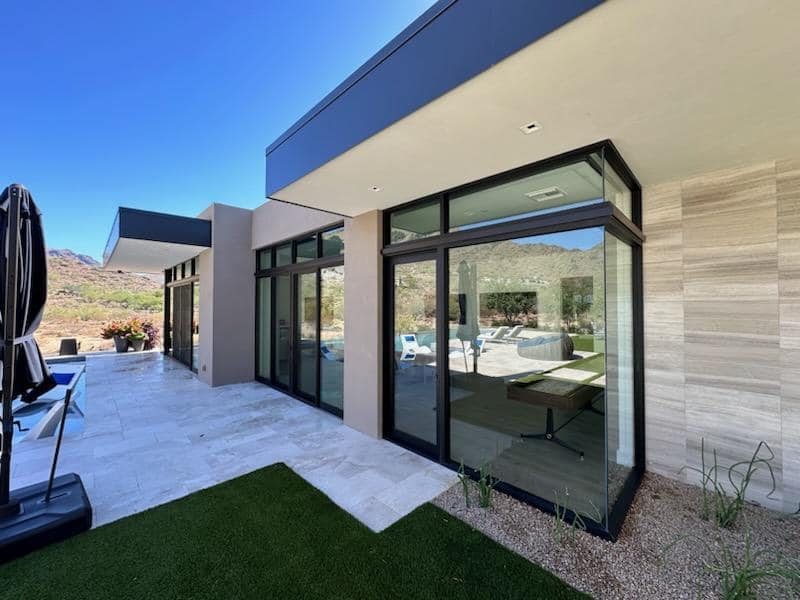
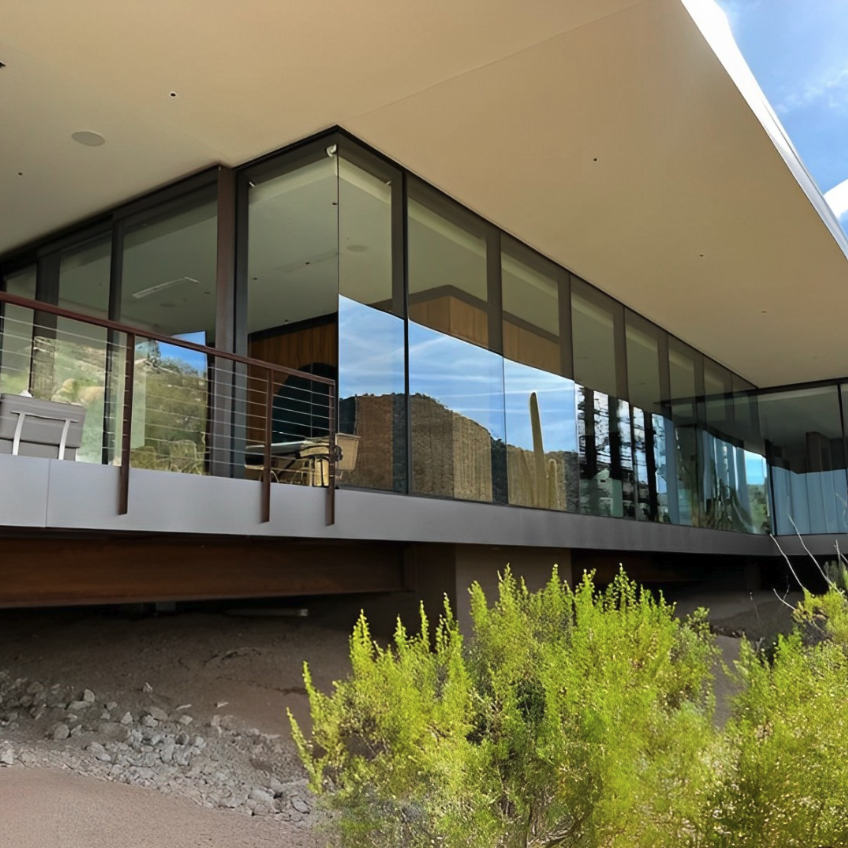
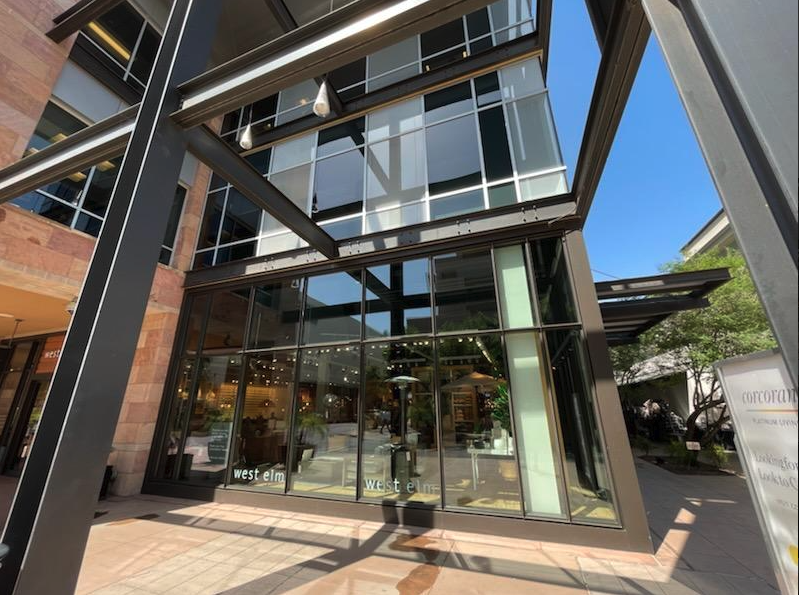
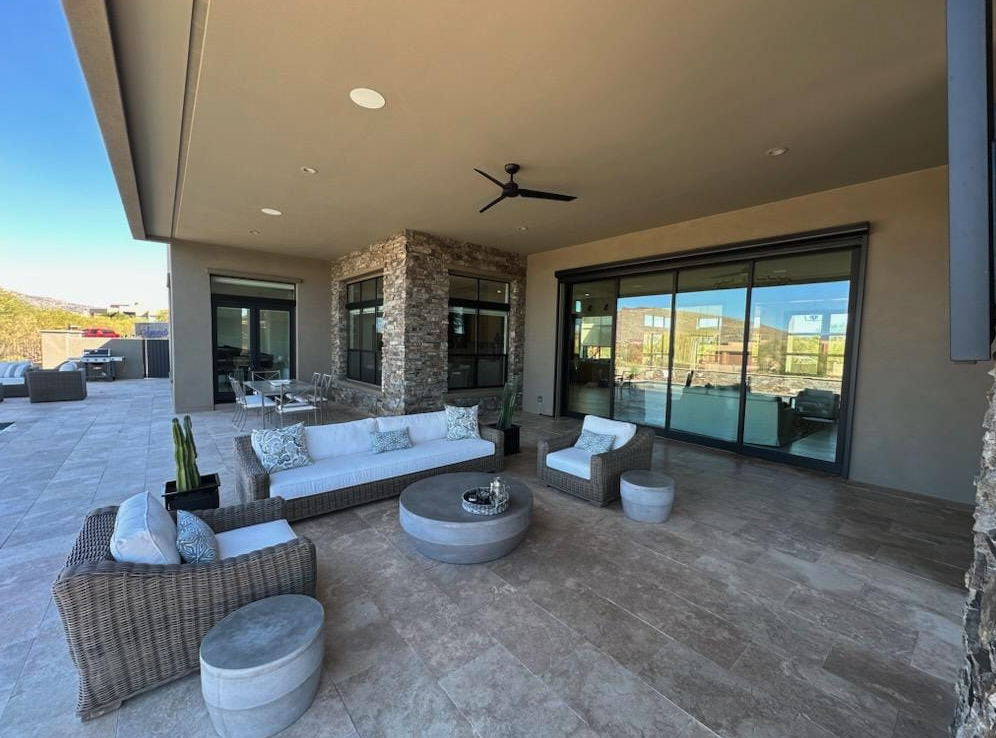
Real Jobs Across Phoenix
A quick look at recent window cleaning, solar panel, and screen jobs from our crews.

Answers for Phoenix Homeowners
Common questions about window cleaning, solar panel cleaning, and screen service across the Valley.
How much does window cleaning cost in Phoenix?+
Most single-story Phoenix homes fall between $150 and $275 for interior + exterior cleaning, and two-story homes typically run $225–$400 depending on window count. We give free, exact quotes over the phone or by text — no surprise fees.
How often should I have my windows cleaned in Arizona?+
In the Phoenix Valley we recommend a full interior + exterior clean twice a year, plus an exterior-only wash after monsoon season. Dust, mineral spotting, and hard-water overspray build up faster here than in most climates.
How much does solar panel cleaning cost in Phoenix?+
Most residential arrays (20–30 panels) run $150–$300 for a full deionized-water wash. Larger arrays and steep-pitch roofs are quoted after a quick call. Free estimates always.
How much do solar screens cost in Phoenix?+
Solar screens typically run $50–$95 per window installed depending on size and mesh grade. Solar screens reduce heat gain up to 90% and pay for themselves in Arizona electric-bill savings.
Are you licensed, bonded, and insured?+
Yes — Sparkle Tech Window Washing LLC carries General Liability, Workers' Compensation, and a dishonesty bond, and is a registered LLC in the state of Arizona.
Ready for spotless windows?
Free estimates. Honest pricing. Same-week booking across the Phoenix Valley.